Let’s be clear right up front: there are probably more obvious solutions to the problem of using a Russian calculator when you don’t speak Russian than printing new keys and engraving translated markings on them. But easy solutions are boring and generally considered beyond the scope of Hackaday articles, so let’s dive in.
 They say that mathematics is the universal language, but that’s only true to an extent. Still, even with our
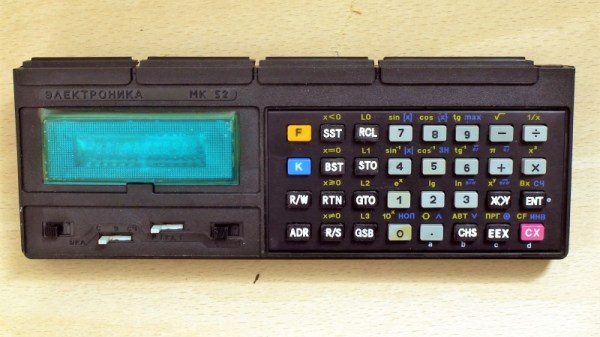
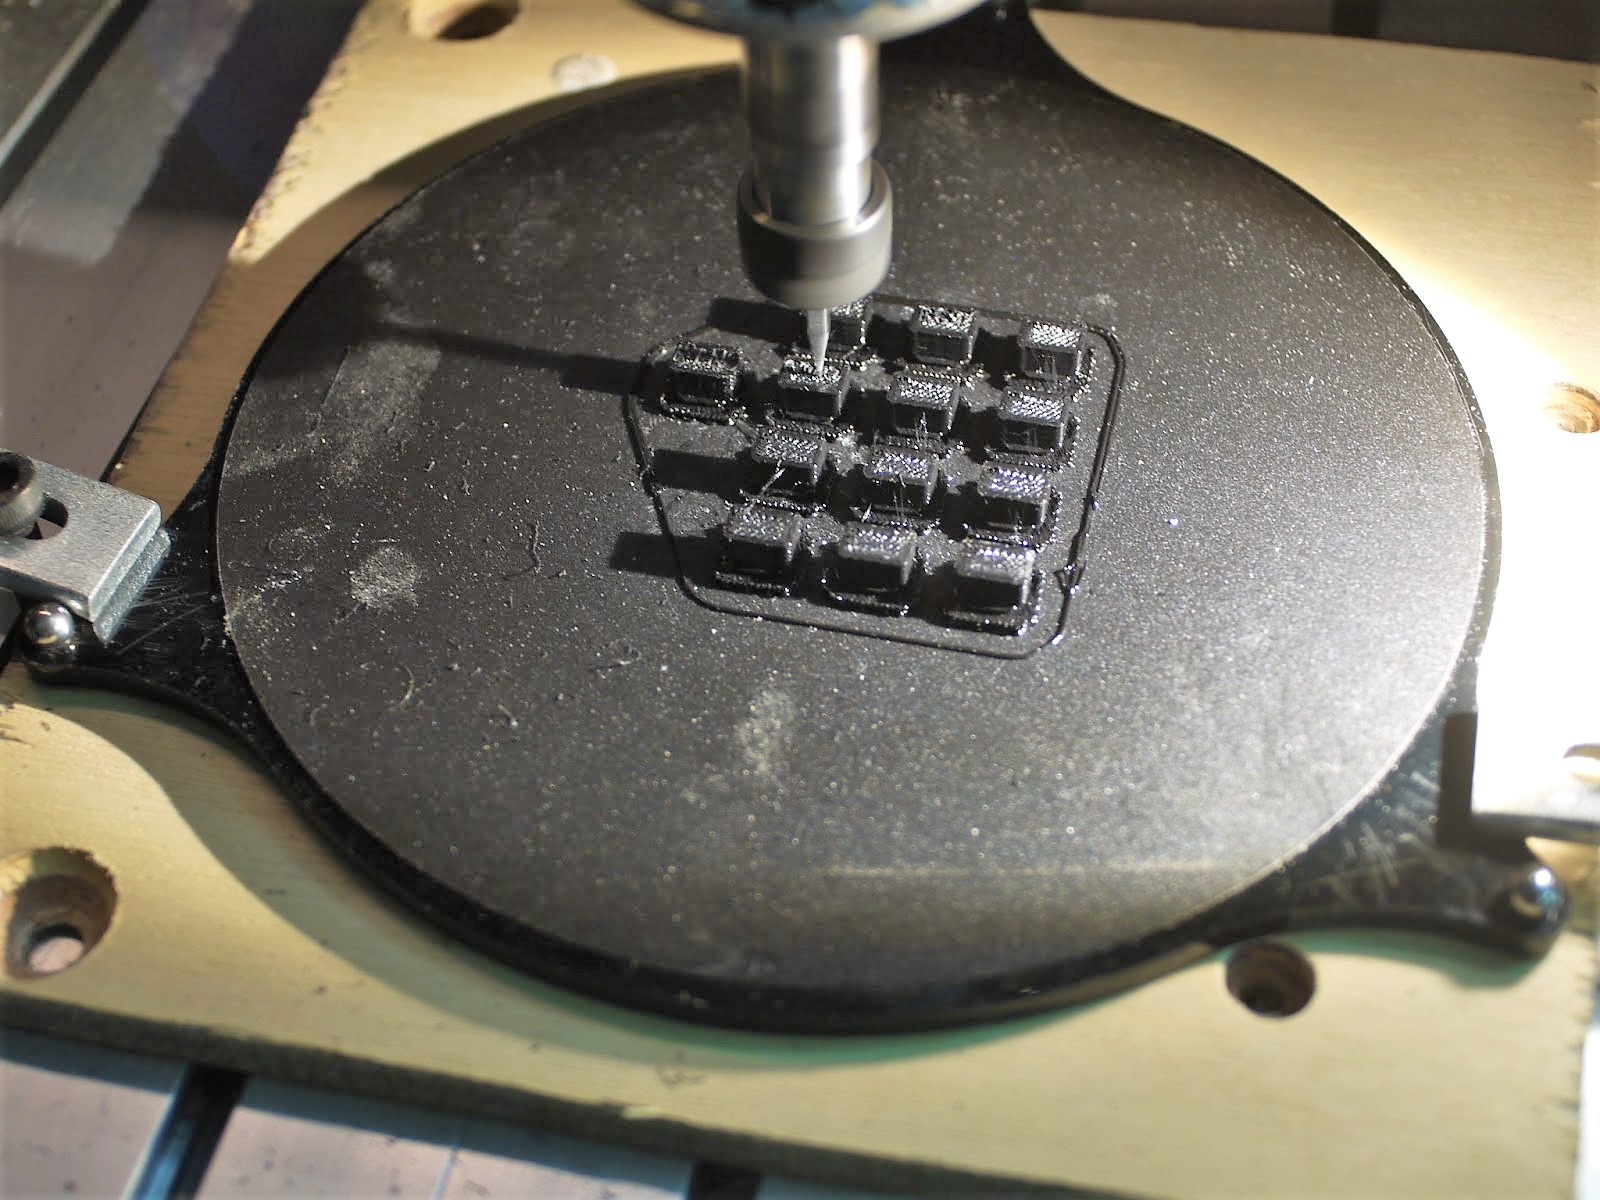
 limited non-existent Cyrillic skills, the Russian keyboard on this RPN calculator isn’t that hard to figure out. But as [Amen] points out, in the midst of fevered calculations, one prefers not to mentally translate Χ→П to STO or remember that В↑ is the Enter key. So he printed a set of replacements for the confusing keys from PLA. While pondering how to safely fixture such small parts for the later engraving step, [Amen] hit on a genius solution: move the print bed to the CNC router and fixture everything in one go. The resulting characters are large enough to be legible and deep enough to be filled with air-drying polymer clay for contrast. After sanding and polishing, the calculator looks like it came from the Министерство электронной промышленности that way.
Honestly, we’d love to get a look inside this calculator. The insides of Russian electronics can be fascinating, and we’ve even seen entire forums dedicated to decapping Russian parts. But we understand the desire to keep it intact.
Continue reading “3D-Printer And CNC Make This Russian Calculator Bilingual”