A Compact, Portable Pantograph Camera Slider

Ho, hum, another camera slider, right? Wrong — here’s a camera slider with a literal twist.

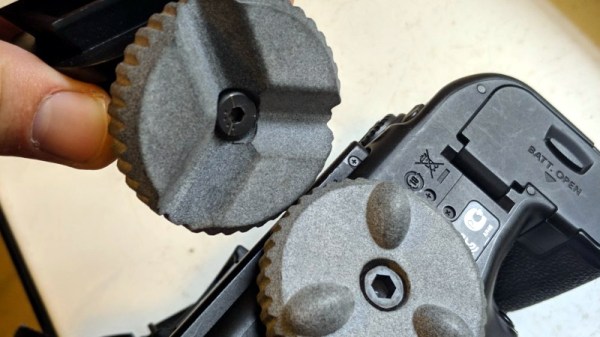
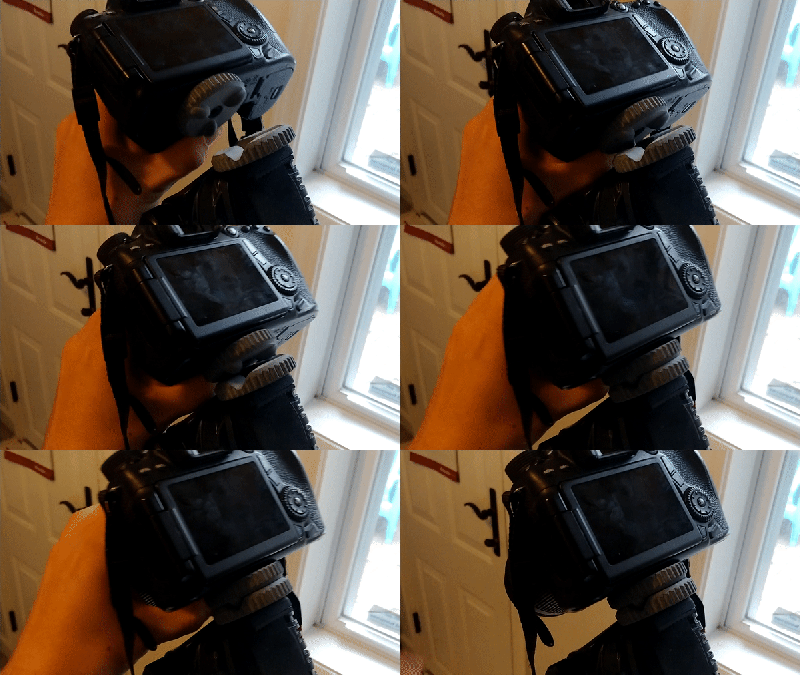
What sets [Schijvenaars]’ slider apart from the pack is that it’s not a slider, at least not in the usual sense. A slider is a mechanical contrivance that allows a camera to pan smoothly during a shot. Given that the object is to get a camera from point A to point B as smoothly as possible, and that sliders are often used for long exposures or time-lapse shots, the natural foundation for them is a ball-bearing linear slide, often powered by a stepper motor on a lead screw. [Schijvenaars] wanted his slider to be more compact and therefore more portable, so he designed and 3D-printed a 3-axis pantograph mechanism. The video below shows the slider panning the camera through a silky smooth 60 centimeters; a bonus of the arrangement is that it can transition from panning in one direction to the other without any jerking. Try that with a linear slider.

Granted, this slider is not powered, but given that the axes are synced with timing belts, it wouldn’t be difficult to add a motor. We’ve seen a lot of sliders before, from simple wooden units to complicated overhead cranes, but this one seems like a great design with a lot of possibilities.

Continue reading “A Compact, Portable Pantograph Camera Slider”

Stunning Fake Polaroid Camera Performs Magic

It’s high time us Muggles got our hands on the hardware used to take Magical Photographs as seen in The Daily Prophet. The first pioneering step in that direction has been taken by [Abhishek] who built this moving picture taking polaroid-ish camera, which he’s calling the “Instagif NextStep”. It’s a camera that records a short, three second video, converts it to GIF and ejects a little cartridge which displays the animated photo.

This amazing piece of hardware has been painstakingly built, and the finished product looks great. The nice thing about building such projects, in [Abhishek]’s own words, is that “it involves a bunch of different skill sets and disciplines – hardware, software, 3D modeling, 3D printing, circuit design, mechanical/electrical engineering, design, fabrication etc that need to be integrated for it to work seamlessly.”
Continue reading “Stunning Fake Polaroid Camera Performs Magic”

Live Stream To YouTube By Pointing A Box And Pressing A Button

YouTube has the ability to do live streaming, but [Tinkernut] felt that the process could be much more straightforward. From this desire to streamline was born the Raspberry Pi based YouTube live streaming camera. It consists of a Raspberry Pi with some supporting hardware and it has one job: to make live streaming as simple as pointing a box and pressing a button. The hardware is mostly off-the-shelf, and once all the configuration is done the unit provides a simple touchscreen based interface to preview, broadcast live, and shut down. The only thing missing is a 3D printed enclosure, which [Tinkernut] says is in the works.

Getting all the software configured and working was surprisingly complex. Theoretically only a handful of software packages and functionality are needed, but there were all manner of gotchas and tweaks required to get everything to play nice and work correctly. Happily, [Tinkernut] has documented the entire process so others can benefit. The only thing the Pi is missing is a DIY onboard LED lighting and flash module.

Manually-Adjustable Three-Axis Gimbal

[Tim Good] built a 3-axis gimbal out of 3D-printed and machined pieces, and the resulting design is pretty sweet, with a nice black-on-black look. He machined the flat pieces because they were too long to be printed in his 3D-printer.

The various axes swivel on four bearings each, and each ring features a manual locking mechanism made out of steel stainless pins that immobilize each axis. The gimbal operation itself appears to be manual. That said, [Tim] used 12-wire slip rings to power whatever camera gets mounted on it–it looks like the central enclosure could hold a camera the size of a GoPro.

[Tim] has shared his design files on Thingiverse: it’s a complicated build with 23 different files. This complexity got us wondering: aren’t there two pitch axes?

We definitely love seeing gimbal projects here on Hackaday. A few cases in point, a gimbal-mounted quadcopter, another project with a LIDAR added to a camera gimbal, and this gimbal-mounted coffee cup.


Hackaday Prize Entry: FabDoc Is Version Control For Project Images

FabDoc is an interesting concept that attempts to tackle a problem many of us didn’t realize we had. There are plenty of version control systems for software, but many projects also have a hardware element or assembly process. Those physical elements need to be documented, but that process does not easily fit the tools that make software development and collaboration easier. [Kevin Cheng] sums FabDoc up as “a system to capture time-lapse pictures as pre-commits.”

With FabDoc a camera automatically records the physical development process, allowing the developer to focus on work and review later. The images from the camera are treated as pre-commits. Upon review, the developer selects relevant key images (ignoring dead ends or false starts) and commits them. It’s a version control and commit system for the physical part of the development process. The goal is to remove the burden of stopping the work process in order to take pictures, automatically record the development process and attach it to a specific project, and allow easy management of which images to commit.

The current system uses a Raspberry Pi Zero with a camera mounted on safety glasses, and some support software. Some thought has certainly gone into making the system as easy to use and manage as possible; after setting up a repository, scanning a QR code takes care of telling the system what to do and where to put it. The goal is to make FabDoc fast and easy to use so that it can simply work unattended.

We saw a visual twist on version control some time ago with a visual diff for PCBs, which was a great idea to represent changes between PCB designs visually, diff-style. It’s always exciting to see someone take a shot at improving processes that are easy to take for granted.

Handheld Gimbal With Off-The-Shelf Parts

For anything involving video capture while moving, most videographers, cinematographers, and camera operators turn to a gimbal. In theory it is a simple machine, needing only three sets of bearings to allow the camera to maintain a constant position despite a shifting, moving platform. In practice it’s much more complicated, and gimbals can easily run into the thousands of dollars. While it’s possible to build one to reduce the extravagant cost, few use 100% off-the-shelf parts like [Matt]’s handheld gimbal.

[Matt]’s build was far more involved than bolting some brackets and bearings together, though. Most gimbals for filming are powered, so motors and electronics are required. Not only that, but the entire rig needs to be as balanced as possible to reduce stress on those motors. [Matt] used fishing weights to get everything calibrated, as well as an interesting PID setup.

Be sure to check out the video below to see the gimbal in action. After a lot of trial-and-error, it’s hard to tell the difference between this and a consumer-grade gimbal, and all without the use of a CNC machine or a 3D printer. Of course, if you have access to those kinds of tools, there’s no limit to the types of gimbals you can build.

Continue reading “Handheld Gimbal With Off-The-Shelf Parts”

Imaging Magnetism With A Hall Effect Camera

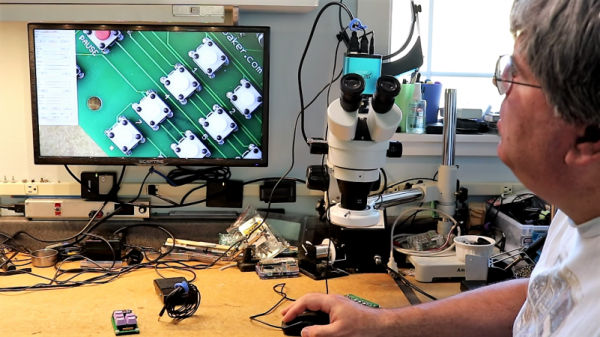
[Peter Jansen] is the creator of the Open Source Tricorder. He built a very small device meant to measure everything, much like the palm-sized science gadget in Star Trek. [Peter] has built an MRI machine that fits on a desktop, and a CT scanner made out of laser-cut plywood. Needless to say, [Peter] is all about sensing and imaging.

[Peter] is currently working on a new version of his pocket-sized science tricorder, and he figured visualizing magnetic fields would be cool. This led to what can only be described as a camera for magnetism instead of light. It’s a device that senses magnetic fields in two directions to produce an image. It’s cool, and oddly, electronically simple at the same time.

Visualizing magnetic fields sounds weird, but it’s actually something we’ve seen before. Last year, [Ted Yapo] built a magnetic imager from a single magnetometer placed on the head of a 3D printer. The idea of this device was to map magnetic field strength and direction by scanning over the build platform of the printer in three dimensions. Yes, it will create an image of field lines coming out of a magnet, but it’s a very slow process.

Instead of using just one magnetic sensor, [Peter] is building a two-dimensional array of magnetic sensors. Basically, it’s just a 12×12 grid of Hall effect sensors wired up to a bunch of analog multiplexers. It’s a complicated bit of routing, but building the device really isn’t hard; all the parts are easily hand-solderable.

While this isn’t technically a camera as [Peter] would need box or lens for that, it is a fantastic way to visualize magnetic fields. [Peter] can visualize magnets on his laptop screen, with red representing a North pole and green representing the South pole. Apparently, transformers and motors look really, really cool, and this is a perfect proof of concept for the next revision of [Peter]’s tricorder. You can check out a video of this ‘camera’ in action below.

Continue reading “Imaging Magnetism With A Hall Effect Camera”