
A key part of any tertiary musical education is learning about all the wonderful (and less wonderful) types of chords out there. Typically this involves a great deal of exercises involving the identification of a given chord from its component notes. But how would you do this programmatically? Well, thankfully, the developers behind the WhatChord tool are happy to explain just how it’s done.
The problem with classifying chords is that the way musicians use them and construct them can be quite varied. Names can also be applied somewhat differently depending on the musical context of a given set of notes. To suit the musical reality of real players and composers, WhatChord uses a specially-developed scoring algorithm to try and nut out what a chord is actually supposed to be.
As an example, a major chord must require a root note and a major third interval. It can optionally include a perfect fifth. However, if there is a minor third, minor seventh, or major seventh present, then you’re almost certainly not looking at a simple major chord. WhatChord takes these things into account by weighting the different tones present and seeing which chord gets the highest score. The required notes add weight, while notes that shouldn’t be there add a penalty to the score. Then there are extra penalties for ambiguous “unexplained” tones, extensions, and a few other parameters to disambiguate edge cases.
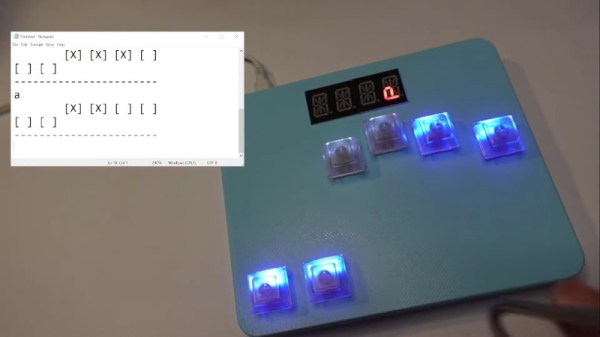
If you’d like to see how it works in practice, you can check out the WhatChord app and see how good it is for yourself. Alternatively, explore some of the other chord-focused projects we’ve featured over the years, or send your best musical projects into the tipsline.
[Thanks to baschwar for the tip!]


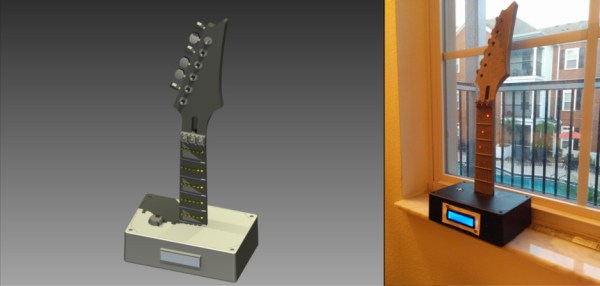
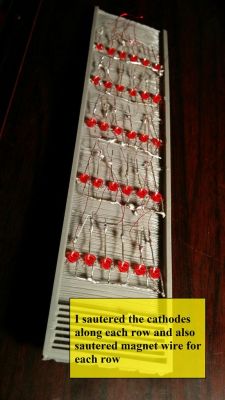 [MushfiqM] started by rendering a 3D model of an abbreviated guitar using Autodesk Inventor. He then printed his creation in 3 parts: headstock, neck, and fretboard. The neck of the guitar was hollowed out to allow room for a matrix of LEDs which would show the finger positions. [MushfiqM] then painstakingly soldered in a charlieplexed matrix of 30 leds, all connected by magnet wire. The LEDs are controlled by an Arduino UNO, which has the chord and scale charts stored in flash.


