The Assistive Technology challenge of the Hackaday Prize received a large number of projects addressing many socially relevant problems. Mobility and transportation needs are a big challenge for those with limb disabilities. Not every country has proper, state-subsidised health care systems, and for many people in third world countries, devices such as wheel chairs are just not affordable. [Alessio Fabrizio] and his team developed TooWheels — an Open Source DIY wheelchair which can be customized and built using low-cost, local materials around the world and is one of the winners of the Assistive Technologies challenge round.
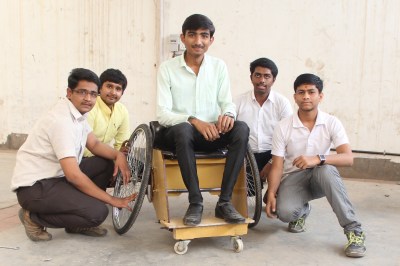 Originally conceived as a sport wheelchair, it has now evolved to answer different needs, due to feedback from the users and the community involved in the project. [Alessio] designed the project to be built from materials and resources easily available to any DIY maker at today’s Fab Labs and Makerspaces. The team have provided a detailed BOM to help procure all the required materials, instruction manual and drawings for assembly, and all the CAD files with customization instructions. Already, teams in Ecuador, India and Italy have replicated and built their own version of the TooWheel wheelchair. This confirms that the project is well documented and allows anyone around the world to download the plans and follow instructions to build their own wheelchair.
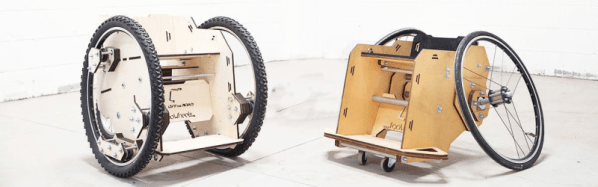
The wheelchair is built from CNC cut plywood sheets, aluminum pipes and bicycle parts and wheels. This makes it substantially cheaper compared to commercial wheelchairs, making it especially relevant for people in third world areas or where health care is not subsidised. The ease of customization allows fabrication of different wheelchair designs for sports, off-road or city use. The team is looking to bring this low-cost design to people around the world and are keen to collaborate with teams around the world to make it happen.