You wake up one morning with The Idea — the one new thing that the world can’t do without. You slave away at it night and day, locked in a garage expending the perspiration that Edison said was 99 percent of your job. You Kickstart, you succeed, you get your prototypes out the door. Orders for the new thing pour in, you get a permanent space in some old factory, and build assembly workstations. You order mountains of parts and arrange them on shiny chrome racks, and you’re ready to go — except for one thing. There’s nobody sitting at those nice new workstations, ready to assemble your product. What’s worse, all your attempts to find qualified people have led nowhere, and you can’t even find someone who knows which end of a soldering iron to hold.
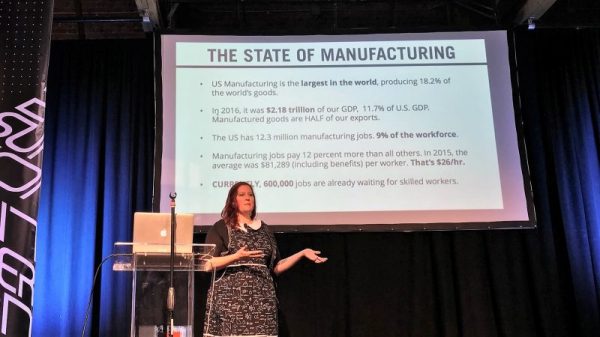
Granted, the soldering iron lesson is usually something that only needs to happen once, but it’s not something the budding entrepreneur needs to waste time on. Finding qualified workers to power a manufacturing operation in the 21st century is no mean feat, as Dr. Danielle Applestone discussed at the 2017 Hackaday Superconference. Dr. Applestone knows whereof she speaks — she was the driving force behind the popular Othermill, serving as CEO for Other Machine Co. and orchestrating its rise to the forefront of the desktop milling field. Now rebranded as Bantam Tools, the company is somewhat unique in that it doesn’t ship its manufacturing off to foreign shores — they assemble their products right in the heart of Berkeley, California. So finding qualified workers is something that’s very much on her mind on a daily basis.
Continue reading “Danielle Applestone: Building The Workforce Of 2030”