Magnetic Tape Storage May Not Be Retro

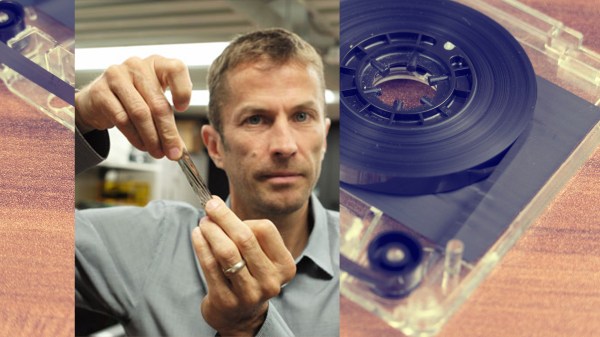
Magnetic storage is quickly becoming an antiquated technology but IBM may have given it a few more years. Currently, magnetic storage is still manufactured as hard disk drives (HDDs) but you won’t find a tape drive in a modern consumer computer. That’s not likely to change but IBM is pushing the envelope to make a tape drive that will be smaller and more economical than other massive storage options. In many ways, they’re the antithesis of solid state drives (SSDs) because tape drives are slow to retrieve data but capable of holding a lot inexpensively.

Three advances are responsible for this surge in capacity. Firstly, the tape “grains,” where each bit is recorded, have been shrunk by sputtering metal to a film instead of painting it on. Secondly, better servo control allows the reading mechanisms to read those tiny grains with the necessary accuracy. Lastly, stronger computation is used to read the data by using error detection and correction because when your tape is traveling four meters per second, it takes a long time to go back and double-check something.

IBM’s tape drive won’t replace your hard drive but it could back it up daily, many times over.

Check this out if your wetware needs a memory boost or this if your breakfast needs a memory boost.

Cutest Possible Atari Disk Drive

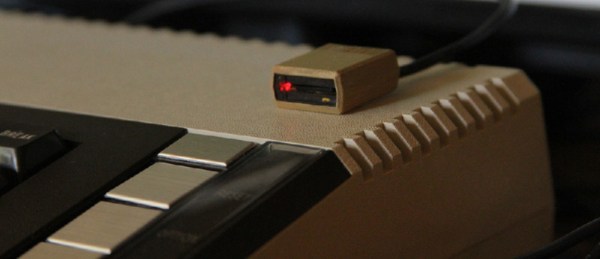
[rossumur]’s first computer was an Atari 400, and after riding a wave of nostalgia and forgetting the horrible keyboard found in the Atari 400, he decided it was time to miniaturize the venerable Atari 810 disk drive by putting an entire library of Atari games on a single microSD card.

SD cards have been slowly but surely replacing disk drives for just about every old computer system out there. You no longer need 400k disks for your old mac, and your Commodore 64 can run directly off an SD card. The Atari 8-bits have been somewhat forgotten in this movement towards modern solid state storage, and although a solution does exist, this implementation is a pretty pricey piece of hardware.

[rossumur]’s hardware for giving the Atari 8-bit computers an SD card slot is just one chip – an LPC1114 ARM Cortex M0. This, along with an SD card slot, 3.3V regulator, a LED and some caps allows the Atari to talk to SD card and hold the entire 8-bit Atari library on a piece of plastic the size of a fingernail.

Designing a circuit board doesn’t have the street cred it once did, and to give his project a little more pizzazz he chose to emulate the look of the very popular miniaturized Commodore 1541 disk drive with a tiny replica of the Atari 810 disk drive. This enclosure was printed at Shapeways, and with some enamel hobby paint, [rossumur] had a tiny, tiny 810 drive.

While this build does require the sacrifice of a somewhat rare and certainly old Atari SIO cable, it is by far the best solution yet seen for bringing a massive game library to the oft-forgotten Atari 8-bit home computers.

Thanks [lucas] for the tip.

Hard Drive Rootkit Is Frighteningly Persistent

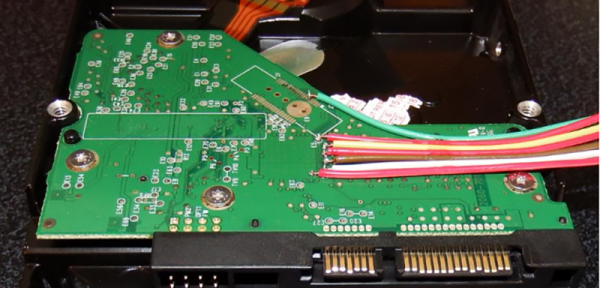
There are a lot of malware programs in the wild today, but luckily we have methods of detecting and removing them. Antivirus is an old standby, and if that fails you can always just reformat the hard drive and wipe it clean. That is unless the malware installs itself in your hard drive firmware. [MalwareTech] has written his own frightening proof of concept malware that does exactly this.

The core firmware rootkit needs to be very small in order to fit in the limited memory space on the hard drive’s memory chips. It’s only a few KB in size, but that doesn’t stop it from packing a punch. The rootkit can intercept any IO to and from the disk or the disk’s firmware. It uses this to its advantage by modifying data being sent back to the host computer. When the computer requests data from a sector on the disk, that data is first loaded into the disk’s cache. The firmware can modify the data sitting in the cache before notifying the host computer that the data is ready. This allows the firmware to trick the host system into executing arbitrary code.

[MalwareTech] uses this ability to load his own custom Windows XP bootkit called TinyXPB. All of this software is small enough to fit on the hard drive’s firmware. This means that traditional antivirus cannot detect its presence. If the owner of the system does get suspicious and completely reformats the hard drive, the malware will remain unharmed. The owner cannot even re-flash the firmware using traditional methods since the rootkit can detect this and save itself. The only way to properly re-flash the firmware would be to use an SPI programmer, which would be too technical for most users.

There are many more features and details to this project. If you are interested in malware, the PDF presentation is certainly worth a read. It goes much more in-depth into how the malware actually works and includes more details about how [MalwareTech] was able to actually reverse engineer the original firmware. If you’re worried about this malicious firmware getting out into the wild, [MalwareTech] assures us that he does not intend to release the actual code to the public.

iram

PCI I-RAM Working Without A PCI Slot

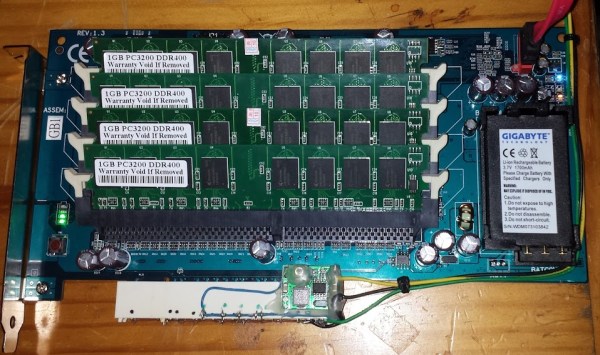
[Gnif] had a recent hard drive failure in his home server. When rebuilding his RAID array, he decided to update to the ZFS file system. While researching ZFS, [Gnif] learned that the file system allows for a small USB cache disk to greatly improve his disk performance. Since USB is rather slow, [Gnif] had an idea to try to use an old i-RAM PCI card instead.

The problem was that he didn’t have any free PCI slots left in his home server. It didn’t take long for [Gnif] to realize that the PCI card was only using the PCI slot for power. All of the data transfer is actually done via a SATA cable. [Gnif] decided that he could likely get by without an actual PCI slot with just a bit of hacking.

[Gnif] desoldered a PCI socket from an old faulty motherboard, losing half of the pins in the process. Luckily, the pins he needed still remained. [Gnif] knew that DDR memory can be very power-hungry. This meant that he couldn’t only solder one wire for each of the 3v, 5v, 12v, and ground pins. He had to connect all of them in order to share the current load. All in all, this ended up being about 20 pins. He later tested the current draw and found it reached as high as 1.2 amps, confirming his earlier decision. Finally, the reset pin needed to be pulled to 3.3V in order to make the disk accessible.

All of the wires from his adapter were run to Molex connectors. This allows [Gnif] to power the device from a computer power supply. All of the connections were covered in hot glue to prevent them from wriggling lose.

Mechanical Scanning Television

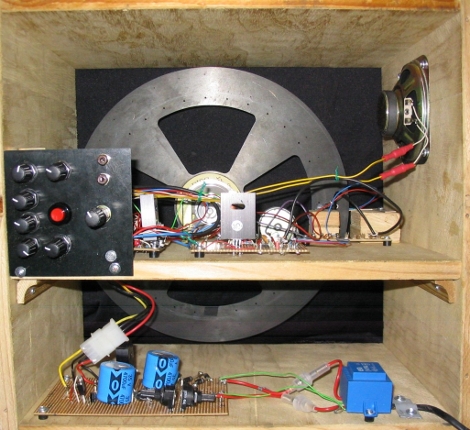
This project explores the early days of television. Above you see a view from the back side of a mechanically scanning television. The black disk spins and the holes, aligned in a spiral pattern, create vertical scan lines for projected light to shine through. In this case, [Eckhard Etzold] is using red, green, and blue LEDs to create a color picture. As you can seen in the video after the break it does a pretty good job. The main problem being that the scanning disc on a mechanical TV has to be much larger than the actual image. How big would the disk need to be and how fast would it spin to produce a forty inch image? We still think this is a better method than transmitting video data in parallel.

Continue reading “Mechanical Scanning Television”