Acrylic is a great material. It’s not cheap, but it comes in a wide variety of colours and styles and can be used to make some very attractive projects. [Geek Mom Projects] is a big fan, and whipped up some fun pendants for a high school Maker Faire.
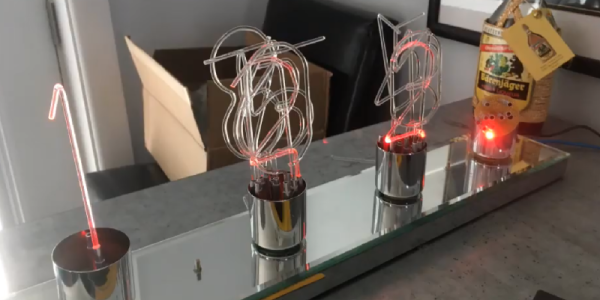
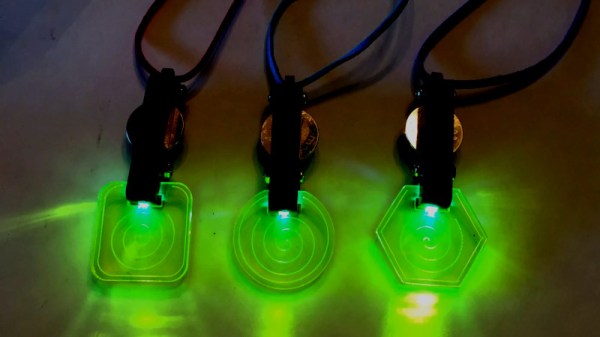
[Geek Mom] has long been a fan of edge-lighting, as it’s a great way to make beautiful glowy projects out of acrylic. In this case a fluorescent acrylic is used with white LEDs to generate an eerie green glow, though it’s also noted that the project can be done with clear acrylic and color-shifting LEDs instead for an equally cool look. If you’re filming a low-budget sci-fi film, this could be just what you need.
The pendants made a great project for young makers to learn about LEDs, electronics, and technologies such as lasercutting that were used to produce the parts. With copper tape used instead of soldering and a CR2032 battery used to eliminate the need for a current limiting resistor, it’s a very accessible project that most teens were able to complete without assistance.
It’s not the first time we’ve seen edge-lit pendants, either. Alternatively, if you need your acrylic bent, there’s a tool for that, too.