Students Build Electromagnetic Egg Drop Stand

The Egg Drop is a classic way to get students into engineering, fabrication, and experimentation. It’s a challenge to build a container to protect a raw egg from cracking when dropped from various heights.

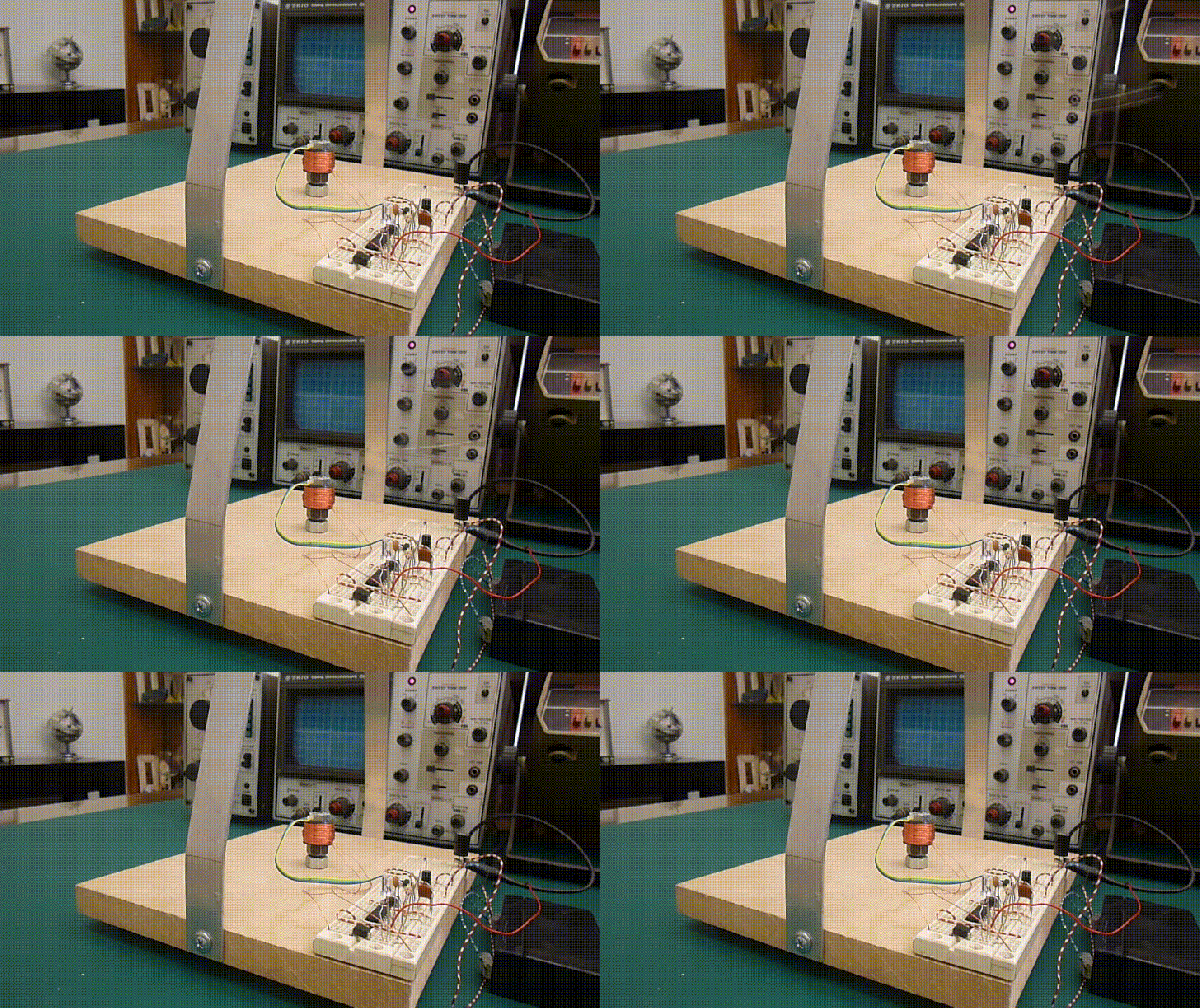
Here’s a way to add some extra hardware to use when testing each entry. It’s an  electromagnetic drop stand built by several students along with [Tom Jenkins]. The stand doesn’t require anything too exotic, and it allows students to drop their eggs in a controlled manner for a fair competition. Along the way, they learn about circuits, electromagnets, and some other electronic concepts.

If this sounds familiar, it is because it builds on the egg drop project from the Teaching Channel we talked about before. The materials for that lesson have the basic outline of the drop stand, but the video really helps kids visualize it and build it.

Continue reading “Students Build Electromagnetic Egg Drop Stand”

Flip-Dot Display Brought Out Of Retirement By New Drivers

LED matrix displays and flat-screen monitors have largely supplanted old-school electromechanical models for public signage. We think that’s a shame, but it’s also a boon for the tinkerer, as old displays can be had for a song these days in the online markets.

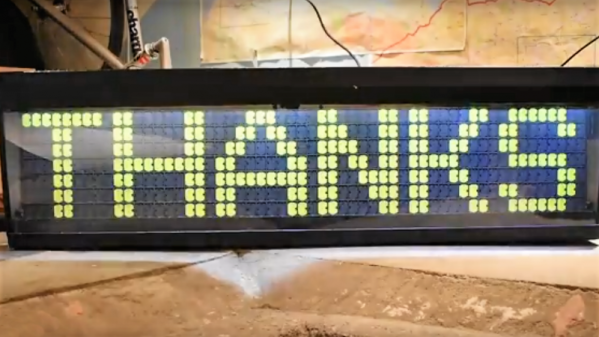
Such was the case for [John Whittington] and his flip-dot display salvaged from an old bus. He wanted to put the old sign back to work, but without a decent driver, he did what one does in these situations — he tore it down and reverse engineered the thing. Like most such displays, his Hannover Display 7 x 56-pixel flip-dot sign is electromechanically interesting; each pixel is a card straddling the poles of a small electromagnet. Pulse the magnet and the card flips over, changing the pixel from black to fluorescent green. [John] used an existing driver for the sign and a logic analyzer to determine the protocol used by the internal electronics to drive the pixels, and came up with a much-improved method of sending characters and graphics. With a Raspberry Pi and power supply now resident inside the case, a web-based GUI lets him display messages easily. The video below has lots of details, and the code is freely available.

You may recall [John] from a recent edge-lit Nixie-like display. Looks like he’s got a thing for eye-catching displays, and we’re fine with that.

Continue reading “Flip-Dot Display Brought Out Of Retirement By New Drivers”

Semi-Automatic Rail Gun Is A Laptop Killer

It’s huge, it’s unwieldy, and it takes 45 seconds to shoot all three rounds in its magazine. But it’s a legitimate semi-automatic railgun, and it’s pretty awesome.

Yes, it has its limits, but every new technology does, especially totally home-brew builds like this. The aptly named [NSA_listbot] has been putting a lot of work into his railgun, and this is but the most recent product of an iterative design cycle.

The principle is similar to other railguns we’ve featured before, which accelerate projectiles using rapidly pulsed electromagnets. The features list in the video below reads like a spec for a top-secret military project: field-augmented circular bore, 4.5kJ capacitor bank, and a custom Arduino Nano that’s hardened against the huge electromagnetic pulse (EMP) generated by the coils. But the interesting bits are in the mechanical design, which had to depart from standard firearms designs to handle the caseless 6 mm projectiles. The resulting receiver and magazines are entirely 3D printed. Although it packs a wallop, its cyclic rate of fire is painfully slow. We expect that’ll improve as battery and capacitor technology catches up, though.

Want to check out some more railgun builds? We’ve got them in spades — from one with $50,000 worth of caps to a wrist-mounted web-slinger.

Continue reading “Semi-Automatic Rail Gun Is A Laptop Killer”

Hovering Questions About Magnetic Levitation

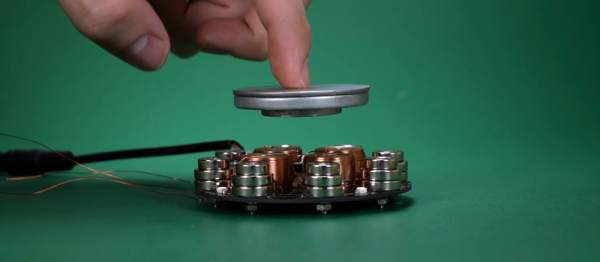
Who doesn’t love magnets? They’re functional, mysterious, and at the heart of nearly every electric motor. They can make objects appear to defy gravity or move on their own. If you’re like us, when you first started grappling with the refrigerator magnets, you tried to make one hover motionlessly over another. We tried to position one magnet over another by pitting their repellent forces against each other but [K&J Magnetics] explains why this will never work and how levitation can be done with electromagnets. (YouTube, embedded below.)

In the video, there is a quick demonstration of their levitation rig and a brief explanation with some handy oscilloscope readings to show what’s happening on the control side. The most valuable part, is the explanation in the article where it walks us through the process, starting with the reason permanent magnets can’t be used which leads into why electromagnets can be successful.

[K&J Magnetics]’s posts about magnets are informative and well-written. They have a rich mix of high-level subjects without diluting them by glossing over the important parts. Of course, as a retailer, they want to sell their magnets but the knowledge they share can be used anywhere, possibly even the magnets you have in your home.

Simpler levitators can be built with a single electromagnet to get you on the fast-track to building your own levitation rig. Remember in the first paragraph when we said ‘nearly’ every electric motor used magnets, piezoelectric motors spin without magnets.

Continue reading “Hovering Questions About Magnetic Levitation”

Knitting ALUs (and Flipdots)

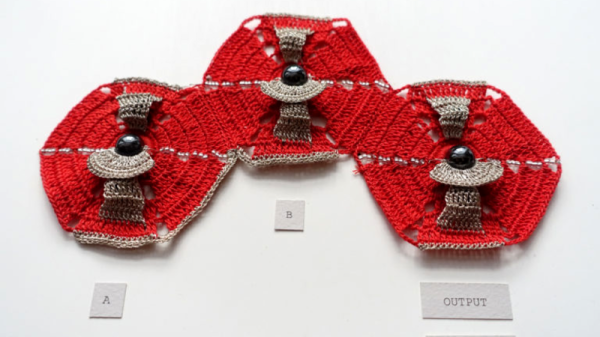
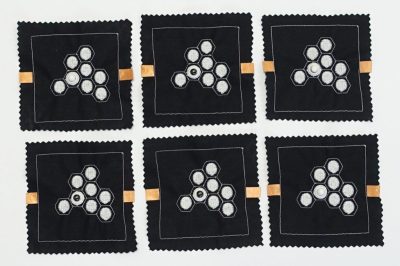
[Irene Posch] is big into knitted fabric circuits. And while most of the textile circuits that we’ve seen are content with simply conducting enough juice to light an LED, [Irene]’s sights are set on knittable crafted arithmetic logic units (ALUs). While we usually think of transistors as the fundamental building-blocks of logic circuits, [Irene] has developed what is essentially a knit crochet relay. Be sure to watch the video after the break to see it in construction and in action.

The basic construction is a coil of conductive thread that forms an electromagnet, and a magnetic bead suspended on an axle so that it can turn in response to the field. To create a relay, a flap of knit conductive thread is attached to the bead, which serves as the pole for what’s essentially a fabric-based SPDT switch. If you’ve been following any of our relay-logic posts, you’ll know that once you’ve got a relay, the next step to a functioning computer is a lot of repetition.

How does [Irene] plan to display the results of a computation? On knit-and-bead flipdot displays, naturally. Combining the same electromagnet and bead arrangement with beads that are painted white on one side and black on the other yields a human-readable one-bit display. We have an unnatural affinity for flipdot displays, and making the whole thing out of fabric-store components definitely flips our bits.

Anyway, [Irene Posch] is a textile-tech artist who you should definitely be following if you have any interest in knittable computers. Have you seen anything else like this? Thanks [Melissa] for the awesome tip!

Continue reading “Knitting ALUs (and Flipdots)”

Your Work Won’t Move With A Magnetic Drill Press Vise

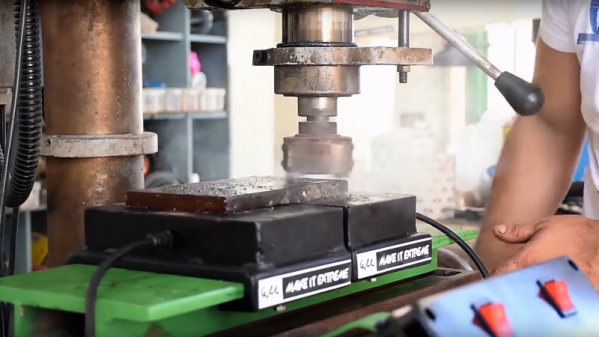
Setting up your workpiece is often the hardest part of any machining operation. The goal is to secure the workpiece so it can’t move during machining in such a way that nothing gets in the way of the tooling. Magnetic chucks are a great choice for securely and flexibly holding down workpieces, as this simple shop-built electromagnetic vise shows.

It looks like [Make It Extreme] learned a thing or two about converting microwave oven transformers to electromagnets when they built a material handling crane for the shop. Their magnetic vise, designed for a drill press but probably a great choice for securing work to a milling machine, grinder, or even a CNC router, has a simple but sturdy steel frame. Two separate platforms slide on the bed of the vise, each containing two decapitated MOTs. Wired to mains power separately for selective control and potted in epoxy, the magnets really seem to do the job. The video below shows a very thick piece of steel plate cantilevered out over one magnet while having a hole cut; that’s a lot of down force, but the workpiece doesn’t move.

Like the idea of a shop-made vise but would rather go the old-fashioned way? Check out [Make It Extreme]’s laminated bench vise, which also makes an appearance in this video.

Continue reading “Your Work Won’t Move With A Magnetic Drill Press Vise”

Horizontal Magnetic Levitation Experiments

Levitating chairs from the Jetsons still have a few years of becoming a commercial product though they are fun to think about. One such curious inventor, [Conor Patrick], took a deep dive into the world of maglev and came up with a plan to create a clock with levitating hands. He shares the first part of his journey to horizontal levitational control.

[Conor Patrick] bought an off-the-shelf levitation product that was capable of horizontal levitation. Upon dissecting it he found a large magnet, four electromagnet coils, and a hall effect sensor. These parts collectively form a closed-loop control to hold an object at a specific distance. He soon discovered that in fact, there were just two coils energized by H-bridges. His first attempt at replicating the circuit, he employed a breadboard which worked fine for a single axis model. Unfortunately, it did not work as expected with multiple coils.

After a few iteration and experiments with the PID control loop, he was able to remove unwanted sensor feedback as well as overshoot in control current. He finally moved to a Teensy with a digital PD loop. The system works, but only marginally. [Conor Patrick] is seeking help from the control loop experts out there and that is the essence of the OSHW world. The best part of this project is that it is a journey that involves solving one problem at a time. We hope to see some unique results in the future.

We have covered Acoustic Levitation in the past and the Levitating Clock on a similar beat. We’re certain a more refined approach is on the horizon since many of us are now looking at making one to experiment with on our workbench.