[Malebuffy] bought himself a used boat last year. Fuel isn’t exactly cheap where he lives, so he wanted a way to monitor his fuel consumption. He originally looked into purchasing a Flowscan off the shelf, but they were just too expensive. In the interest of saving money, [Malebuffy] decided to build his own version of the product instead.
To begin, [Malebuffy] knew he would need a way to display the fuel data once it was collected. His boat’s console didn’t have much room though, and cutting holes into his recently purchased boat didn’t sound like the best idea. He decided he could just use his smart phone to display the data instead. With that in mind, [Malebuffy] decided to use Bluetooth to transmit the data from the fuel sensors to his smart phone.
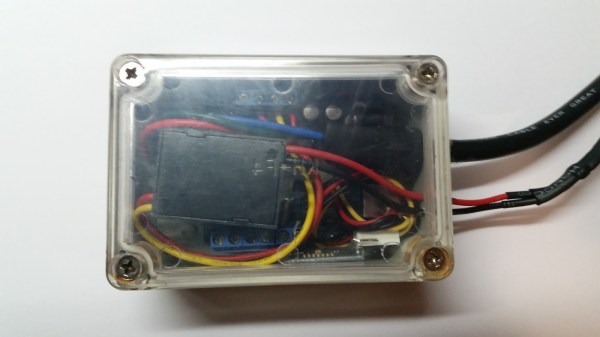
The system uses an older Arduino for the brain. The Arduino gets the fuel consumption readings from a Microstream OF05ZAT fuel flow sensor. The Arduino processes the data and then transmits it to a smart phone via a Bluetooth module. The whole circuit is powered from the boat battery using a DC adapter. The electronics are protected inside of a waterproof case.
[Malebuffy’s] custom Android apps are available for download from his website. He’s also made the Arduino code available in case any one wants to copy his design.