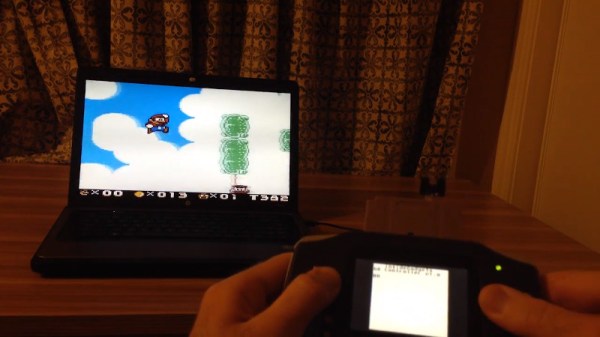
Like many retro favourites, the Game Boy is in no way dead — development continues apace through its many fans.But what about the hardware side? This is a particularly interesting one: [Alex] wondered if a Game Boy could be readily used as a wireless controller. Set out to make it happen, the final product is a game cartridge that makes the classic handheld a wireless controller.
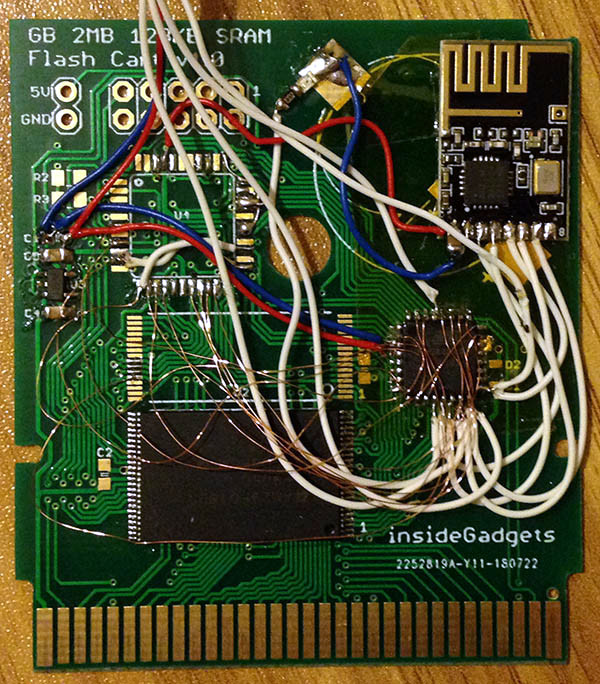 It’s achieved quite elegantly, with a custom cartridge used to turn the Game Boy into a controller while requiring no modification to the handheld. The cartridge contains a flash chip to store the ROM, along with an ATmega48PA microcontroller and an NRF24L01 to do the talking. Upon powerup, the Game Boy runs code from the ROM, and the microcontroller is in charge of reading button states and sending them to the NRF24L01 for transmission. The program stored on the ROM also allows configuration changes to be made from the Game Boy itself, such as choosing the appropriate wireless channel.
The cartridge transmitter can be used with a variety of receivers. [Andy] has developed a USB HID joystick emulator to allow the Game Boy to be used with PCs, as well as a receiver for the GameCube, too. Yes, that’s right — you can now play Super Smash Bros. with a weirder controller than all your friends. A Super Nintendo version is also in the works. Perhaps the coolest feature, however, is that the cart can use its radio link to communicate with another Game Boy running the same cartridge. [Andy] demonstrates this with a basic game of Pong being played between two Game Boy Advances.
Working on retro hardware can be great fun — things are well documented, parts are cheap, and there’ll be plenty of fans cheering you on, too. [Andy] has even made the hardware available for purchase on Tindie and his website if you’re not quite comfortable rolling your own.
The Game Boy platform remains ripe for hacking – you can even take screenshots with a logic analyzer these days. Video after the break.
Continue reading “Use Your Game Boy As A Wireless Controller”