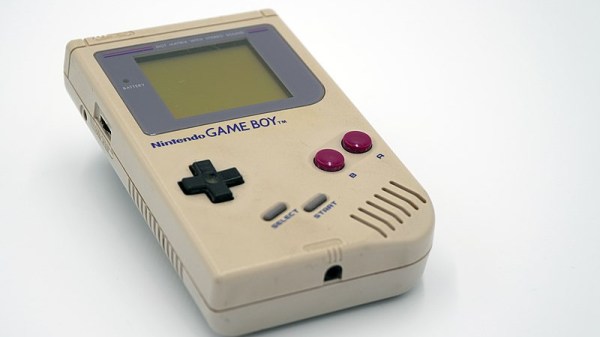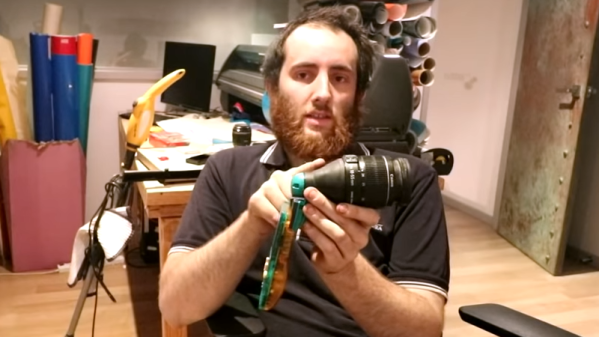
The Game Boy Camera was the first digital camera that many of us ever interacted with. At the time it was fairly groundbreaking to take pictures without film, even though the resolution was extremely low by modern standards, and it could only shoot two-bit color. It’s been long enough since its release that it’s starting to become a popular classic with all kinds of hacks and modifications, like this one which adds modern SLR camera lenses which lets it take pictures of the Moon.
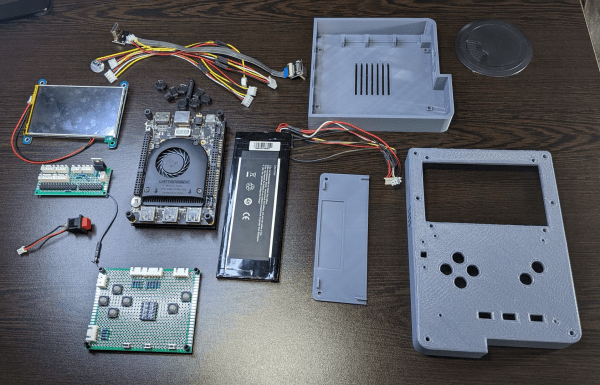
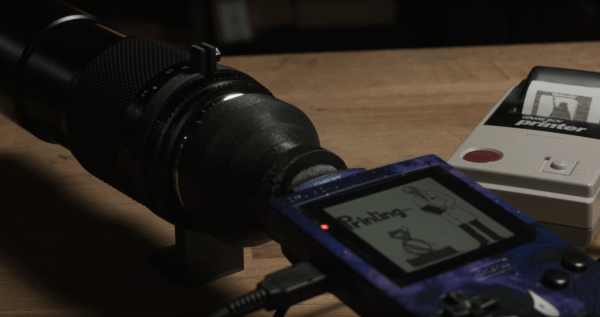
The limitations of the camera make for a fairly challenging build. Settings like exposure are automatic on the Game Boy Camera and can’t be changed, and the system only allows the user to change contrast and brightness. But the small sensor size means that astrophotography can be done with a lens that is also much smaller than a photographer would need with a modern DSLR. Once a mount was 3D printed to allow the lenses to be changed and a tripod mount was built, it was time to take some pictures of the moon.
Thanks to the interchangeability of the lenses with this build, the camera can also capture macro images as well. The build went into great detail on how to set all of this up, even going as far as giving tips for how to better 3D print interlocking threads, so it’s well worth a view. And, for other Game Boy Camera builds, take a look at this one which allows the platform to send its pictures over WiFi.