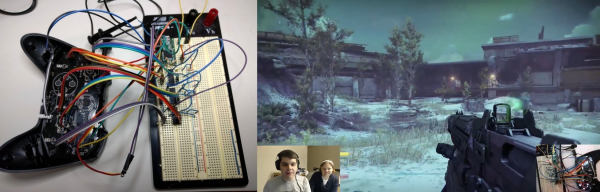
Despite all the progress video game graphics have made, it is safe to say that we won’t see any decline in oldschool 8-bit games any time soon. For some it’s about nostalgia, for others it’s just a great and simple-enough first step into game development itself. For [gocivici] it was a bit of both when he built this camcorder style, one-button gaming console.
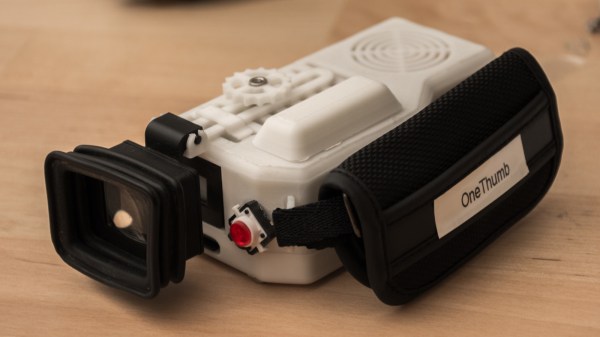
With a Raspberry Pi Zero running PICO-8 at its core, [gocivici] salvaged the viewfinder of an old camcorder for the display, and that way turned it into a whole other kind of handheld console. For full ergonomic handling, one single, thumb-operated push button serves as only control option. This of course makes it a bit challenging to re-use existing games that would require more input options, so he and some friends decided to just write a suitable game on their own with the hopes that others might follow.
Unfortunately we don’t see a lot of projects using these old camcorder viewfinders, and considering modern LCD and OLED options it’s not really that surprising, but there’s just something intriguing about these tiny CRTs. So in case you want to see more of them, have a look at this tiny Atari display, and the DIY night vision monocle from a few years back. And to keep your eyes safe and sound, [gocivici] got you covered as well.
Continue reading “Thumbs Up For This CRT Handheld Gaming Console”