Part of the problem with having an alarm system is its reliance on land line telephone service. Some of them are getting away from this practice, but there are still many legacy systems out there that require a check to be sent in to Ma Bell every month in addition to the alarm system fees. Like these antiquated systems, [jgyates] was having a similar problem with the generator at his home which could only be monitored with a link to a cell network. Now that there’s a Raspberry Pi in every house, however, [jgyates] has a generator monitor that isn’t beholden to the phone company.
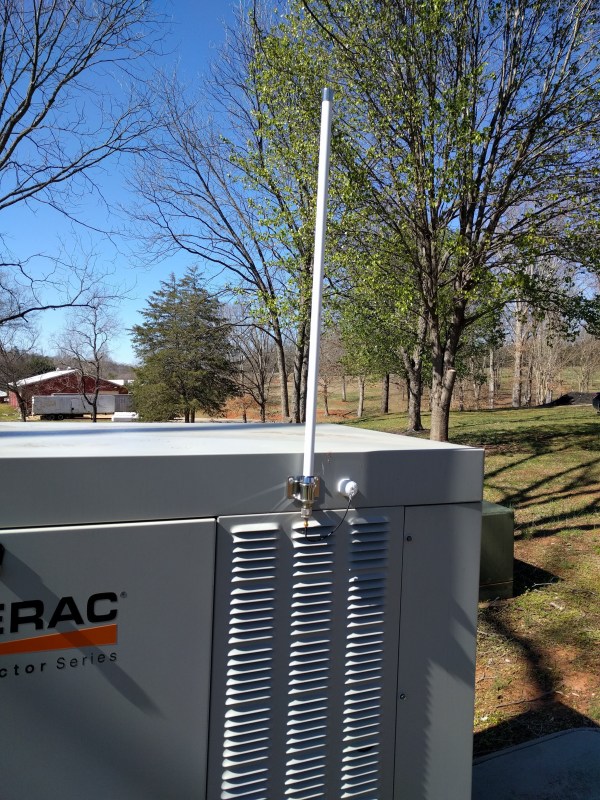
The hardware setup is little more than connecting the communications lines from the generator’s controller (in this case, a Generac Evolution controller) to the serial communications pins on a Raspberry Pi 3. [jgyates] did most of the work in Python, and his code is able to monitor almost every aspect of this generator and report it over WiFi or Ethernet, as well as control the generator settings from anywhere that has an Internet connection.
Even if you don’t have a generator with this particular controller, it will be a good guide for converting a monitor of any type into one that doesn’t require a land line or cell network connection. To that end, there have been lots of projects that convert even simple, old, analog household devices to report data over the LAN.