Saturn’s South Pole Is Apparently Decagon-Shaped

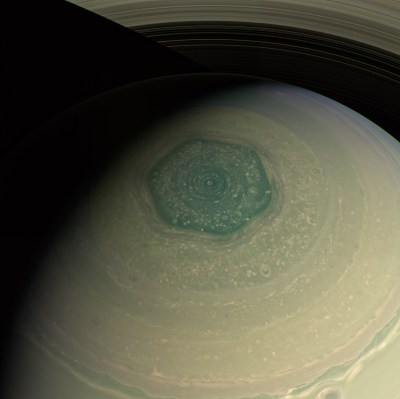
Saturn's north pole captured by Cassini in 2013. (Credit: NASA/JPL-Caltech/SSI/CICLOPS/Kevin M. Gill)
Saturn’s north pole captured by Cassini in 2013. (Credit: NASA/JPL-Caltech/SSI/CICLOPS/Kevin M. Gill)

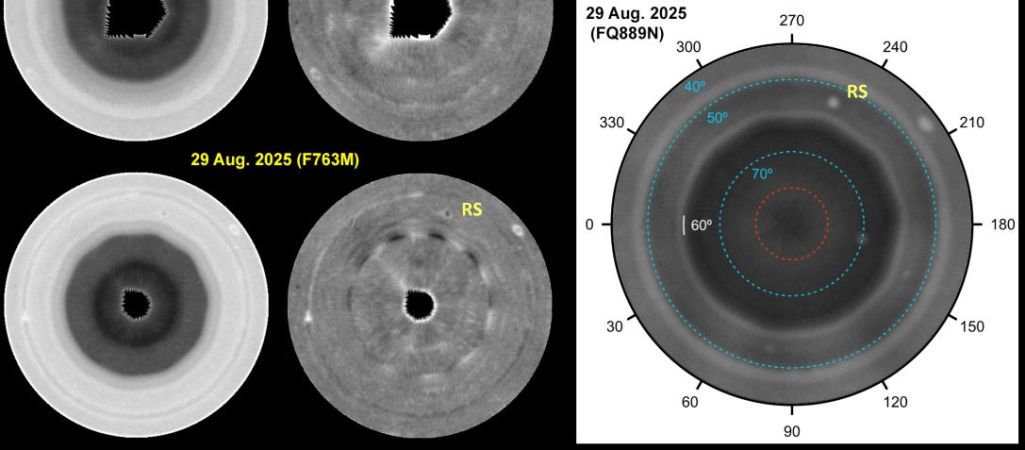
Although some would argue that the hexagon is the bestagon, astronomers have discovered that Saturn appears to favor the ten-sided decagon on its south pole. This comes as its south pole has recently been confirmed to show a pattern that’s oddly ten-sided, per a recent research article by [Agustín Sánchez-Lavega] et al. in Science Advances.

Because Saturn is a gas giant, this naturally isn’t some gigantic planet-sized rock formation, but rather an interesting wave phenomenon in this massive gas bubble. The hexagon shape on its north pole had been known about for a while already, so it is perhaps not too surprising to find something similar on its south pole.

These shapes are generally the result of standing waves within a polar vortex, through the interaction of waves in Saturn’s atmosphere. For the north pole hexagon, the formation is driven by an intense eastward jet, but no similar wave had been reported for the planet’s south pole.

While in this paper a decagon shape is identified based on multiple observations, they postulate that it’s due to a meandering wave in the area rather than a jet as at the other pole. This clearly doesn’t make this wave pattern as obvious as the one at the north pole, but it provides another fascinating insight into fluid dynamics scaled up to a planetary gas giant.
Hexagonal Lighting Brings A Touch Of Elegance To The Workshop

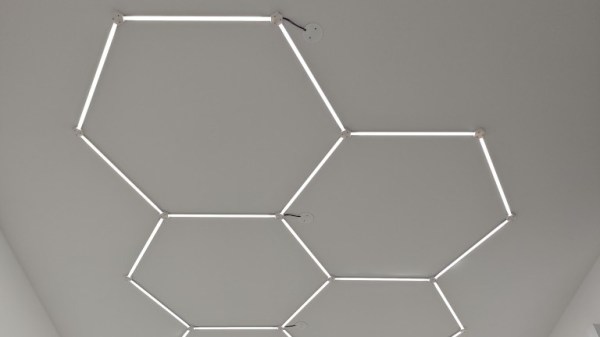
Sometimes, we’re faced with what should be simple household tasks that we choose to make more difficult. Sure, you could buy a clock, hang it on your wall, and move on with your day, or could spend a week or two building the perfect one. [Nejc Koncan] was in one such situation recently when he needed some new overhead lighting. He wanted hexagonal lights — and since none of the off-the-shelf solutions met his exacting requirements, he built his own.

Unlike most of the cycling RGB hexagonal lighting solutions available on the market, [Nejc] wanted elegant white outlines that he could control via HomeAssistant. After some careful design and quite a bit of trial-and-error, he ended up with a highly modular and very professional-looking installation. The hexagons are constructed from LED strips set into aluminum extrusions, with junction PCBs at each intersection. To complete the look, all of the strips and wiring are hidden by diffusers that slot into the extrusions — and of course, the whole thing is open source.

We see lots of lighting projects here at Hackaday, and even other hexagonal lights — but this might just be one of the most refined. Sometimes it’s worth the extra effort to build a totally over-engineered custom solution.

2024 Home Sweet Home Automation: [HEX]POD – Climate Tracker And Digital Nose

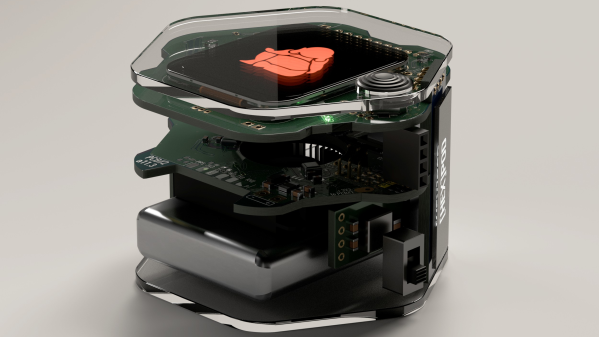
[eBender] was travelling India with friends, when one got sick. Unable to find a thermometer anywhere during COVID, they finally ended up in a hospital. After being evacuated back home, [eBender] hatched an idea to create a portable gadget featuring a few travel essentials: the ability to measure body temperature and heart rate, a power bank and an illumination source. The scope evolved quite a lot, with the concept being to create a learning platform for environmental multi-sensor fusion. The current cut-down development kit hosts just the air quality measurement components, but expansion from this base shouldn’t be too hard.

ML for Hackers: Fiddle with that Tensor Flow

This project’s execution is excellent, with a hexagon-shaped enclosure and PCBs stacked within. As everyone knows, hexagons are the bestagons. The platform currently hosts SCD41 and SGP41 sensors for air quality, a BME688 for gas detection, LTR-308 for ambient light and motion, and many temperature sensors.

On top sits a 1.69-inch IPS LCD, with an OLED display on the side for always-on visualization. The user interface is completed with a joystick and a couple of buttons. An internal blower fan is ducted around the sensor array to pull not-so-fresh air from outside for evaluation. Control is courtesy of an ESP32 module, with the gory details buried deep in the extensive project logs, which show sensors and other parts being swapped in and out.

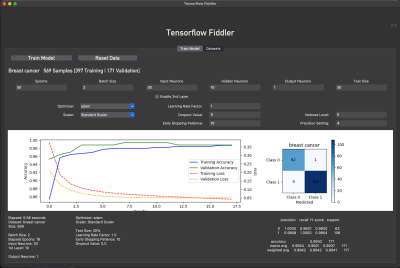
On the software side, some preliminary work is being done on training TensorFlow to learn the sensor fusion inputs. This is no simple task. Finally, we would have a complete package if [eBender] could source a hexagonal LCD to showcase that hexagon-orientated GUI. However, we doubt such a thing exists, which is a shame.

There are many air quality sensors on the market now, so we see a few hacks based on them, like this simple AQ sensor hub. Let’s not forget the importance of environmental CO2 detection; here’s something to get you started.

Build Your Own Nanoleaf-Like Hex Lights

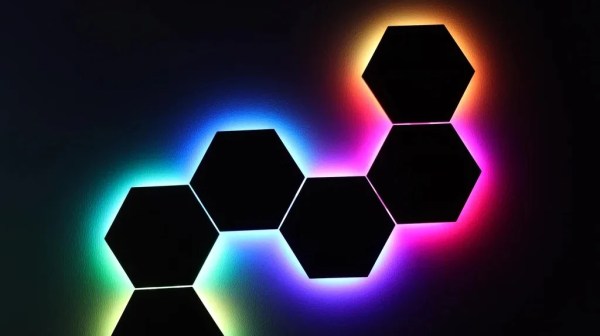
Nanoleaf makes a variety of beautiful LED lighting products, with their hexagon tiles particularly popular with gamers and streamers alike. However, they do come at a significant cost, particularly if you want to put together a larger display. [Giovanni Aggiustatutto] decided to build his own version from scratch, with a nice wooden finish to boot.

The benefit of the wooden design is that the panels look nice both when they’re switched on, and when they’re switched off. [Giovanni] selected attractive okumè plywood for the build, which is affordable and has a lovely grain. The hexagons were then fitted on their back side with strips of WS2812B LEDs. The first hexagon is fitted with an ESP32 that runs the lights, with the other hexagons having their LEDs daisychained from there. 3D printed frames were then fitted to each hexagon to allow them to be connected together into a larger wall-hanging piece.

Ultimately, building your own wall lights lets you customize them to operate exactly as you want, and often lets you save a lot of money, too. We’ve featured other similar builds before, too. Video after the break.

Continue reading “Build Your Own Nanoleaf-Like Hex Lights”

Voidstar’s Vitals, Visualized For Video

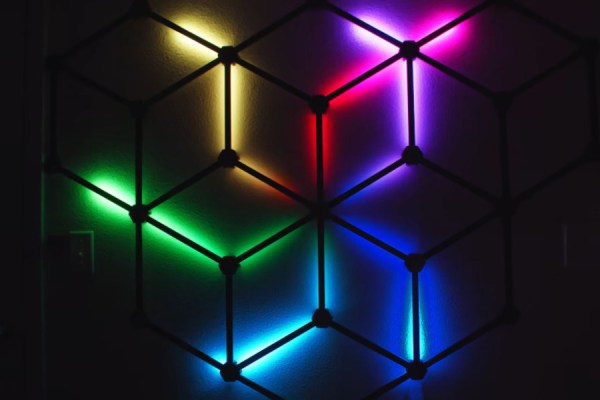
Great news for fans of [Voidstar Labs] — [Zack] is going to be streaming future builds live on YouTube instead of trying to keep up with a grueling and limiting schedule of releasing a build video every week. The only problem is that the wall behind him is totally blank and boring, which matters quite a bit for pretty much any streamer that doesn’t broadcast from a hot tub. Well, not anymore! Now the wall has twenty square feet of rainbow hexagons, because blinkenlights.

But these aren’t just any blinkenlights. They’re informative. They dance to the beat of [Zack]’s bio-metrics, or in other words, they are visualizing how sweaty and anxious [Zack] may be at a given moment, and turning that information into art.

At the heart of this build is a brand-new bio-metric board called the EmotiBit which boasts sixteen sensors in a small package, including a pulse oximeter. The EmotiBit sends vitals to [Zack]’s PC, which is running an oscilloscope app to interpret the signals. Then they are sent over Open Sound Control to an ESP32, which runs the light show.

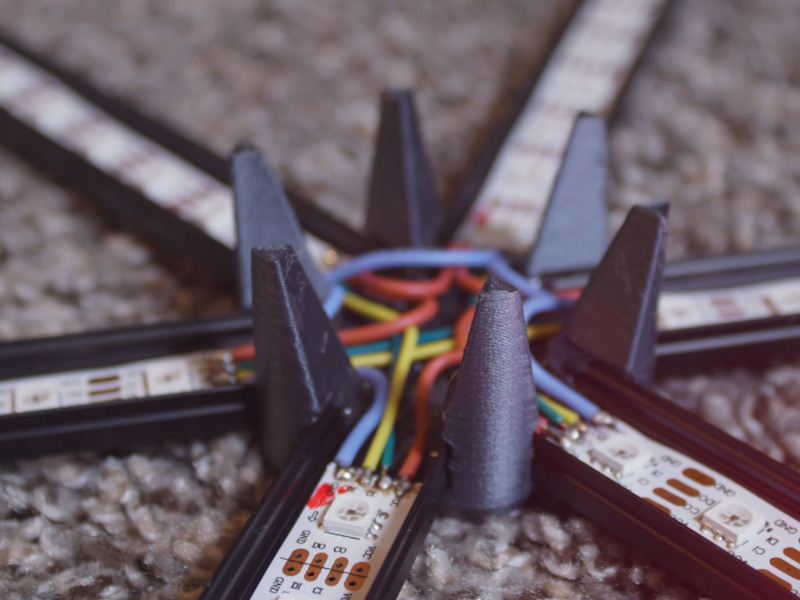
Like [Zack] says in the video after the break, this isn’t a terribly difficult project, but the construction takes time. [Zack] used aluminum extrusion meant for under-cabinet lighting and ran forty strips of fourteen DotStar LEDs each. The nodes are printed in carbon-fiber PLA and hold the lights away from the wall so it looks cooler. Worried about the current draw? It’s okay, because the brightness and number of lit LEDs at any one time is limited. Add in the fact that none of the LEDs are ever turned off — they fade by one percent each loop — and you have some really cool animations. Check them out after the break.

Want some localized blinkenlights to wear about town? Wear your heart on your sleeve and show them how hard you’re crushing the elliptical at the gym.

Continue reading “Voidstar’s Vitals, Visualized For Video”

Hex Matrix Clock Does It With Six Sides

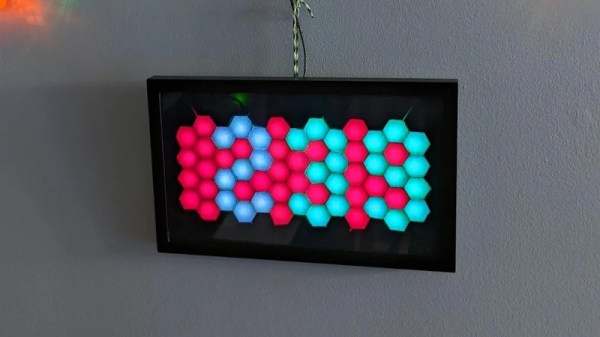
LED matrixes were once a total headache, requiring careful consideration to make the most of limited I/O pins and available microcontroller resources. These days, addressable LED strings have made it all a cinch. Thus, going a little out of the box isn’t so daunting. [w.r.simpson] did just that with this hex-matrix clock.

Relying on hexes instead of a normal Cartesian grid requires some attention to how the rows and columns are laid out, but the Instructable goes through the necessary coordinate system to address the display. The whole display was built without a 3D printer, instead relying on some basic craft skills and a picture frame as the enclosure. Strips of WS2812B LEDs were used to build the hexagonal matrix, run by a Adafruit Metro Mini 328. To give each hexagonal pixel, or hexel, a crisp outline, a shadow grid was built using black paper to stop the light bleeding between the display segments when switched on. Smoked plexiglas wasn’t available, so instead, tinted window film was used to darken the front of the display.

The result is impressive; while some glue marks from the shadow grid are visible closeup, from a distance the final product looks incredibly futuristic thanks to the hexagonal layout. We can imagine this would make a great set dressing in a futuristic film clip; we fully expect to see this concept in the background of the next Ariana Grande single. If this build isn’t enough six-sided fun to sate your appetite, consider getting into Super Hexagon too!

A Boring Tale With Six Sides

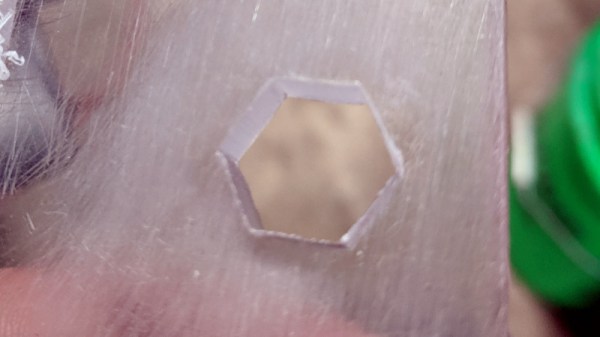
Making a hole in a piece of material is a straightforward process, after all most of us will have some form of drill. If we need a hole that isn’t round though, after the inevitable joke about bad drill control leading to oval holes, what do we do? Get busy with a file perhaps? Or shell out for a shaped punch?  [Skunkworks] has taken a different tack, using LinuxCNC and a vertical mill to machine near-perfect hexagonal and other polygonal holes.

The tool path appears to be more star-shaped than polygon shaped, the reason for which becomes apparent on watching the videos below the break as the rotation of the tool puts its cutting edge in a polygonal path. Anyone who has laboured with a file on a round hole in the past will be impressed with this piece of work.

The latest in the saga takes the work from simple hexes into other shapes like stars, and even tapered polygonal holes. These in particular would be a significantly difficult task by other means, so we look forward to what other developments come from this direction.

Continue reading “A Boring Tale With Six Sides”