Last month we brought word of the IKEA VINDRIKTNING, a $12 USD air quality sensor that could easily be upgraded to log data over the network with the addition of an ESP8266. It only took a couple of wires soldered to the original PCB, and since there was so much free space inside the enclosure, you didn’t even have to worry about fitting the parasitic microcontroller; just tape it to the inside of the case and button it back up.
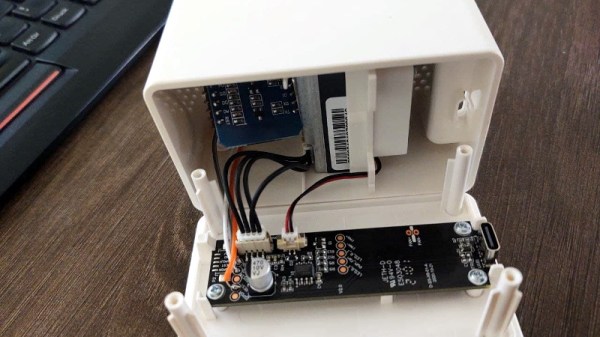
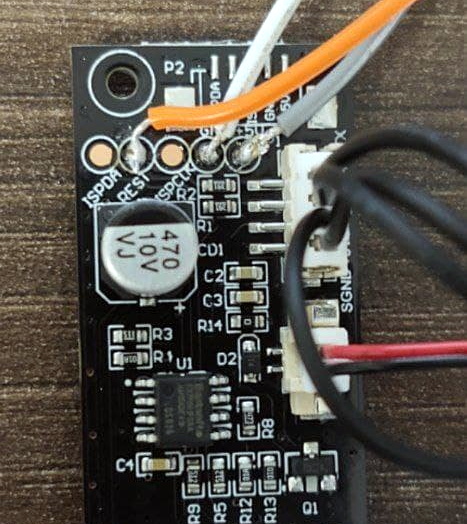
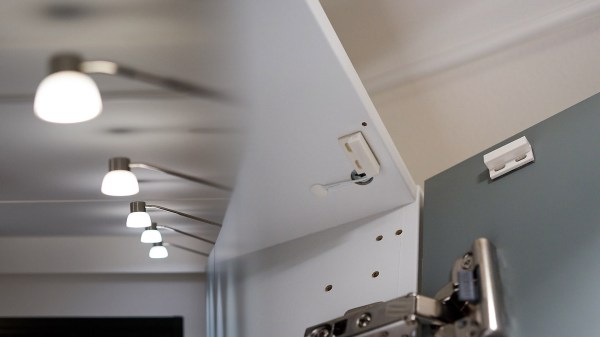
Now we’ve got nothing against the quick and dirty method around these parts, but if you’re looking for a slightly more tidy VINDRIKTNING modification, then check out this custom PCB designed by [lond]. This ESP-12F board features a AP2202 voltage regulator, Molex PicoBlade connectors, and a clever design that lets it slip right into a free area inside the sensor’s case. The project description says the finished product looks like it was installed from the factory, and we’re inclined to agree.
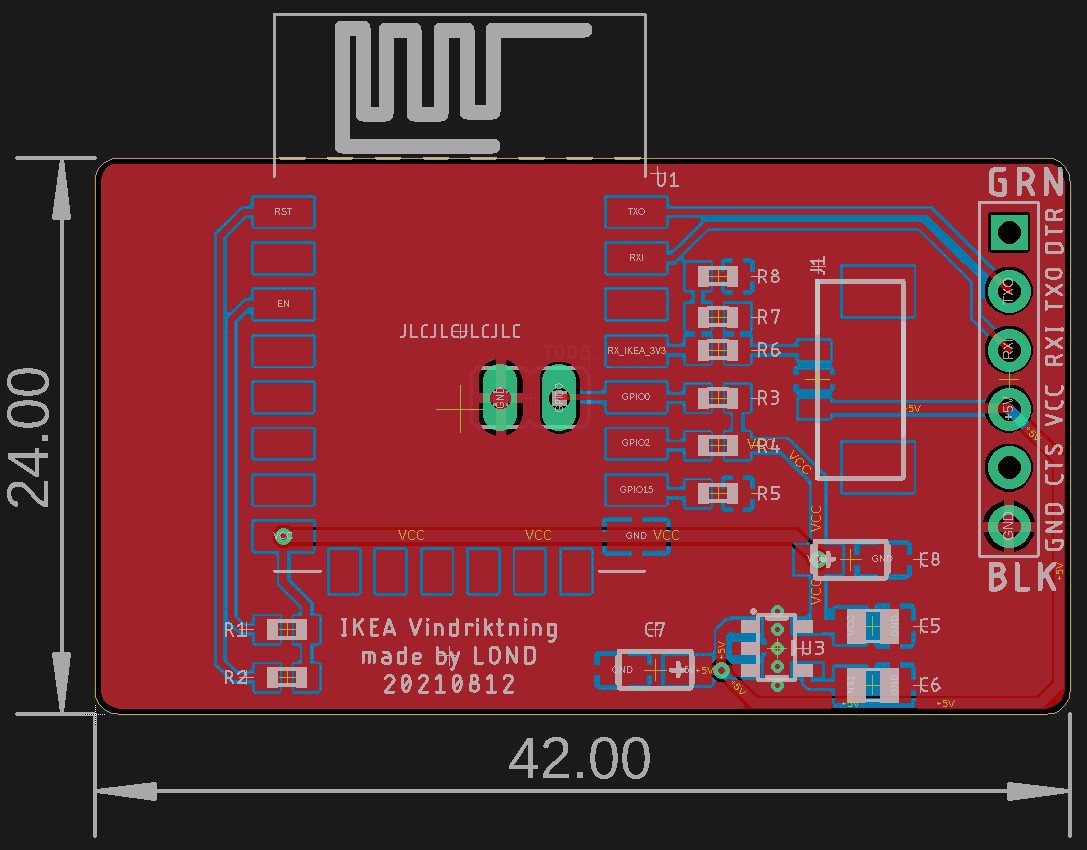 Nothing has changed on the software side, in fact, the ESP-12F gets flashed with the same firmware [Sören Beye] wrote for the Wemos D1 Mini used in his original modification. That said [lond] designed the circuit so the MCU can be easily reprogrammed with an FTDI cable, so just because you’re leaving the development board behind doesn’t mean you can’t continue to experiment with different firmware builds.
It’s always gratifying to see this kind of community development, whether or not it was intentionally organized. [lond] saw an interesting idea, found a way to improve its execution, and released the result out into the wild for others to benefit from. It wouldn’t be much of a stretch to say that this is exactly the kind of thing Hackaday is here to promote and facilitate, so if you ever find yourself inspired to take on a project by something you saw on these pages, be sure to drop us a line.