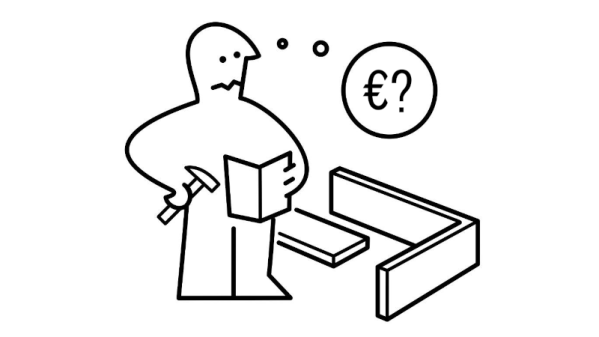
There’s an old joke that the CEO of IKEA is running to be Prime Minister of Sweden. He says he’ll be able to put together his cabinet in no time. We don’t speak Swedish, but [Adam Miklosi] tells us that the word “uppgradera” means “upgrade” in Swedish. His website, uppgradera.co has several IKEA upgrade designs you can 3D print.
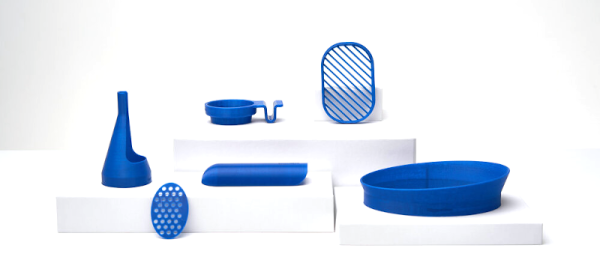
There are currently six designs that all appear to be simple prints that have some real value. These are all meant to attach to some IKEA product and solve some consumer problem.
For example, the KL01 is a cup holder with a clip that snaps into the groove of a KLIPSK bed tray. Without it, apparently, your coffee mug will tend to slide around the surface of the tray. The CH01 adds a ring around a cheese grater. There are drains for a soap dish and a toothbrush holder, shoulder pads for coat hangers, and a lampshade.
We worry a little about the safety of the cheese grater and the toothbrush because you will presumably put the cheese and the toothbrush into your mouth. Food safe 3D printing is not trivial. However, the other ones look handy enough, and we know a lot of people feel that PLA is safe enough for things that don’t make a lot of contact with food.
Honestly, none of these are going to change your life, but they are great examples of how simple things you can 3D print can make products better. People new to 3D printing often seem to have unrealistic expectations about what they can print and are disappointed that they can’t easily print a complete robot or whatever. However, these examples show that even simple designs that are easily printed can be quite useful.
If you don’t have a printer, it looks like as though site will also sell you the pieces and they aren’t terribly expensive. We don’t know why IKEA invites so many hacks, but even they provide 3D printer files to improve the accessibility of some products.