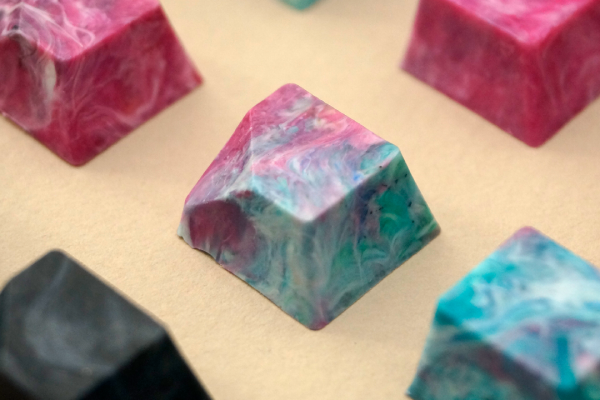
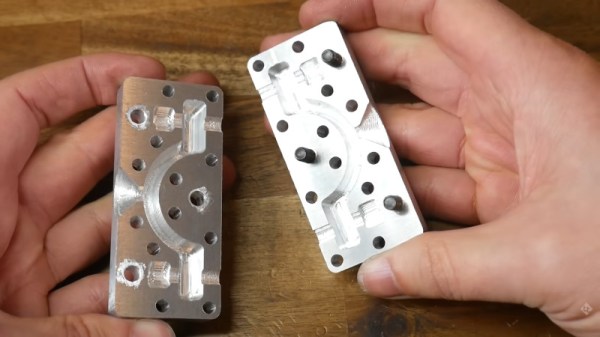
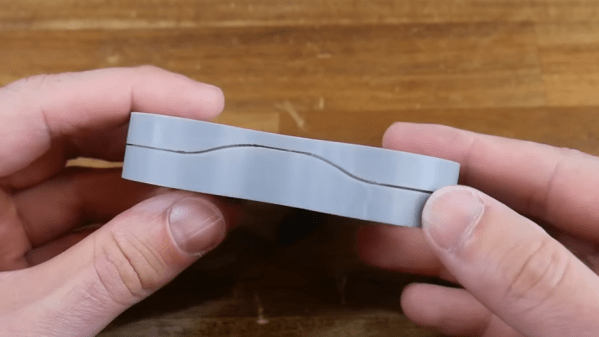
Recently [Stefan] of CNC Kitchen took a gander at using his gaggle of 3D printers to try injection molding (IM). Although the IM process generally requires metal molds and specialized machinery, 3D printers can be used for low-volume IM runs which is enough for limited production runs and prototyping before committing to producing expensive IM molds. In the case of [Stefan], he followed Form Labs’ guidance to produce molds from glass-infused Rigid 10K resin (heat deflection temperature of 218 °C). These molds are very rigid, as the ceramic-like noise when [Stefan] taps two together attests to.
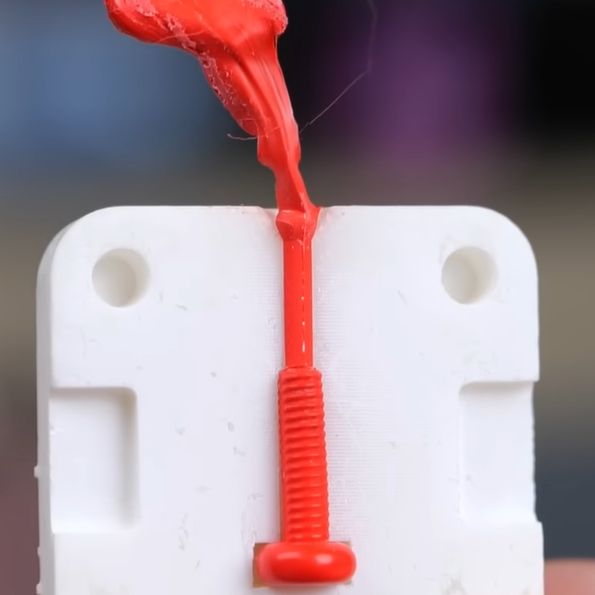
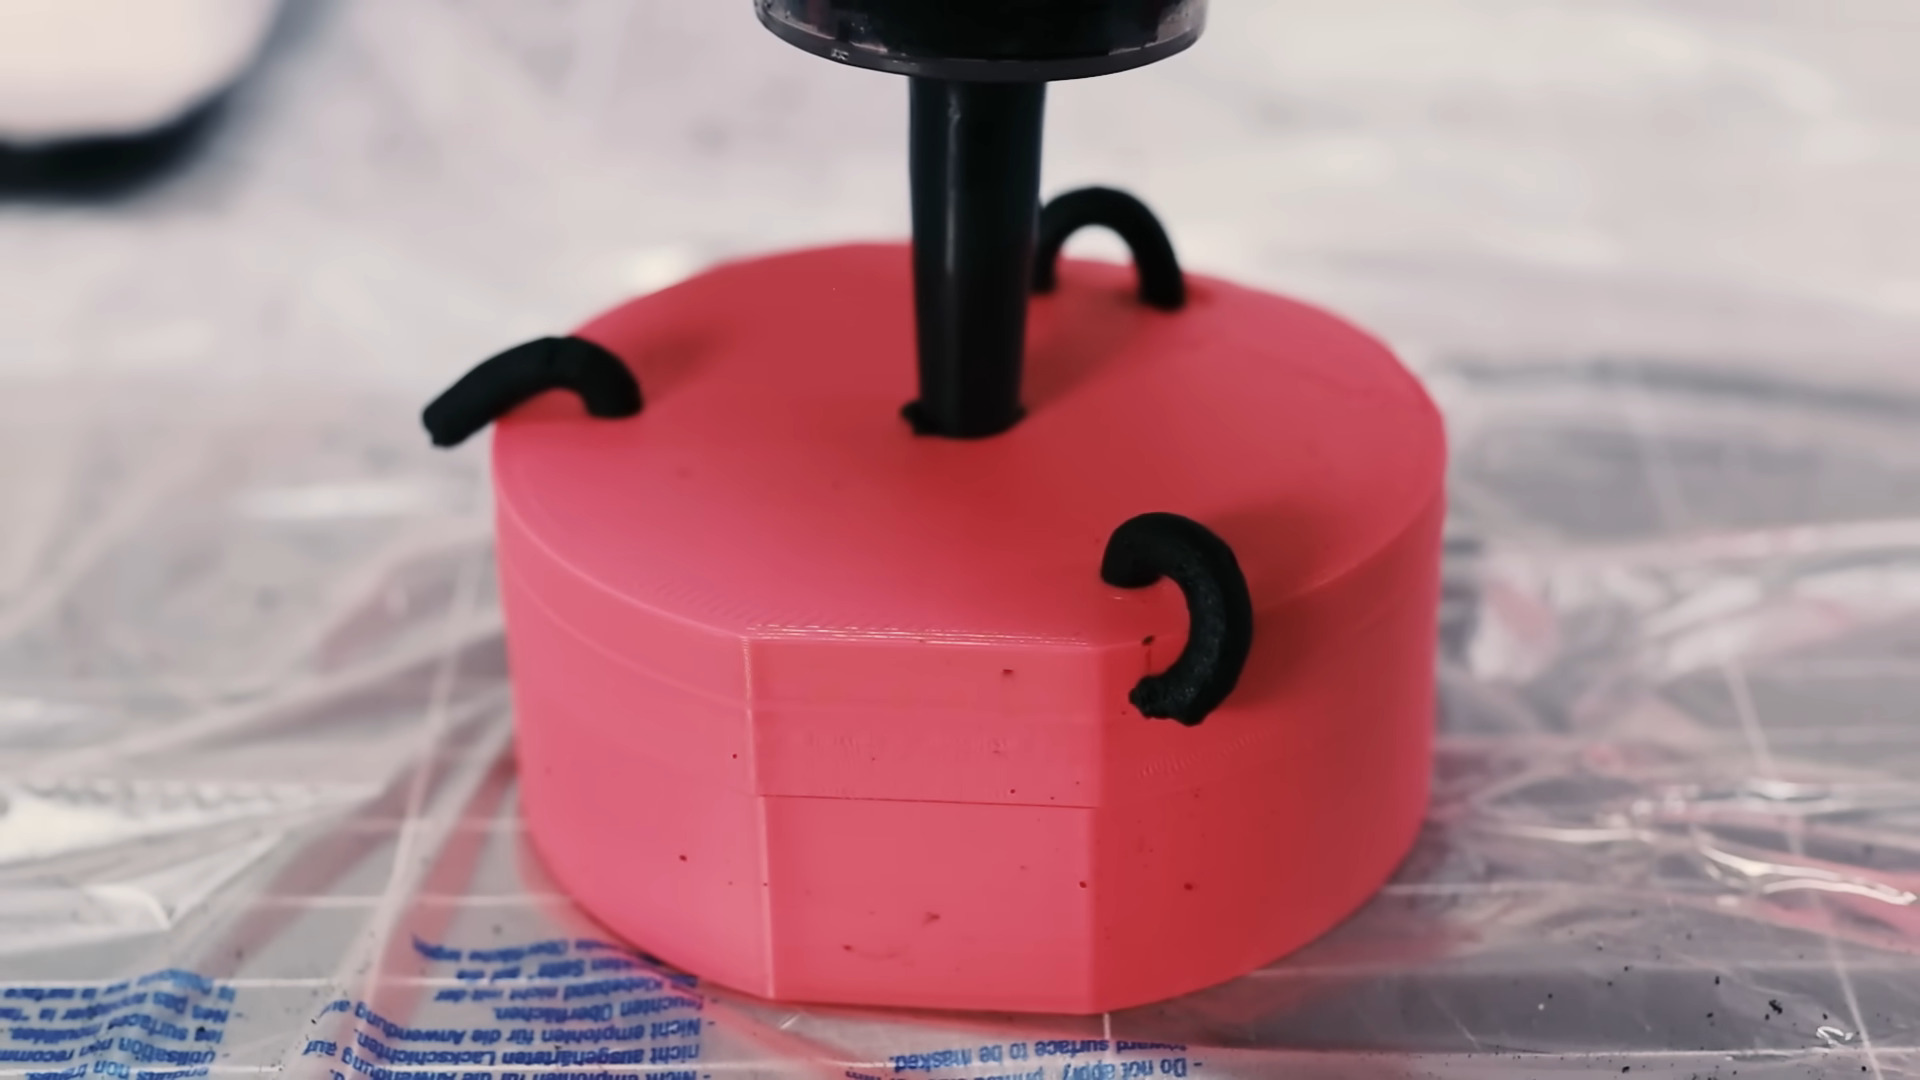
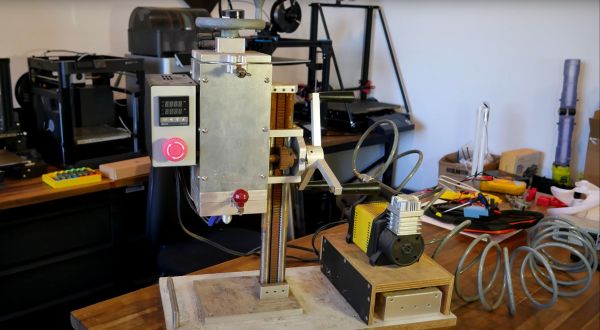
The actual injection process is where things get more hairy for [Stefan], as he attempts to push the clamped-shut mold against the nozzle of the FDM printer to inject the molten plastic, rather than using an IM press. With PLA at standard extrusion temperature the plastic barely gets into the mold before solidifying, however. Following this, higher temperatures, different materials (PETG, TPU) and high flow-rate extruders are attempted, with varying results.
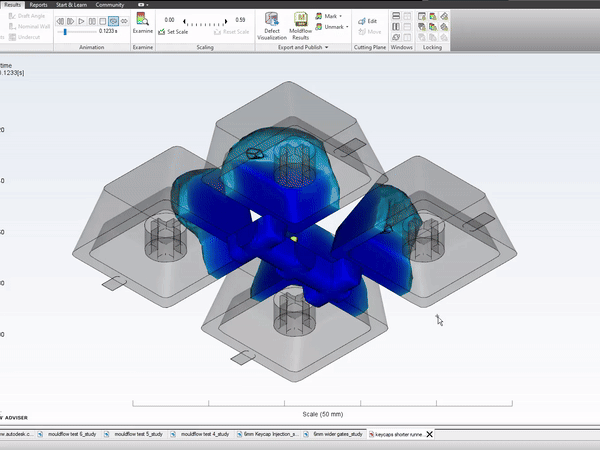
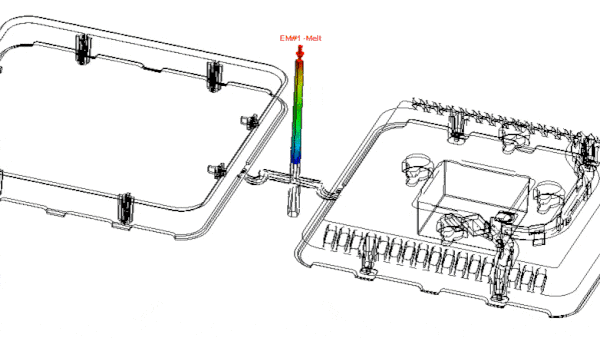
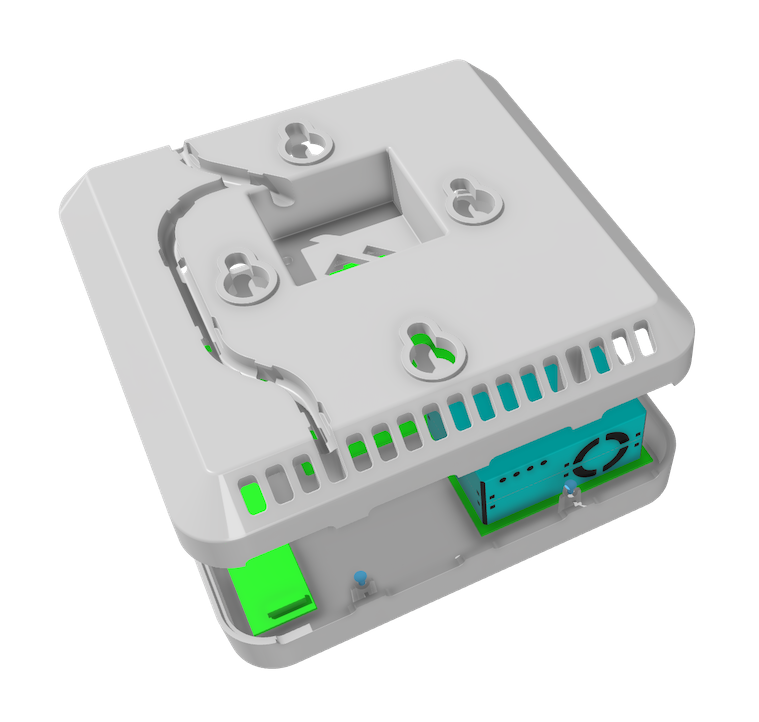
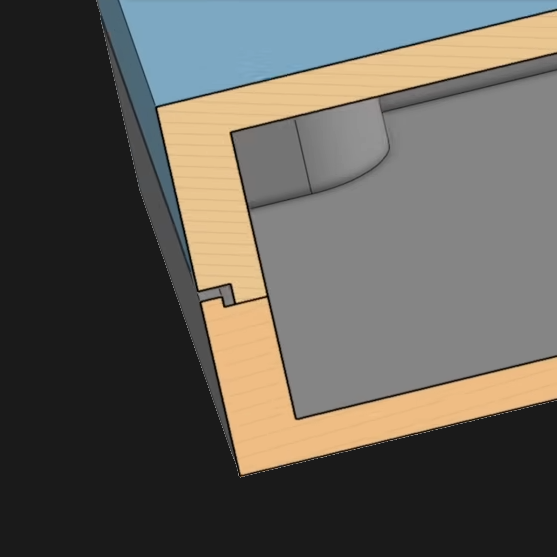
Many of the struggles would seem to be due to poor mold design, rather than fundamental issues with using an FDM. The Form Labs document details some of the basics, such as opening up the injection gate (to decrease pressure inside the mold), adding air vents to improve flow and so on. Commentators to the video with professional experience point out many of these issues as well, along with the benefits of preheating the mold.
With the caveat that most of the challenge is in making a good mold, we’ve even injection molding done with nothing more exotic than a hot glue gun. If you’ve got a friend, or a long enough lever, you can even inject the plastic by hand.