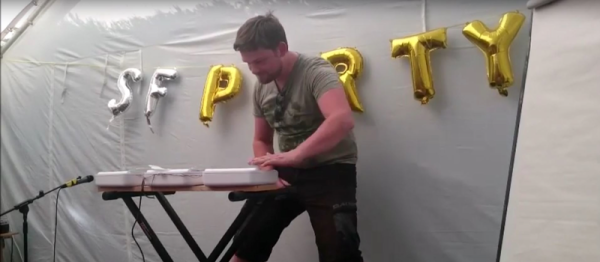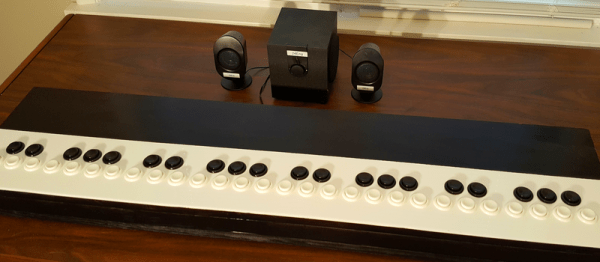
There will be no delicate solos for [24 Hour Engineer’s] Tough Pi-ano. It was built to soak punishment from aggressive youngsters in musical therapy, specifically those on the autism spectrum and those with Down’s syndrome. The Tough Pi-ano will be bolted to a wall with heavy-duty shelf brackets so it can’t fall on anyone. The keyboard is covered in plastic and it doesn’t have any exposed metal so there will be no splinters.
[24 Hour Engineer] made a short video demonstration and if you listen closely, he has a pun in all but one sentence. We love that kind of easter egg in YouTube videos. Check it out after the break.
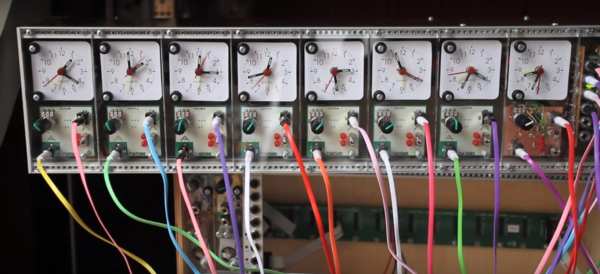
Inside the 48-key instrument are four Raspberry Pi Zeros where each Pi controls one octave. The redundancy ensures that a hardware failure only drops out a single octave and the kids can keep playing until replacement parts arrive. Each Pi has identical programming and a thumbwheel switch tells it which octave it will be emulating.
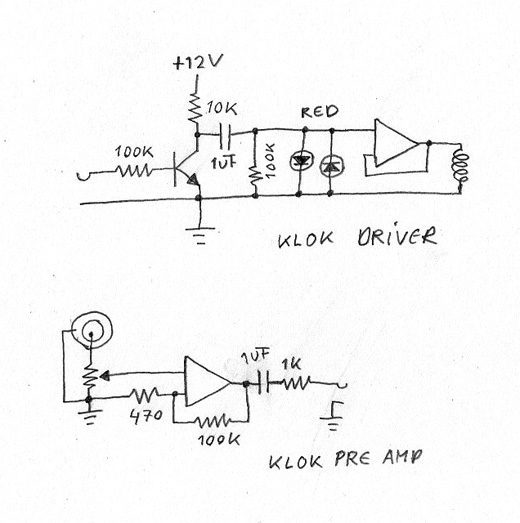
Programming was done with Python and Pygame and all the inputs are run to a homemade “hat” where the wires are soldered. Pygame’s sole responsibility is to monitor the GPIO and then play the appropriate note when a button is pressed, slapped, punched or sat upon.
Similar in name, the Touch Piano has no moving parts or perhaps you would rather use your Raspberry Pi in an upright piano.