It happens to pretty much everyone who gets into keyboards. No commercial keyboard can meet all your needs, so you start building them. Use them a while, find problems, build a new keyboard to address them. Pretty soon you think you have enough user experience to design the perfect keeb — the be-all, end-all magnum opus clacker you can take to the grave. This time, it happened to [aydenvis]. We must say, the result is quite nice. But will it still be perfect in six months?
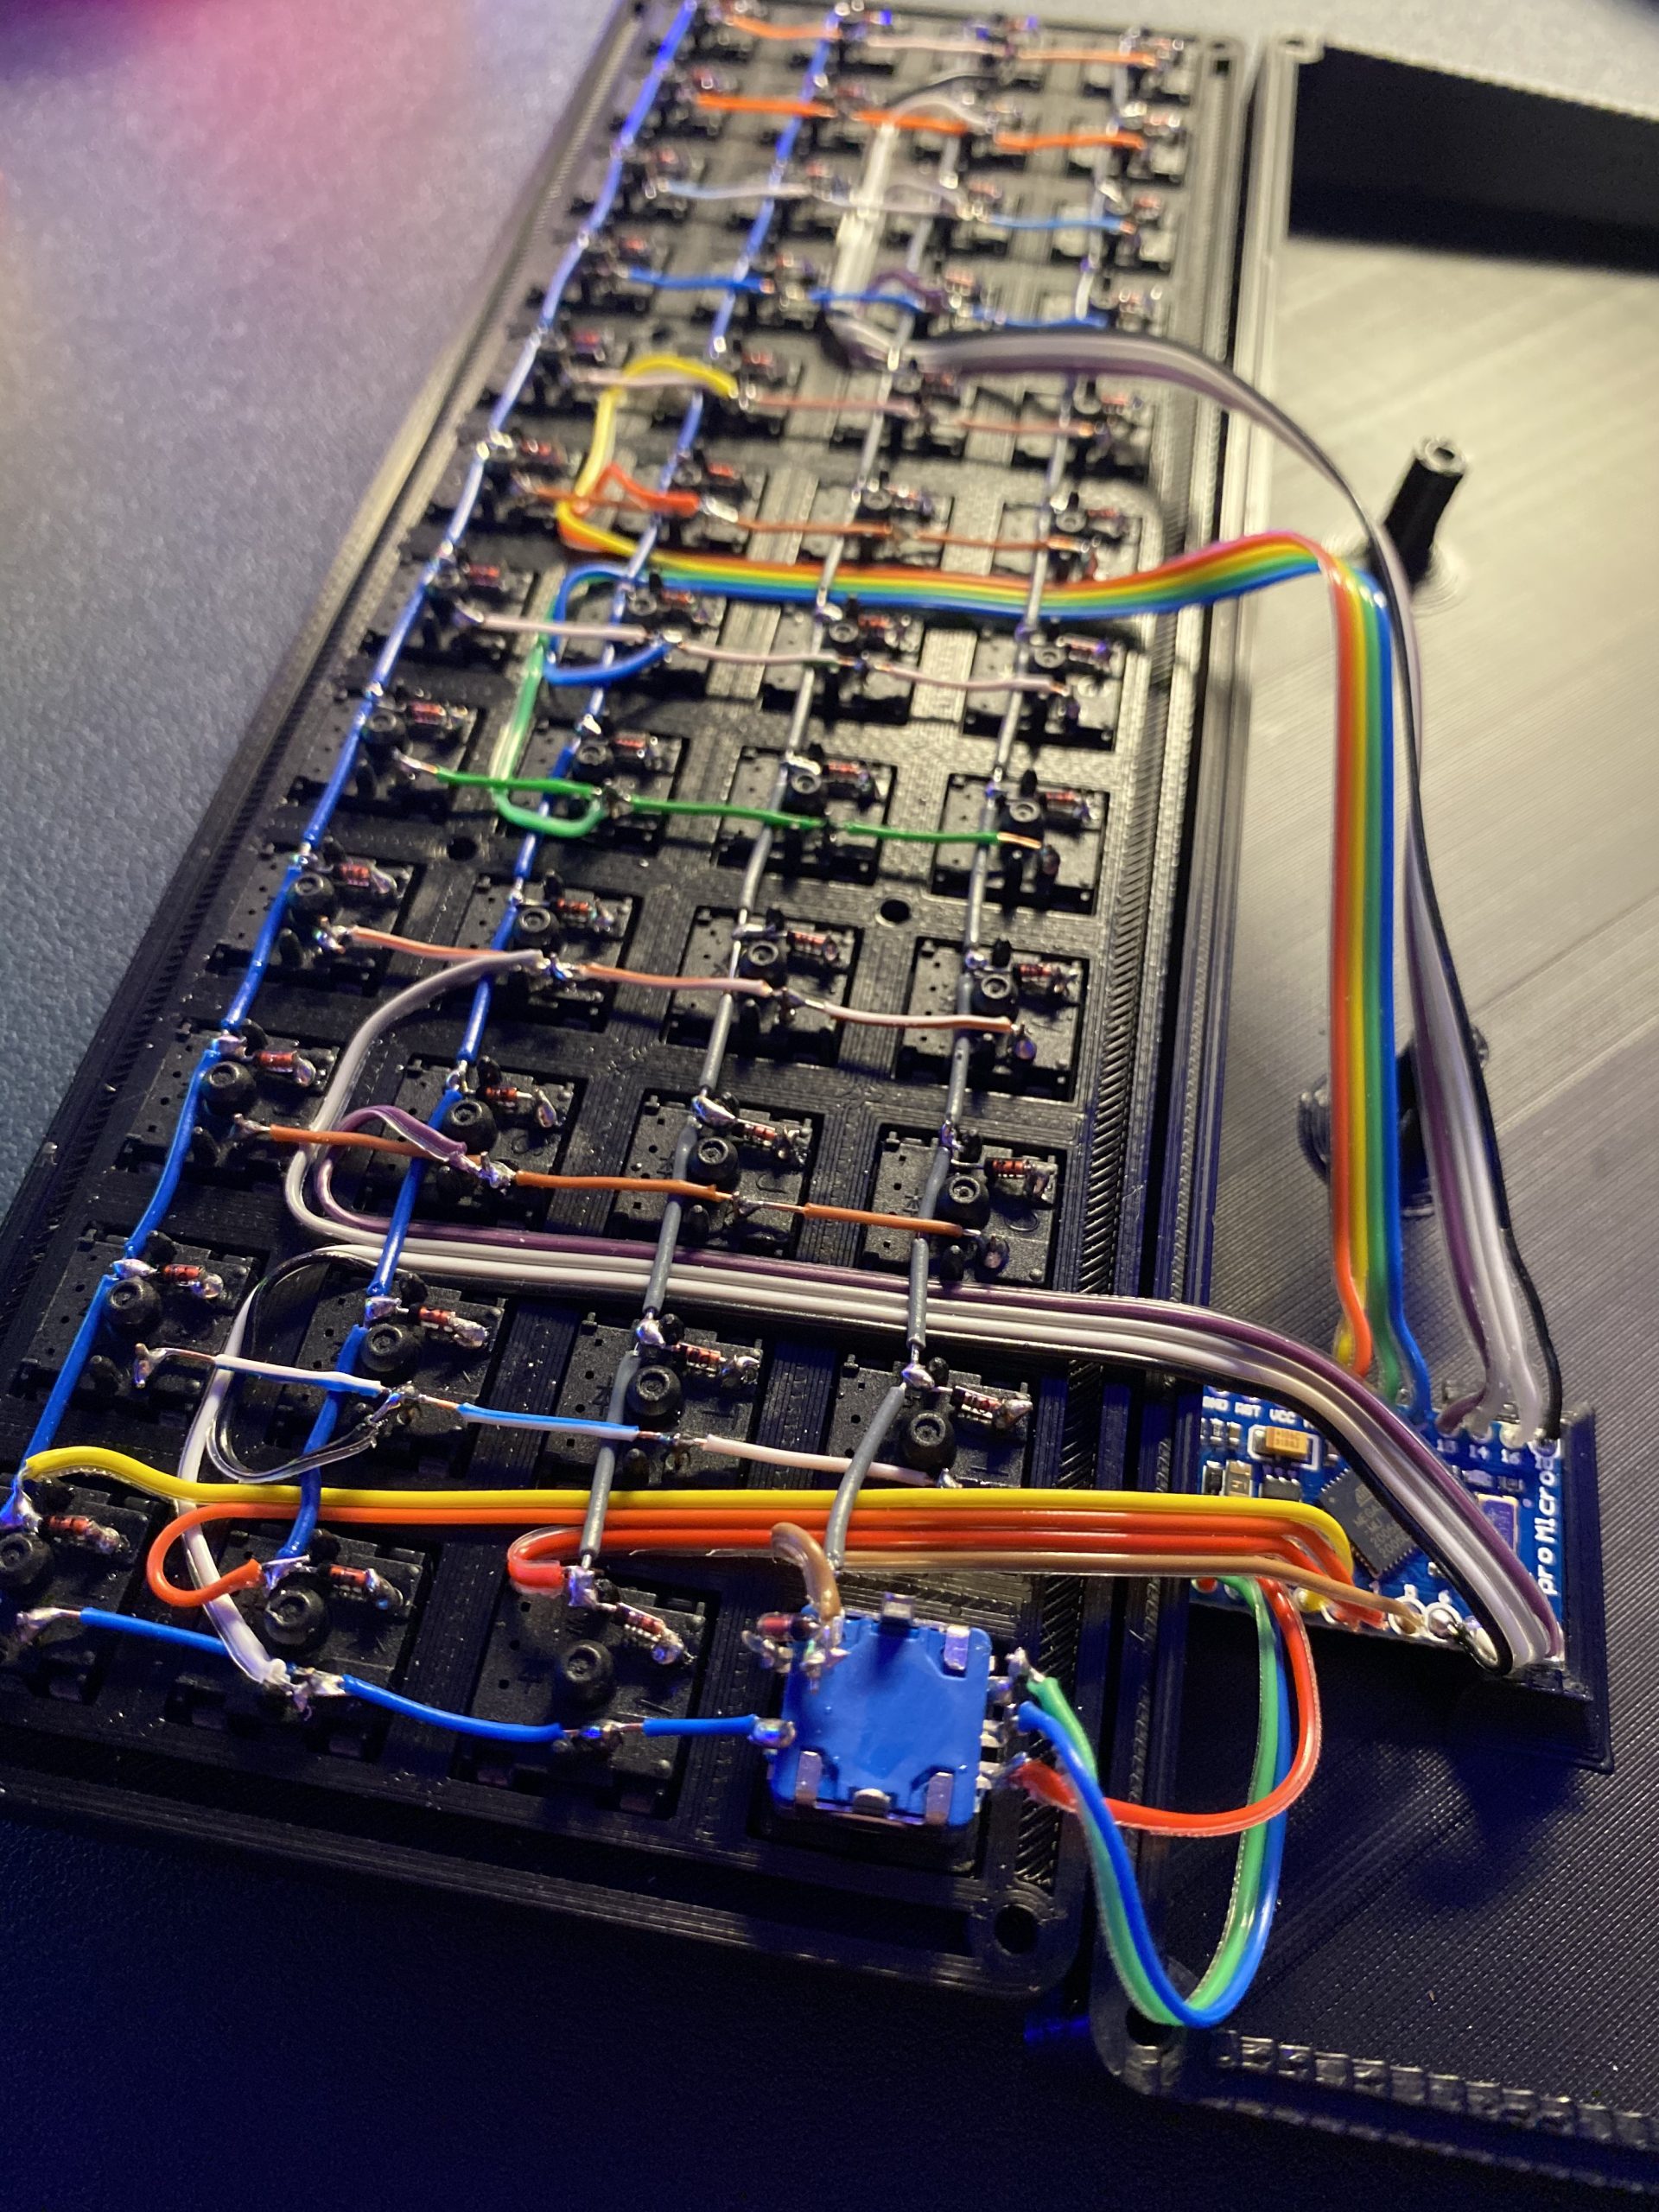
As you might expect, this board uses an Arduino Pro Micro. We can’t say for sure, but it looks like [aydenvis] created a socket with a second Pro Micro board populated only with female header. That’s definitely a cool idea in case the board fails. It also has two rotary encoders and a pair of toggle switches to switch controller and secondary designations between the PCBs.
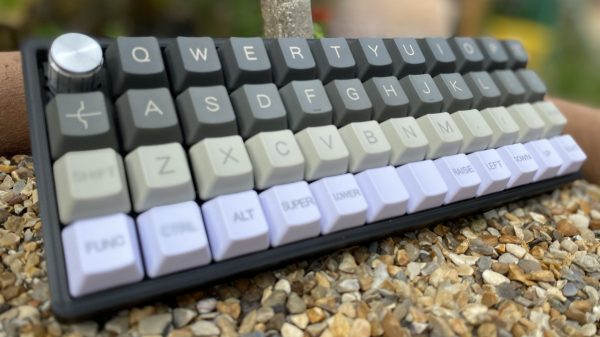
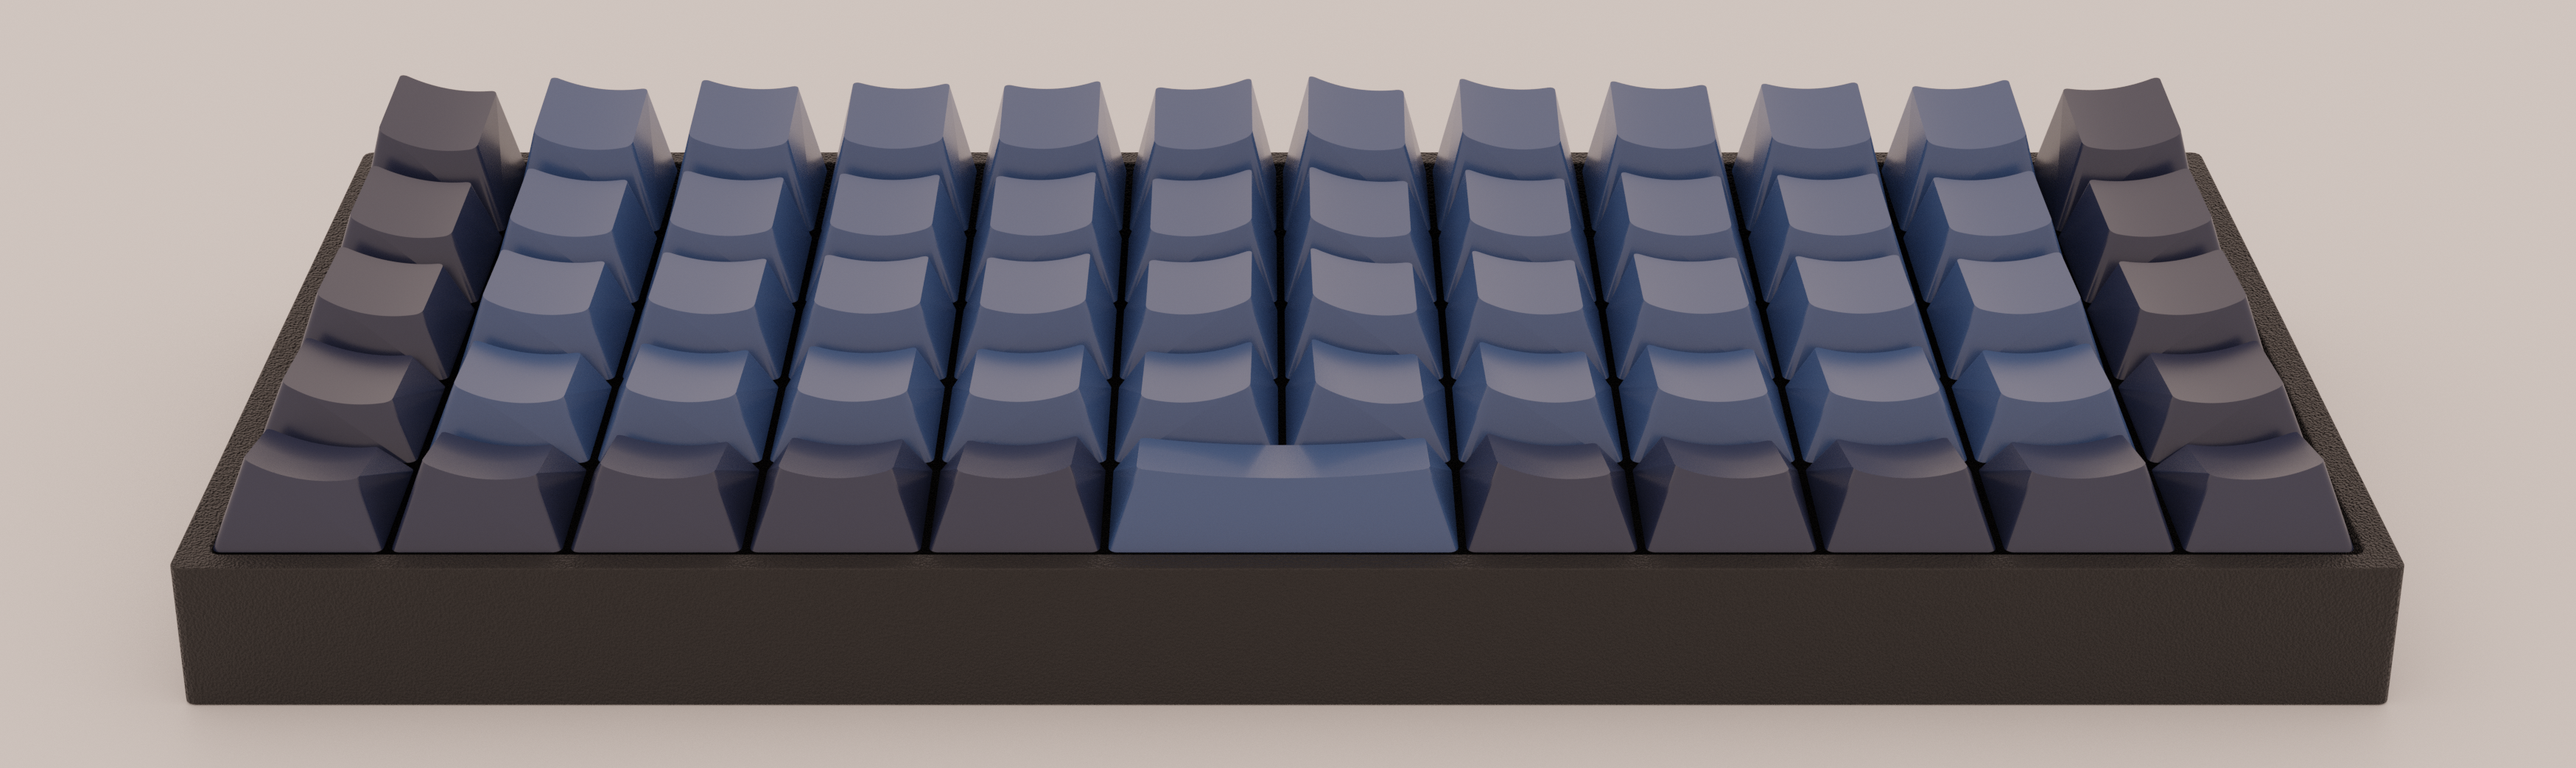
We like the philosophy at play in this 36-key ‘board that states that prime ergonomics come when each finger must only travel one key distance from the home row. This of course requires programming layers of functionality into the firmware, which is easy enough to set up, but can be tricky to memorize. One thing that will help is the color-coded RGB underglow, which we’re going to call sandwich glow because it is emanating from the middle of a stacked pair of PCBs floating on 7 mm standoffs. We only wish we could hear how loudly those jade Kailh choc switches can clack. The board files are up on GitHub, so we may just have to make our own.
Indeed, many keebs we see use a Pro Micro or two, but here’s a tasty split that runs on a Raspberry Pi Zero W.
Via reddit