Digital Expression Via Harmonica

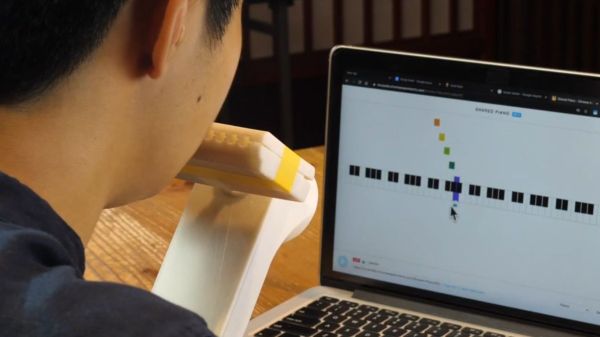
There is a good chance you clicked on this article with a mouse, trackball, trackpad, or tapped with your finger. Our hands are how most of us interact with the digital world, but that isn’t an option for everyone, and [Shu Takahashi] wants to give them a new outlet to express themselves. Some folks who cannot use their hands will be able to use the Magpie MIDI, which acts as a keyboard, mouse, MIDI device, and eventually, a game controller. This universal Human Interface Device (HID) differs from a mouth-operated joystick because it has air pressure sensors instead of buttons. The sensors can recognize the difference between exhalation and inhalation, so the thirteen ports can be neutral, positive, or negative, which is like having twenty-six discrete buttons.

The harmonica mounts on an analog X-Y joystick to move a mouse pointer or manipulate MIDI sound like a whammy bar. [Shu] knows that a standard harmonica has ten ports, but he picked thirteen because all twenty-six letters are accessible by a puff or sip in keyboard mode. The inputs outnumber the Arduino Leonardo’s analog inputs, so there is a multiplexor to read all of them. There was not enough time to get an Arduino with enough native ports, like a Teensy, with HID support baked in. Most of the structure is 3D printed, so parts will be replaceable and maybe even customizable.

Even with two working hands, we like to exercise different hardware, but the harmonica is a nifty tool to have attached to your computer.

Continue reading “Digital Expression Via Harmonica”

Peripheral Doesn’t Need Deskspace

Some of us are suckers for new hardware. There’s absolutely nothing shameful about a drawer overflowing with gamepads, roll-up keyboards, and those funny-shaped ergonomic mice. MyTeleTouch won’t sate your itch for new hardware because [Dimitar Danailov] didn’t design hardware you hold, because it uses your phone as a catch-all Human Interface Device, HID. A dongle plugs into a standard USB port, and your Android phone can emulate a USB keyboard, mouse, or gamepad over Bluetooth.

Chances are high that you already set up your primary computer with your favorite hardware, but we think we’ve found a practical slant for a minimalist accessory. Remember the last time you booted an obsolete Windows desktop and dug out an old mouse with a questionable USB plug? How long have you poked around the bottom of a moving box trying to find a proprietary wireless keyboard dongle, when you just wanted to type a password on your smart TV? What about RetroPi and a game controller? MyTeleTouch isn’t going to transform your daily experience, but it’ll be there when you don’t want to carry a full-size keyboard down three flights of stairs to press {ENTER} on a machine that spontaneously forgot it has a touch screen. If you don’t have opportunities to play the hero very often, you can choose to play the villain. Hide this in a coworker’s USB port, and while they think you’re sending a text message, you could be fiddling with their cursor.

We enjoy a good prank that everyone can laugh off, and we love little keyboards and this one raises the (space) bar.

Continue reading “Peripheral Doesn’t Need Deskspace”

40% Keyboard Build Is 100% Open Source

[Blake]’s interest in building keyboards happened naturally enough — he was looking for a new project to work on and fell into the treasure chest that is the mechanical keyboard community. It sounds like he hasn’t built anything but keyboards since then, and we can absolutely relate.

This tidy 40% ortholinear is [Blake]’s third build, not including macro keebs. It’s based on an open source case and plate from Thingiverse, and uses an Arduino Pro Micro running the popular QMK firmware to read input from 47 Gateron blues and a rotary encoder.

We particularly like the double rainbow ribbon cable wiring method [Blake] used to connect each row and column to the controller. It looks beautiful, yes, but it’s also a great way to maintain sanity while programming and troubleshooting.

Keyboard builds can look daunting, even at 40% of standard size. But as [Blake] discovered, there are some really good guides out there with fantastic tips for hand-wiring in small spaces. And now there is another well-written guide with clear pictures to point to.

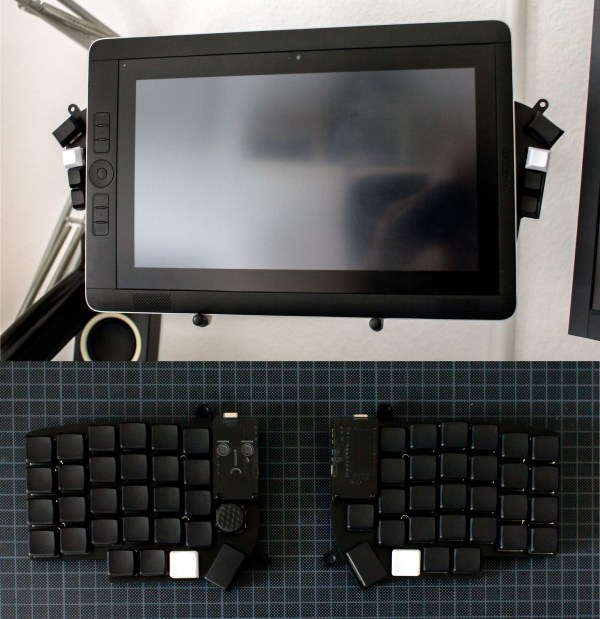
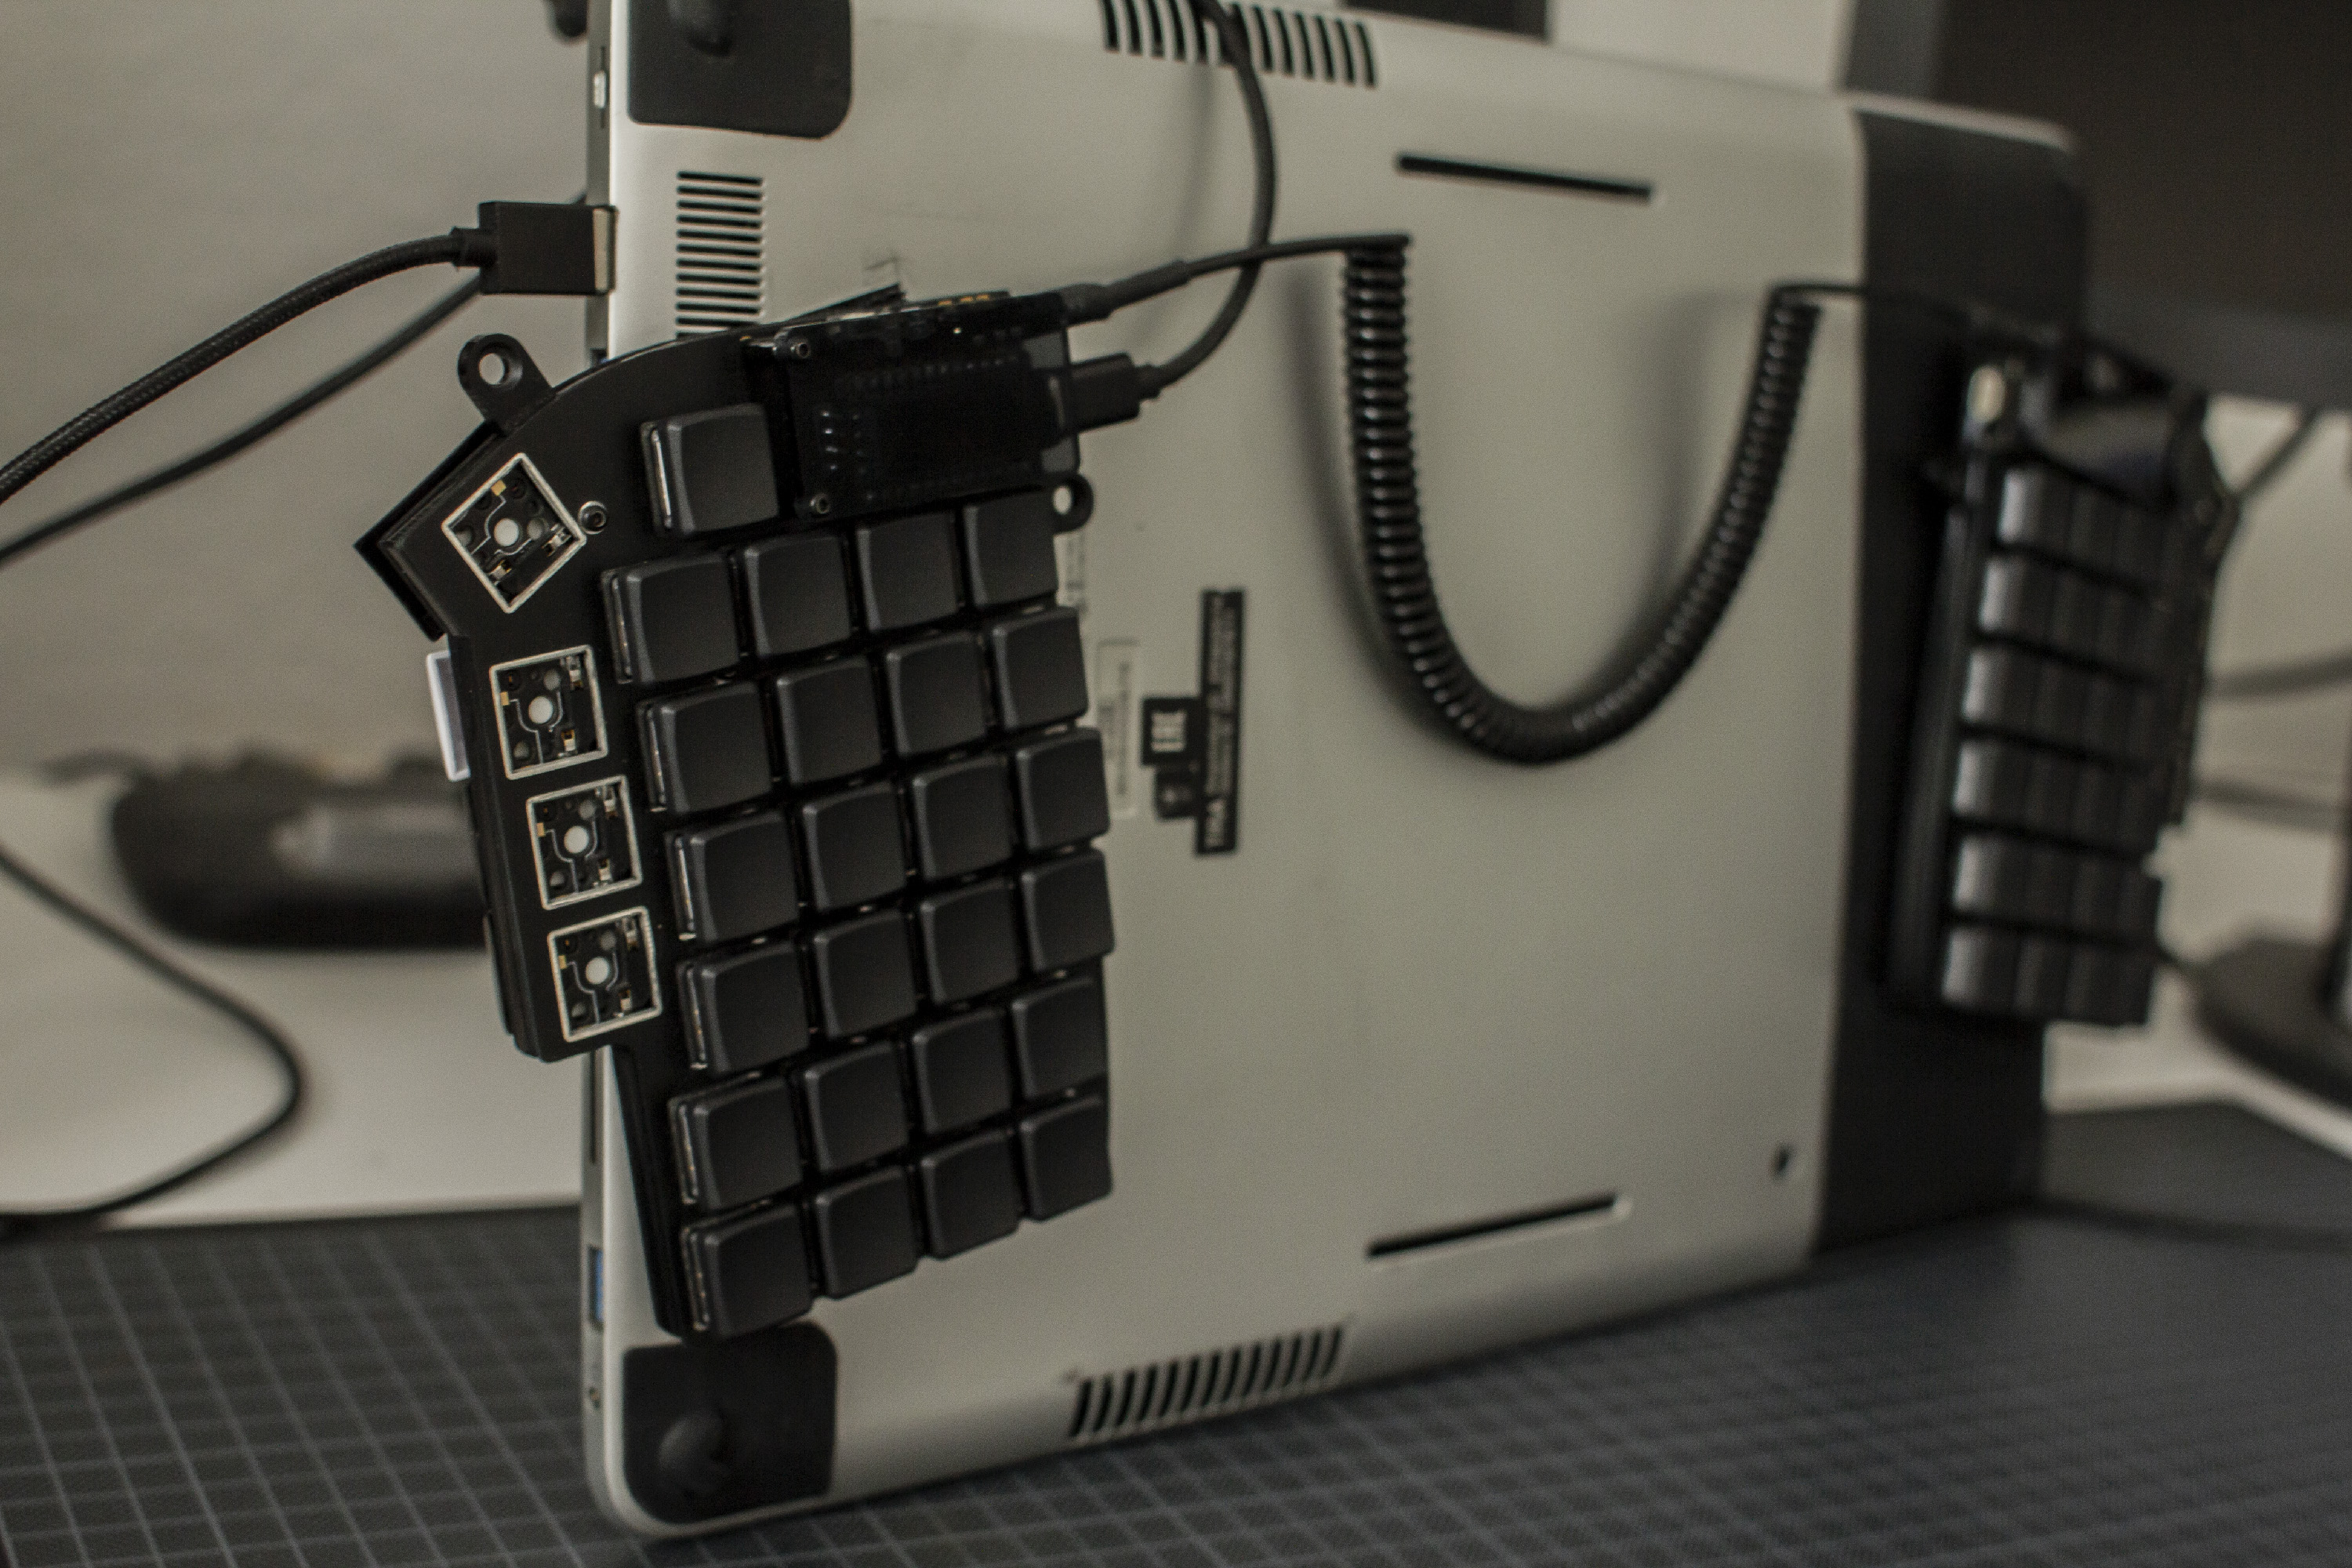
Looking to split from the standard rectangle form factor but don’t know what to go with? Divine your next clacker with this split keyboard finder.

Thanks for the tip, [jrdsgl]!

Accessibility Keyboard Is Modular And Practical

We don’t have many details from [dariocose] about his K-Ability Dev Kit yet, but there are enough clues on his HackadayPrize2020 entry that we can tease out the critical points. The plan is to supply a control module with Bluetooth HID capability to act as a mouse and keyboard. It will plug into a socket on user-specific boards. Each style will be suited to a patient with a neuromuscular disease and will allow them to interact with computers in a way that suits their needs. For example, if someone lacks fine motor control, they may need large buttons, while someone with weak muscles may need pads close to one another. From the video’s looks below, the prototype boards aren’t anything fancier than cardboard and wire. Developing the best device doesn’t mean a dozen iterative prints or wasted laser-cut acrylic sheets.

Example code supports three mouse movements, left, right, and down, but there are plans to develop a tool to reprogram them. Given the name and prominent LCD, we suspect there will be keyboard support in the future. Processing and Bluetooth rest on the capable shoulders of an ESP32, which also supports touch sensing, so customized pads can respond to a wispy graze or a blunt fist.

We’re not short on customized keyboards that range from glorious elements of comfort to befuddling tools of typing.

Continue reading “Accessibility Keyboard Is Modular And Practical”

Print Your Way To Keyboard Stability

Keyboard key stabilizers, or stabs as they’re known in enthusiast circles, do exactly what you’d expect — they stabilize longer keys like the Shifts and the space bar so that they don’t have to be struck dead-center to actuate evenly. Stabs work by flanking the key switch with two non-functional switch actuators linked with a thick wire bar. Some people love stabs and insist on stabilizing every key that’s bigger than 1u, while other people think  stabs are more trouble than they’re worth for various reasons, like rattling.

[Riskable 3D Printing] has been working on a parametric, printable stabilizer system for Cherry MX caps that uses small disk magnets to keep the wire in place. As you can see in the video (embedded after the break), the result is a crisp clacker that doesn’t rattle. The magnets stabilize the wire, so it snaps back quite nicely.

Although the print is an easy one, [Riskable] says the design process wasn’t as cut and dried as it seems. The center points of the stabilizer stems aren’t supposed to be in the center of cutouts, even though it looks that way to the naked eye. After that, the pain point has shifted to the wire, and getting it as straight as possible before making the necessary bends. [Riskable] is going to make a straightener to help out, and we suggest something like this one.

Clacker hacking is quite the rabbit hole, especially when combined with 3D printing. We recently saw a completely 3D-printed macro pad, springs and all.

Continue reading “Print Your Way To Keyboard Stability”

Keycap Customizer Brings All Your Caps To The Board

With bright colors and often intricate designs, after the physical shape of a keyboard the most conspicuous elements are surely the keycaps. Historically dictated by the stem of the key switch it attaches to, keycaps come in a variety of sizes, colors, profiles, and designs. As they necessarily include small features with tight tolerances to fit the stem of their key switch, injection molding is the classic manufacturing technique for a keycap. But as hobbyist 3D printing matures and resin printers become more accessible, home keycap manufacturing is increasingly good option. Instead of designing each cap by hand, consider trying [rsheldiii]’s KeyV2 OpenSCAD script to create custom caps with ease.

To cover the basics, KeyV2 can generate full keycap sets with Cherry or Alps stems, in the SA, DSA, DCS profiles (and more!) for any typically sized keyboard. Generating a particular cap of arbitrary profile, position, and size is just a short chain of function calls away. But standard keycap sets aren’t the highlight of this toolset.

If you’re not an OpenSCAD aficionado yet, visit [Brian Benchoffs] great getting-started guide or our other coverage to get a feel for what the tool can do. Part of OpenSCAD’s attraction is that it is the the paragon of parametric modeling. It’s declarative part files ensure that no parameter goes undefined, which is a perfect fit for KeyV2.

The root file upon which all caps are based on has about 150 keycap parameters which can be tweaked, and that’s before more elaborate customization. Making simple “artisan” caps is a snap, as the magic of OpenSCAD means the user can perform any Boolean operations they need on top of the fully parameterized keycap. Combining an arbitrary model with a keycap is one union() away. See the README for examples.

For the prospective user of KeyV2 worried about complexity; don’t be, the documentation is a treat. Basic use to generate standard keycaps is simple, and there are plenty of commented source files and examples to make more complex usage easy. Thinking about a new keyboard? Check out our recent spike in clacky coverage.

Split Keyboard Finder Stacks Them Up For Your Approval

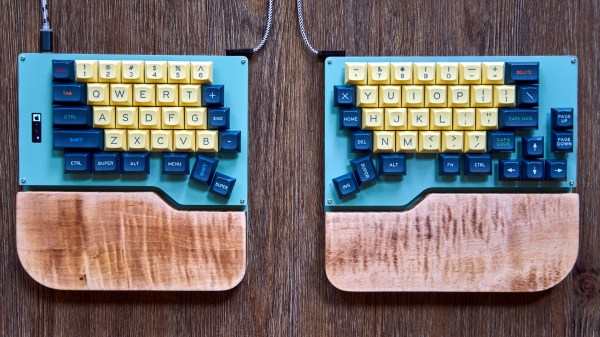
Tired of a boring, single piece keyboard? Thinking about a change but don’t know what all your options are? Well prospective-keyboard-shopper, today is your lucky day. We at the Hackaday are here to facilitate the habit with two excellent resources for the eager keyboard shopper; [pvinis]’s awesome-split-keyboards and [jhelvy]’s splitkbcompare.

As indicated by its title, awesome-split-keyboards is an awesome list of split keyboards 50 examples strong. Every split we’ve come across seems to be represented here, many with at least an image or two along with links to more information about how to build or buy the model in question. If that’s not enough, the bottom of the page has a wealth of background information about building or buying your own.

But before making such an important decision it’s important to make sure the keyboard in question will be a good fit in the hands. This is where splitkbcompare comes in, providing a visualization of many popular split layouts. If we hadn’t just found awesome-split-keyboards this filterable list and wide selection would have been the highlight here. But what does stand out is the ability to generate 1:1 scale printouts of the layouts in question, even stacking them for comparison, allowing a prospective buyer get a hands on feel for what they’re considering.

Not enough clackin’ action? Recently we’ve been producing a fierce amount of keyboard related content, of particular highlight is [Kristina Panos’]’ series called Inputs of Interest. Earlier in the summer she even built her own Ergodox split keeb.

[Main image source: HeliDox by diimdeep]