Clocks are a never-ending source of fascination to hackers. We get all kinds around here, from Steampunk Nixie clocks to retro cool flip clocks to clocks that don’t even look like clocks. But this is something new — a glow-in-the-dark laser tracing clock.
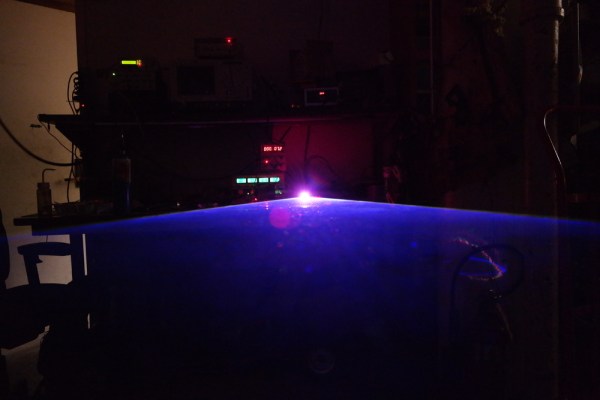
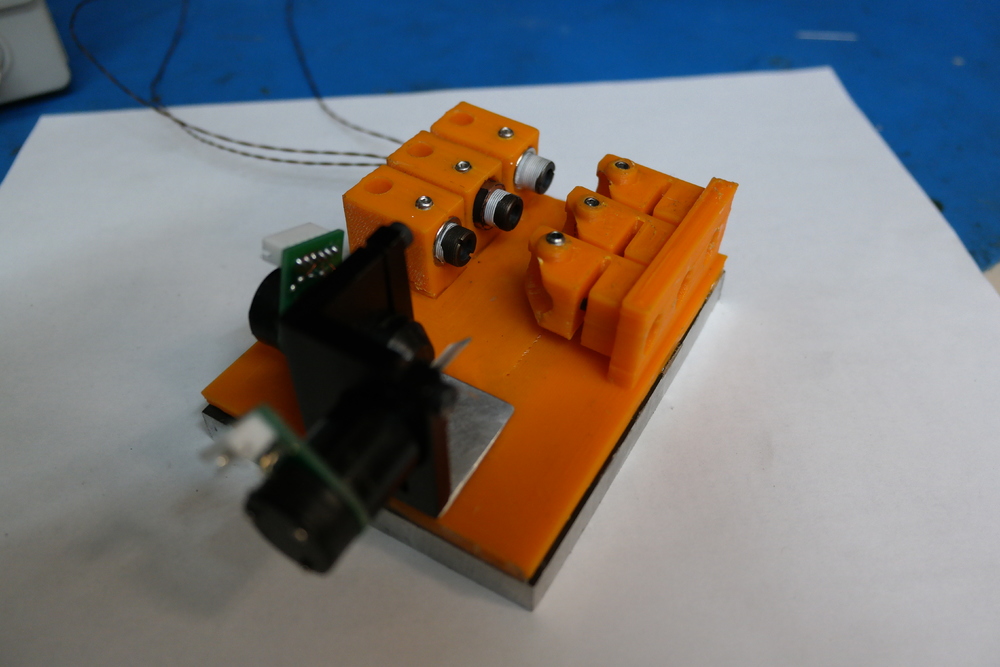
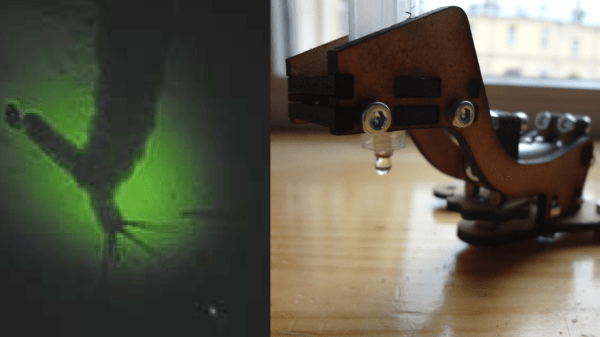
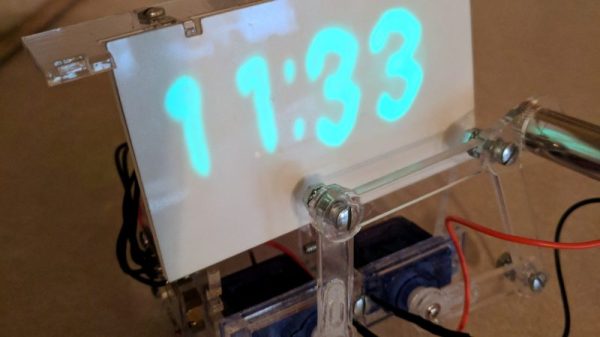
What [tuckershannon]’s clock lacks in practicality it makes up for in the gee-whiz department. The idea is simple: trace the characters out on a phosphorescent screen using a laser. To accomplish this, [tuckershannon] adapted the design of this whiteboard marker robot clock, replacing the drawing surface with glow-in-the-dark stickers. A 405 nm laser diode module is traced over the surface by the two-servo pantograph plotter, charging up the phosphors. He offers no clue as to how long the ghostly image lingers, but from the look of it, we’d bet that it lasts for a good fraction of a minute, especially in a dark room. Then again, you’d want the image totally faded before the next write cycle comes up, to prevent overwriting the previous time.
All in all, it’s a nice design and a clever new clock display modality. And who knows — maybe this whole glowing phosphor display thing could really catch on.
Continue reading “Spell Out The Time With Frickin’ Laser Beams”