Astrophotography On The Game Boy Camera

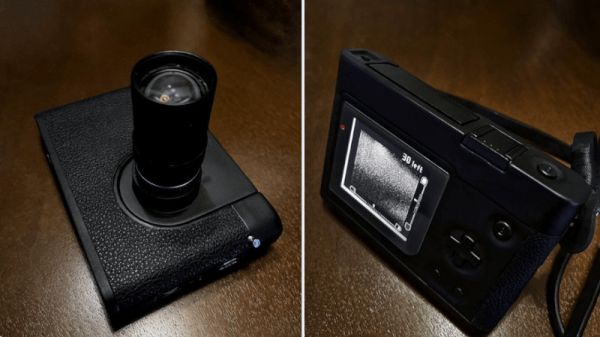
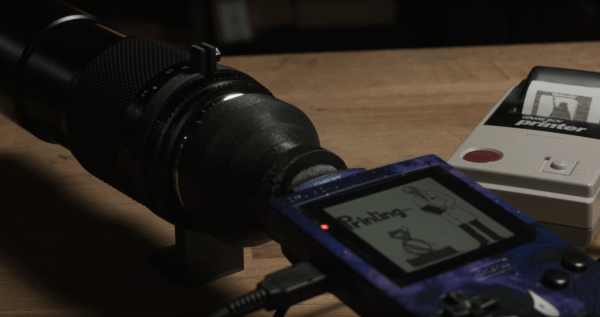
The Game Boy Camera was the first digital camera that many of us ever interacted with. At the time it was fairly groundbreaking to take pictures without film, even though the resolution was extremely low by modern standards, and it could only shoot two-bit color. It’s been long enough since its release that it’s starting to become a popular classic with all kinds of hacks and modifications, like this one which adds modern SLR camera lenses which lets it take pictures of the Moon.

The limitations of the camera make for a fairly challenging build. Settings like exposure are automatic on the Game Boy Camera and can’t be changed, and the system only allows the user to change contrast and brightness. But the small sensor size means that astrophotography can be done with a lens that is also much smaller than a photographer would need with a modern DSLR. Once a mount was 3D printed to allow the lenses to be changed and a tripod mount was built, it was time to take some pictures of the moon.

Thanks to the interchangeability of the lenses with this build, the camera can also capture macro images as well. The build went into great detail on how to set all of this up, even going as far as giving tips for how to better 3D print interlocking threads, so it’s well worth a view. And, for other Game Boy Camera builds, take a look at this one which allows the platform to send its pictures over WiFi.

Continue reading “Astrophotography On The Game Boy Camera”

Epoxy lenses

The Ins And Outs Of Casting Lenses From Epoxy

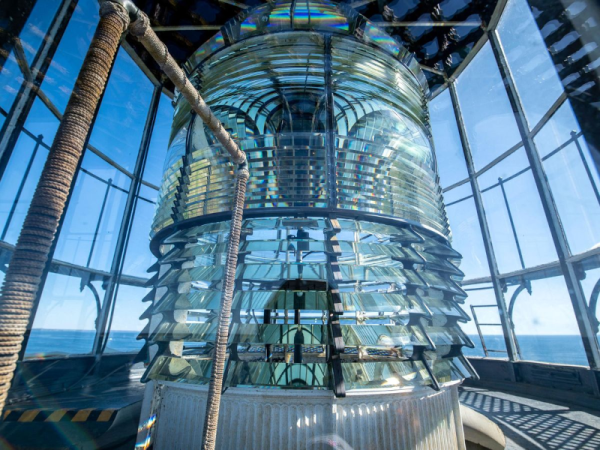
If you need a lens for a project, chances are pretty good that you pick up a catalog or look up an optics vendor online and just order something. Practical, no doubt, but pretty unsporting, especially when it’s possible to cast custom lenses at home using silicone molds and epoxy resins.

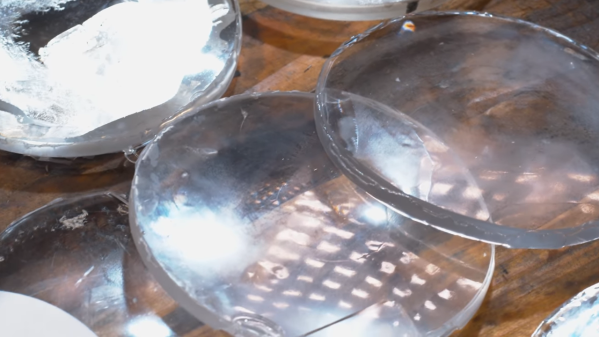
Possible, but not exactly easy, as [Zachary Tong] relates. His journey into custom DIY optics began while looking for ways to make copies of existing mirrors using carbon fiber and resin, using the technique of replication molding. While playing with that, he realized that an inexpensive glass or plastic lens could stand in for the precision-machined metal mandrel which is usually used in this technique. Pretty soon he was using silicone rubber to make two-piece, high-quality molds of lenses, good enough to try a few casting shots with epoxy resin. [Zach] ran into a few problems along the way, like proper resin selection, temperature control, mold release agent compatibility, and even dealing with shrinkage in both the mold material and the resin. But he’s had some pretty good results, which he shares in the video below.

[Zach] is clear that this isn’t really a tutorial, but rather a summary of the highs and lows he experienced while he was working on these casting methods. It’s not his first time casting lenses, of course, and we doubt it’ll be his last — something tells us he won’t be able to resist trying this all-liquid lens casting method in his lab.

Continue reading “The Ins And Outs Of Casting Lenses From Epoxy”

Printed Adapter Puts Vintage Lens Back To Work

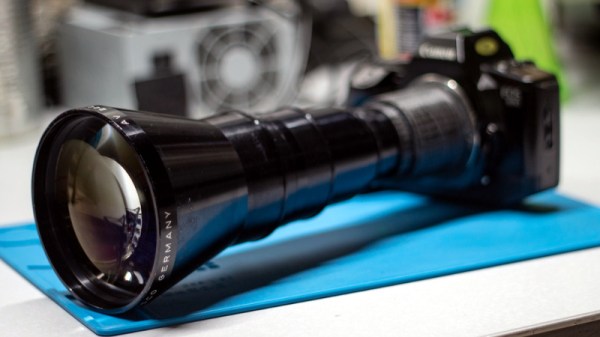
While browsing through an antiques shop, [Nick Morganti] came across a Kodak slide projector with an absolutely massive lens hanging off the front. Nearly a foot long and with a front diameter of approximately four inches, the German-made ISCO optic was a steal for just $10. The only tricky part was figuring out how to use it on a modern DSLR camera.

After liberating the lens from the projector, [Nick] noted the rear seemed to be nearly the same diameter as the threaded M42 mount that was popular with older film cameras. As luck would have it, he already had an adapter that let him use an old Soviet M42 lens on his camera. The thread pitch didn’t match at all, but by holding the lens up to the adapter he was able to experiment a bit with the focus and take some test shots.

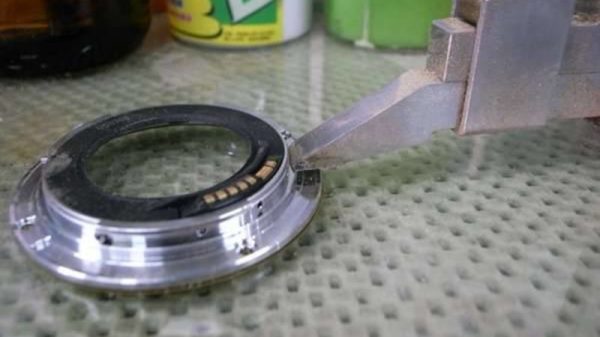
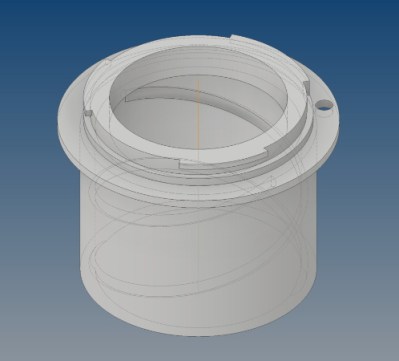
Encouraged by these early tests, [Nick] went about designing a 3D printed adapter. His first attempt was little more than a pair of concentric cylinders, and was focused like an old handheld spyglass. This worked, but it was quite finicky to use with the already ungainly lens. His second attempt added internal threads to the mix, which allowed him to more easily control focus. After he was satisfied with the design, he glued a small ring over the adapter so the lens could no longer be unscrewed all the way and accidentally fall out.

To us, this project is a perfect application of desktop 3D printing.[Nick] was able to conceptualize a one-of-a-kind design, test it, iterate on it, and arrive on a finished product, all without having to leave the comfort of his own home. To say nothing of the complex design of the adapter, which would be exceedingly difficult to produce via traditional means. Perhaps some people’s idea of a good time is trying to whittle a lens bayonet out of wood, but it certainly isn’t ours.

So it’s probably little surprise we’ve seen a number of similar projects over the years. From monstrous anamorphic adapters to upgraded optics for the Game Boy Camera, it seems there’s a healthy overlap between the 3D printing and photography communities.

3D Printing Your Own Sturdy Lens Caps

Lens caps are important for protecting expensive camera lenses from damage. Dust, grit, and other nasty things will all quickly spoil the quality of a shot, and can even permanently damage a lens if you’re unlucky. However, lens caps are also lost quite easily. Thus, it’s useful to be able to make your own, and [DSLR CNC DIY] has the low down on how to do it. 

The benefit of printing your own lens caps is customization. No matter the oddball size and shape of your lens, when you’re 3D printing your own cap, you can design it to fit. The video also shows off the benefits of being able to embed text right into the body of the cap, so you’re never confused as to which cap goes with which lens. The caps use the metal lever from a binder clip in order to provide the clamping force necessary to hang on to the lens. It’s an improvement over some living-hinge designs that grow weaker over time.

Overall, if you’ve got a bunch of lenses that need a new cap, this could be the project for you. It’s also likely much cheaper and easier than hunting down replacement caps for obscure lenses online. Alternatively, contemplate what you could do with fancy lens adapters. Video after the break. Continue reading “3D Printing Your Own Sturdy Lens Caps”

Everything You Always Wanted To Know About Radioactive Lenses

We think of radioactive material as something buried away in bunkers with bombs, power plants, and maybe some exotic medical equipment. But turns out, there are little bits of radiation in the water, our soil, bananas, granite countertops, smoke detectors, and even some camera lenses. Camera lenses? A few decades ago, camera companies added rare elements like thorium to their glass to change the optical properties in desirable ways. The downside? Well, it made the lenses somewhat radioactive.  A post by [lenslegend] explains it all.

Exotic elements such as Thorium, Lanthanum and Zirconium are added to glass mixtures to create the high refractive indexes necessary in sophisticated lens designs. Selection of premium quantities of glass from the large glass pots, stringent spectrophotometric tests after stress and strain checks provide the valuable raw glass for ultimate use in lens elements.
Konica Hexanon Lens Guide, Konica Camera Company, 1972

According to [lenslegend] the practice started in 1945 with Kodak. However, by the 1980s, consumer distaste for radioactive things and concern for factory workers ended the production of hot camera lenses.

Continue reading “Everything You Always Wanted To Know About Radioactive Lenses”

One Of The Largest Large Format Cameras You Will Ever Have Seen

When fate lands a very high quality lens in front of you, what do you do with it? If you are [Tim Hamilton], the solution is obvious. Use it in a huge large-format camera.

The lens came from a newspaper magnifier made redundant by digitalisation and used as a paperweight. It’s an extremely high quality piece of optical equipment so seeing it wasted in this way was a source of distress. So after characterising it an enormous scaled-up box and bellows was constructed, and set upon a suitably substantial wheeled tripod.

Instead of a huge piece of film or some unobtainable giant electronic sensor, the image is projected onto a large screen at the rear of the camera. A modern digital camera is mounted inside the box just beneath the lens and photographs the screen, resulting in the feel of the largest of large format cameras with the convenience of a digital format. The resulting images have a special quality to them that recalls pictures from the past, and definitely makes the camera a special if slightly inconvenient device.

This may be one of the larger cameras we’ve featured, but it’s not the first that uses a similar technique.

Analog Camera Goes Digital

The digital camera revolution swept through the world in the early 2000s, and aside from some unique situations and a handful of artists still using film, almost everyone has switched over to digital since then. Unfortunately that means that there’s a lot of high quality film cameras in the world that are gathering dust, but with a few pieces of equipment it’s possible to convert them to digital and get some more use out of them.

[befinitiv]’s latest project handles this conversion by swapping in a Raspberry Pi Zero where the film cartridge would otherwise be inserted into the camera. The Pi is attached to a 3D-printed case which mimics the shape of the film, and also houses a Pi camera right in front of the location where the film would be exposed. By removing the Pi camera’s lens, this new setup is able to take advantage of the analog camera’s optics instead and is able to capture images of relatively decent quality.

There are some perks of using this setup as well, namely that video can be broadcast to this phone over a wireless connection to a computer via the Raspberry Pi. It’s a pretty interesting build with excellent results for a remarkably low price tag, and it would be pretty straightforward to interface the camera’s shutter and other control dials into the Raspberry Pi to further replicate the action of an old film camera. And, if you enjoy [befinitiv]’s projects of bringing old tech into the modern world, be sure to check out his 80s-era DOS laptop which is able to run a modern Linux installation.

Continue reading “Analog Camera Goes Digital”