Light is a wonderful medium for art, and there’s all manner of ways to approach it. We’ve always been huge fans of all that blinks and glows, but there’s a whole wide world of other methods and techniques in the lighting arena. Lumia is one that does not always get a lot of mainstream attention, and so [Adam Raugh] has created this video, sharing both the history of the effect, and various ways to create it yourself.
Lumia was once used to refer to a broad swathe of artistic lighting, but these days, more commonly refers to effects that create an aurora-like appearance, as one would see near the poles of our fine Earth. [Adam] first covers the history of the effect, as pioneered by Thomas Wilfred with the Clavilux in the early part of the 20th Century.
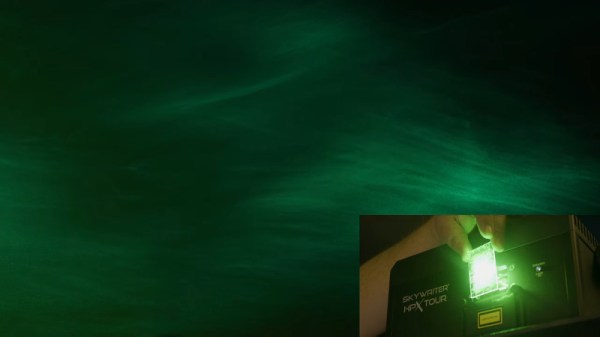
The video then covers the basics of creating lumia effects using DIY methods. The key is to combine slow rotation with an organically deformed refractive medium. [Adam]’s rig of choice is a basic laser projector, rotating at just 1/3 of a rotation per minute. This is then combined with a variety of homebrewed refractive media – torture tubes made from glass, acrylic sheets coated with muddled epoxy, and even a crumpled water bottle.
It’s an excellent primer on how to get started with lumia, and [Adam] covers a wide variety of tips and tricks as well as potential pitfalls to avoid.
We see plenty of great lighting projects around these parts – check out the Kinetic Chandelier. Video after the break.
Continue reading “Experiment With Lumia, The Cheap And Easy Way”
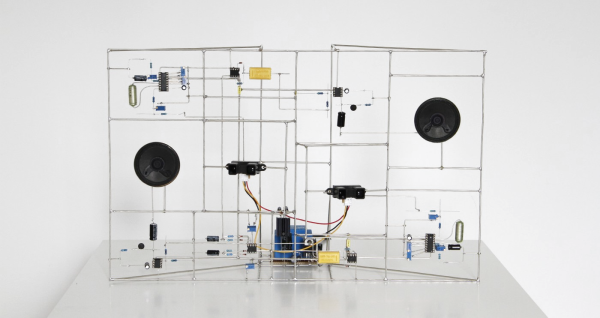
 When it rains, it pours (wonderful electronic sculpture!). The last time we posted about freeform circuit sculptures there were a few eye-catching comments mentioning other fine examples of the craft. One such artist is [Eirik Brandal], who has a large

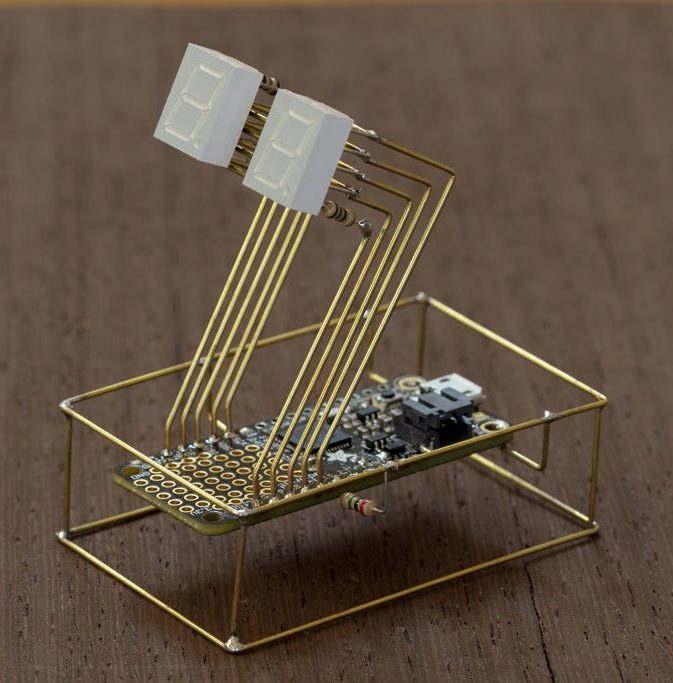
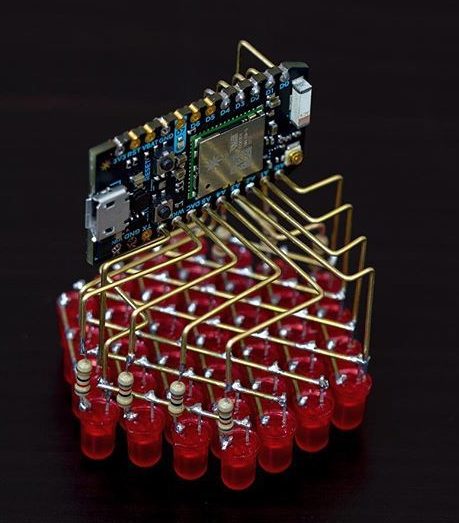
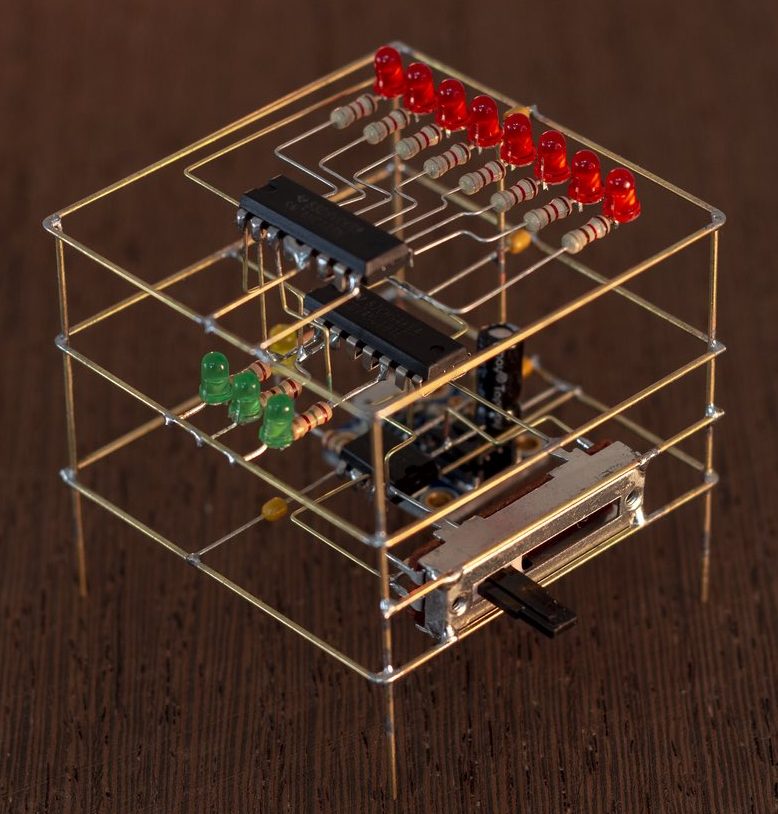
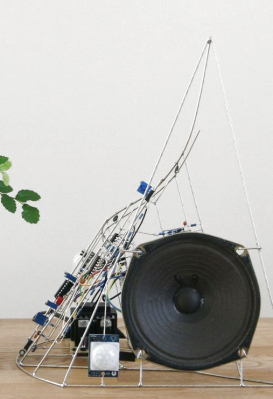
 tiny BGA components (ok, that one might be more cool than practical). Perhaps our favorite use is to create art, and [Mohit Bhoite] is an absolute genius of the form. He’s so prolific that it’s difficult to point to a particular one of his projects as an exemplar, though he has