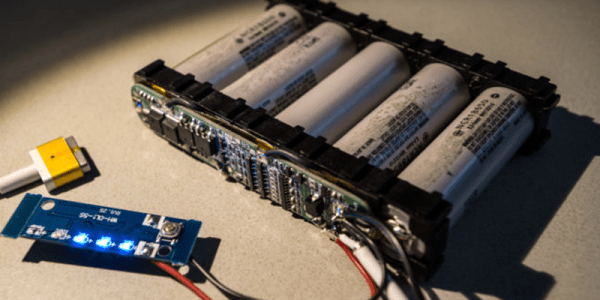
Just a few short years ago, it was possible to find scrapped lithium batteries for free, or at least for very cheap. What most people at the time didn’t realize is that a battery with multiple cells might go bad because only one cell is bad, leaving the others ready for salvaging. Now it’s not a secret anymore, but if you can manage to get your hands on some there’s a lot of options for use. [ijsf] took a step further with this hack, taking a few cells from a Panasonic battery and wrangling them into a MagSafe-capable power bank for a Mac.
The real hack wasn’t scavenging batteries, however, it was getting the MagSafe to signal the computer to use power from the battery bank to run the computer only, and not to use any of that energy for charging the computer’s internal batteries. This is achieved by disabling the center MagSafe pin, which is the computer’s communication line to the power adapter. After that, the battery bank could be programmed to behave properly (a feat in itself for lithium batteries) and the power bank was successfully put into operation.
Not only was this hack a great guide for how to repurpose cells from a “dead” battery, it’s also an unparalleled quick reference for any work that might need a MagSafe connector. Of course, if you’re going to work with these chargers, make sure that you’re using one that isn’t a cheap clone.


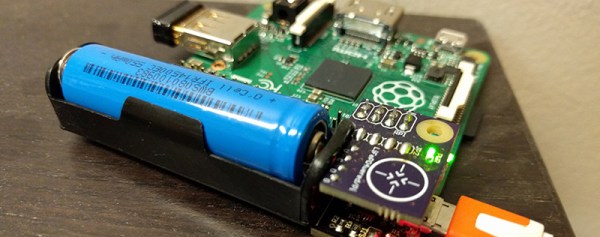
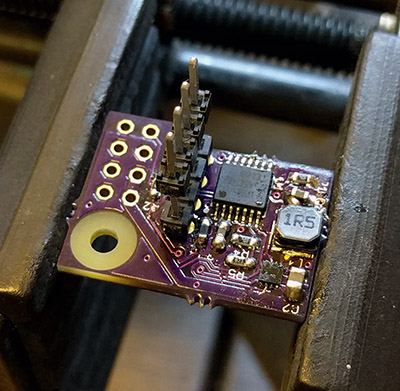 [Patrick]’s Raspberry Pi UPS isn’t just a battery and charge controller attached to the power rails; this board has a microcontroller that has full control over when the Pi wakes up, when the Pi goes to sleep, and can put the Pi into a clean shutdown, even in headless mode. SD cards around the world rejoiced.


