Join [Matt Martin], ASIC designer at Keysight, for this week’s Hack Chat.
Every week, we find a few interesting people making the things that make the things that make all the things, sit them down in front of a computer, and get them to spill the beans on how modern manufacturing and technology actually happens. This is the Hack Chat, and it’s happening this Friday, March 17, at noon PDT (20:00 UTC).
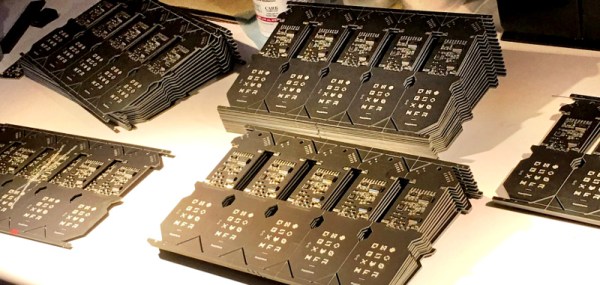
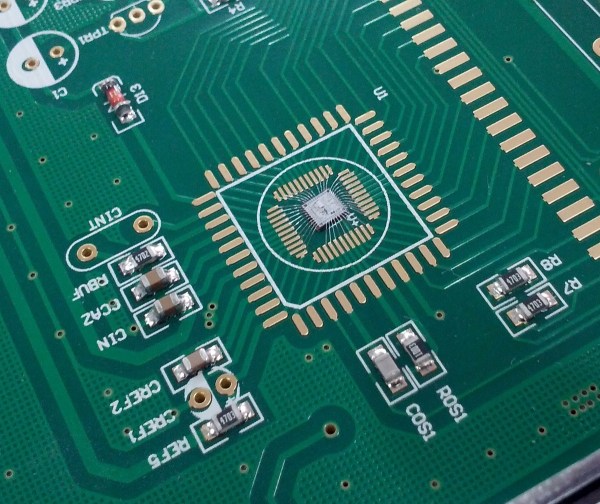
 [Matt] has been working at Agilent / Keysight since 2007 as an ASIC designer. The work starts with code that is synthesized into logic gates. After that, [Matt] takes those gates and puts them into silicon. He’s worked with processes from 0.13um to 28nm. Turning code into silicon is still a dark art around here, and if you’ve ever wanted to know how all of this works, this is your chance to find out.
Here’s How To Take Part:
 Our Hack Chats are live community events on the Hackaday.io Hack Chat group messaging.
Log into Hackaday.io, visit that page, and look for the ‘Join this Project’ Button. Once you’re part of the project, the button will change to ‘Team Messaging’, which takes you directly to the Hack Chat.
You don’t have to wait until Friday; join whenever you want and you can see what the community is talking about.
Upcoming Hack Chats
We’ve got a lot on the table when it comes to our Hack Chats. On March 24th, we’re going to argue the merits of tube amplifiers in audio applications. In April, we have [Samy Kamkar], hacker extraordinaire, to talk reverse engineering.
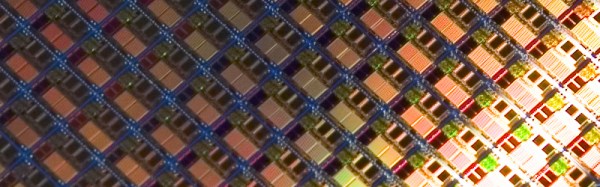
Because I’ve never had the opportunity to do so, and because these Hack Chat announcement posts never get many comments anyway, I’m going to throw this one out there. What would it take to build out a silicon fabrication plant based on technology from 1972? I’m talking about a 10-micrometer process here, something that might be able to clone a 6502. Technology is on our side — a laser printer is cheaper than a few square feet of rubylith — and quartz tube heaters and wire bonding machines can be found on the surplus market. Is it possible to build a silicon fab in your garage without going broke? Leave your thoughts in the comments, and then bring them with you to the Hack Chat this Friday.