The Sinclair ZX Spectrum is fondly remembered by many for being their first introduction into the wonderful world of computing. Its advanced capabilities coupled with a spectacularly low price made it one of the great home computers of the 1980s, at least in the UK and nearby countries. What was less spectacular about the Spectrum was its awful keyboard: although a step up from the flat membrane keyboards of earlier Sinclair computers, the Spectrum’s tiny rubbery keys made typing anything more than a few characters a bit of a chore.
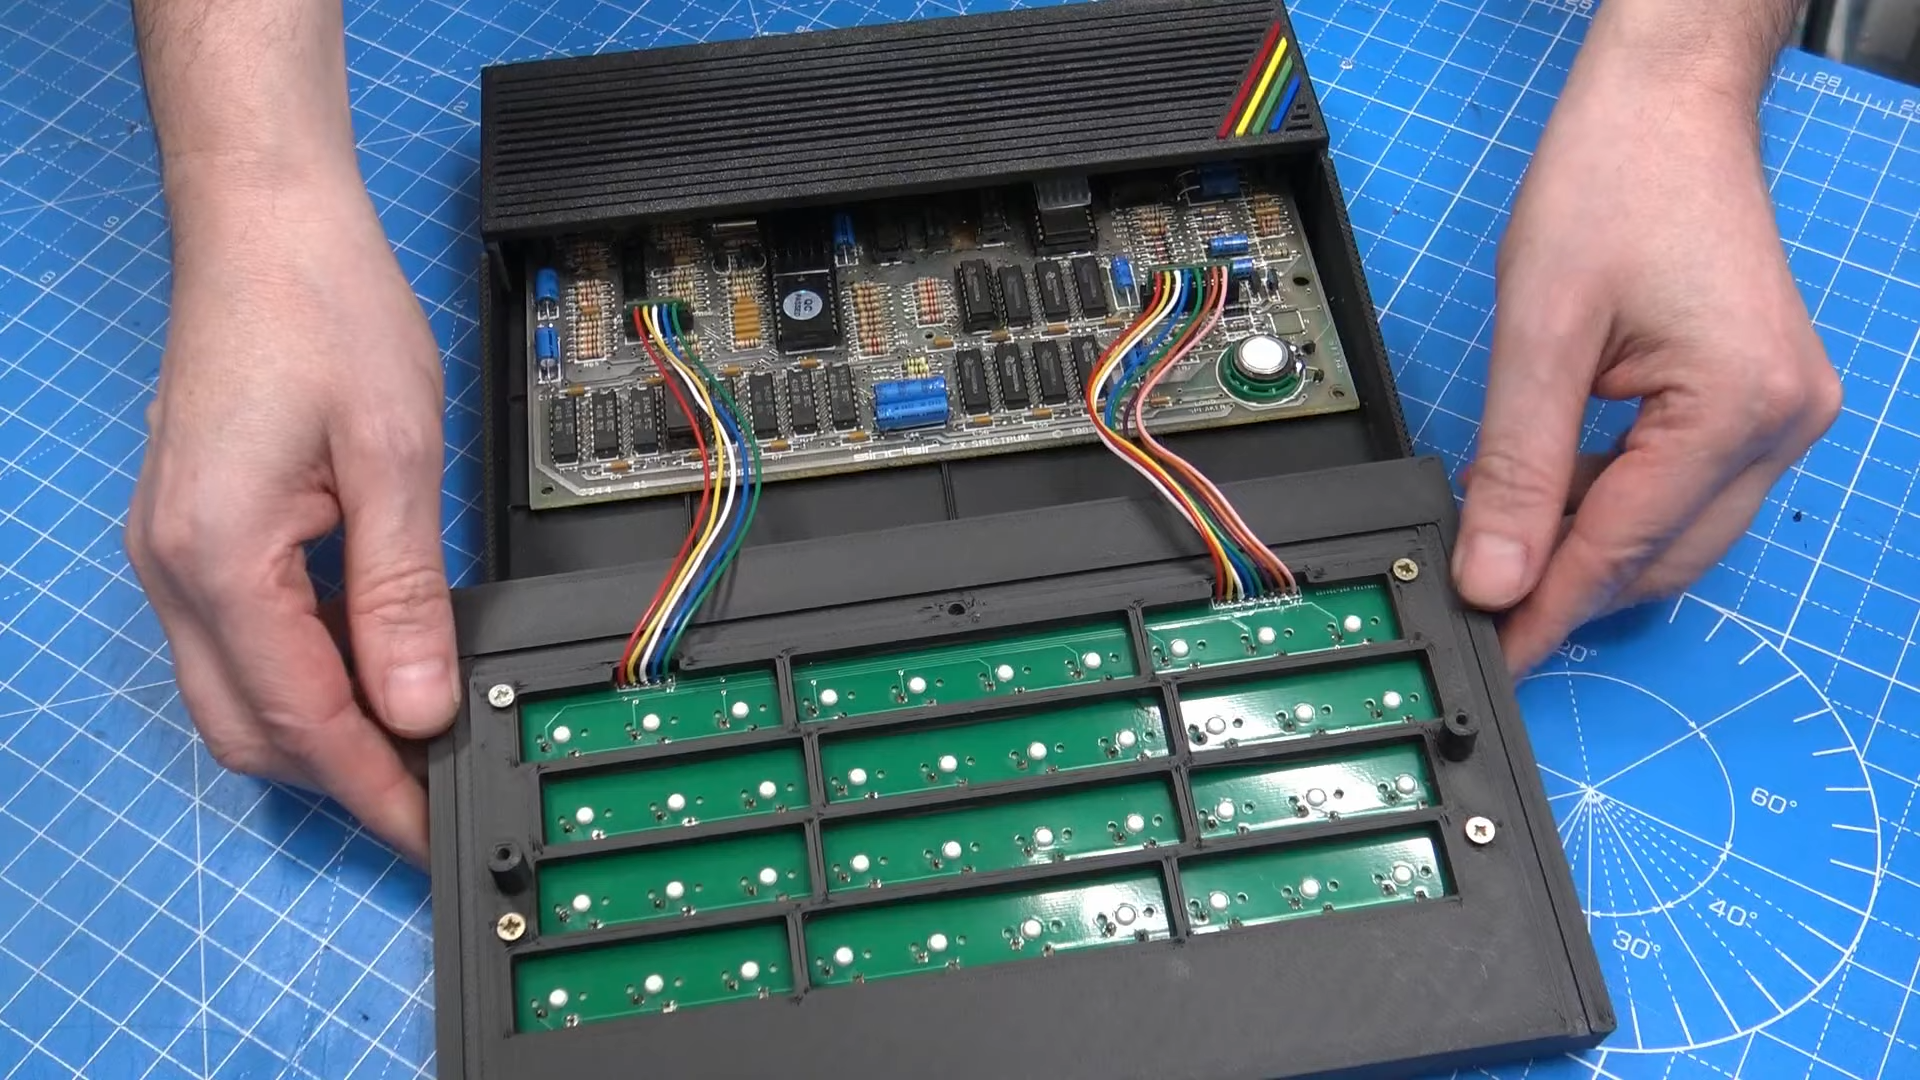
If you’re planning to do any serious programming on your Spectrum, you might therefore want to check out [Lee Smith]’s latest project in which he redesigns the Spectrum’s case to include a proper mechanical keyboard. [Lee] got this idea when he was looking for ways to fix a few Spectrums with broken or missing cases, and stumbled upon several projects that aim to recreate classic Sinclair machines using modern components. He took a keyboard PCB meant for the ZX Max 128 project, populated it with some high-quality switches, and added a modified set of keycaps from the ManuFerHi N-Go.
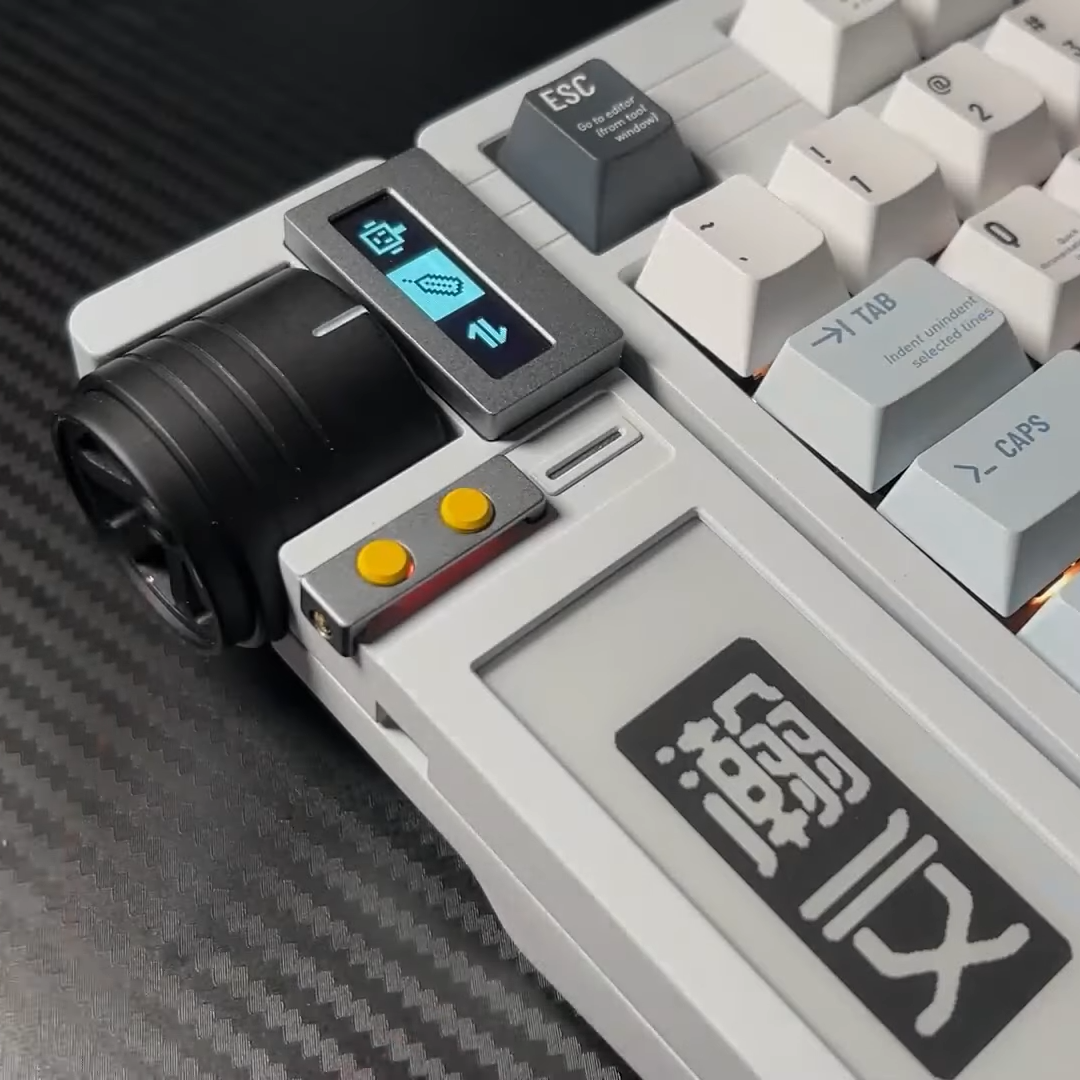
Together, those parts formed a modern, comfortable keyboard that still had the proper labelling on all keys. This is rather essential on the Spectrum, since each key is also used to generate symbols and BASIC keywords: for instance, the “K” key also functions as LIST, +, LEN and SCREEN$.
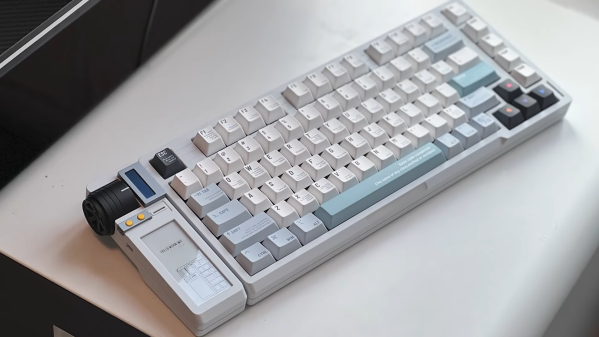
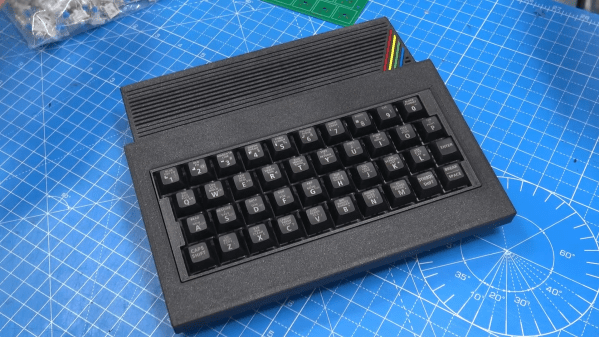
With the keyboard design settled, [Lee] set to work on the rest of the case: he designed and 3D-printed a sleek enclosure that takes the new keyboard as well as an original Spectrum mainboard. The resulting system is called the ZX Mechtrum, and looks fabulous with its matte black exterior and the obligatory four-coloured rainbow. A replaceable rear panel also allows several board-level modifications, like composite video or VGA output, to be neatly incorporated into the design.
We wrote an extensive retrospect on the Spectrum on its 40th anniversary earlier this year. If, somehow, you actually like the Spectrum’s original rubbery keyboard, then you can also modify the whole thing to work with modern computers.
Continue reading “The ZX Spectrum Finally Gets A Proper Keyboard”