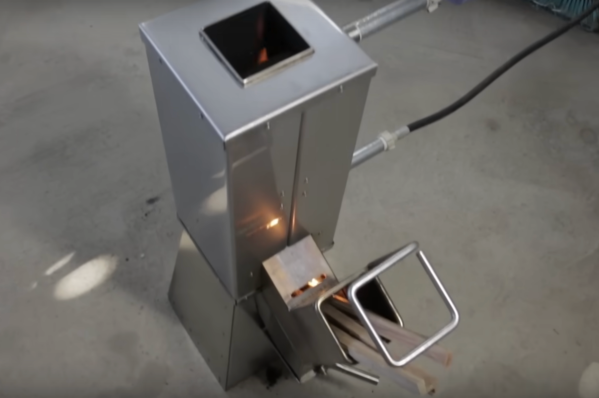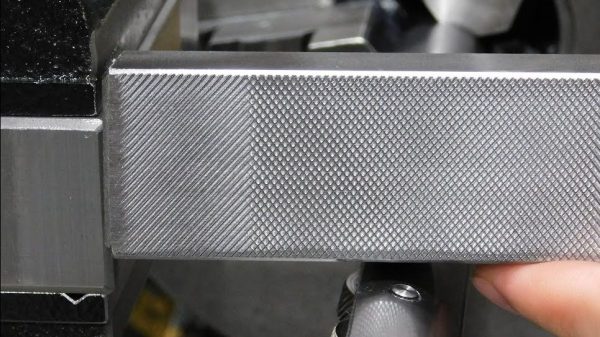
Working with metals can present a lot of unique challenges even for those with a fairly well-equipped shop. Metals like aluminum and some types of steel can be cut readily with grinders and saws, but for thick materials or some hardened steels, or when more complex cuts need to be made, mechanical cutting needs to be reconsidered in favor of something electric like electrical discharge machining (EDM) or a plasma cutter. [Norbert] has been on the path of building his own EDM machine and walks us through the process of generating a spark and its effects on some test materials.
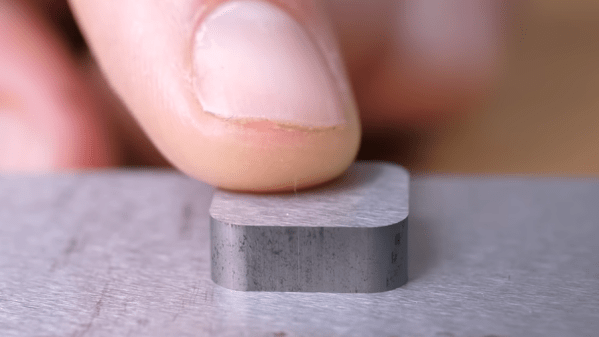
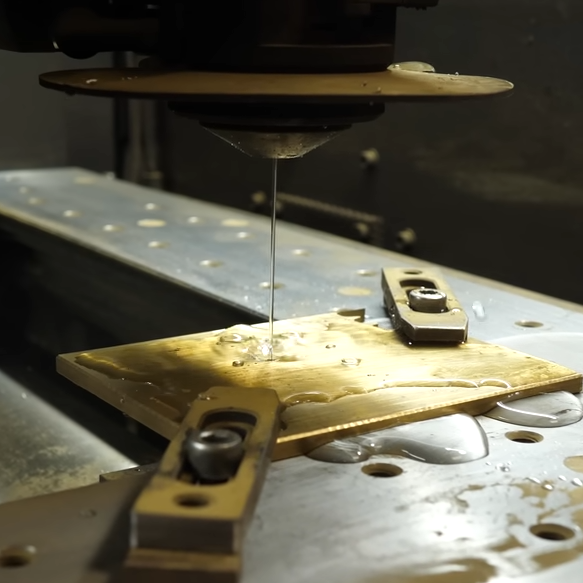
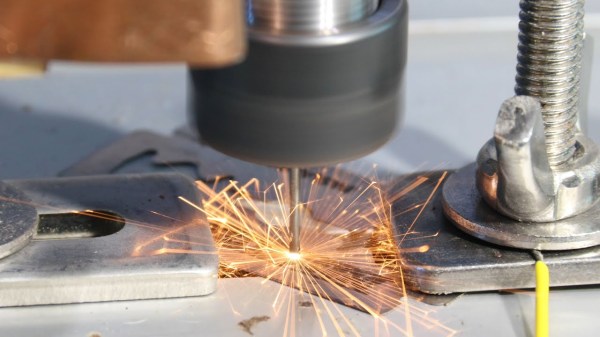
Armed with a microscope, a homemade high-voltage generator, drill bit, and a razor blade to act as the workpiece, [Norbert] begins by experimenting with electrical discharges by bringing the energized drill bit close to the razor to determine the distance needed for effective electrical machining. Eventually the voltage is turned up a bit to dive into the effects of higher voltage discharges on the workpiece. He also develops a flushing system using de-ionized water, and then finally a system to automate the discharges and the movement of the tool.
While not a complete system yet, the videos [Norbert] has created so far show a thorough investigation of this metalworking method as well as some of the tricks for getting a setup like this working. EDM can be a challenging method for cutting metal as we’ve seen before with this similar machine which uses wire as the cutting tool, but some other builds we’ve seen with more robust electrodes have shown some more promise.
Continue reading “Hackaday Prize 2023: Machining Metals With Sparks”