Beau Ambur can often be found hosting hardware events and offering help all around the Bay Area. Now he’s turned it into a career and travels the west coast helping hackers and creators effectively leverage Kickstarter’s platform. Beau’s mentor session covers everything from, “is this project a good fit for venture capital?” to, “is open source a good fit for my project?”.
For this year’s Hackaday Prize we’ve found experts in a wide range of fields so you can take your entries to the next level regardless of the stage the project is in. The sessions are on a first come basis so sign up now for a chance to get some valuable feedback on your entry.
Your Robot Language Coach
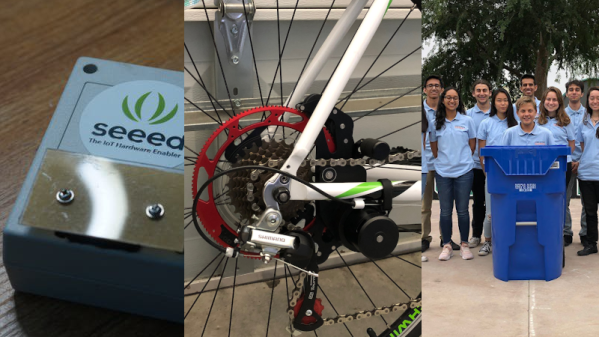
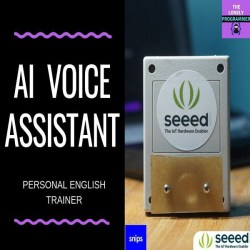 The first project is a Personal English Trainer by the lonely programmer. As a student he noticed a need for a more interactive and portable language learning aid. Solutions do exist on the market but they are along the lines of a pocket dictionary, instructional phone app, or a full on translator. These break the flow of thought and conversation. The lonely programmer envisioned something that you can conversationally ask for help as you’re using a new language.
As many have discovered, the best way to see if there’s a need for something is to build a minimum viable product (MVP). The snips.ai platform offered the perfect foundation to quickly test out the idea. It’s working on a few words and he wants to get it ready for more people to play with the idea. The majority of the lonely programmer’s questions centered around making the project interesting for other hackers so that it could one day turn into a product.
Bolt-On Bike Assist
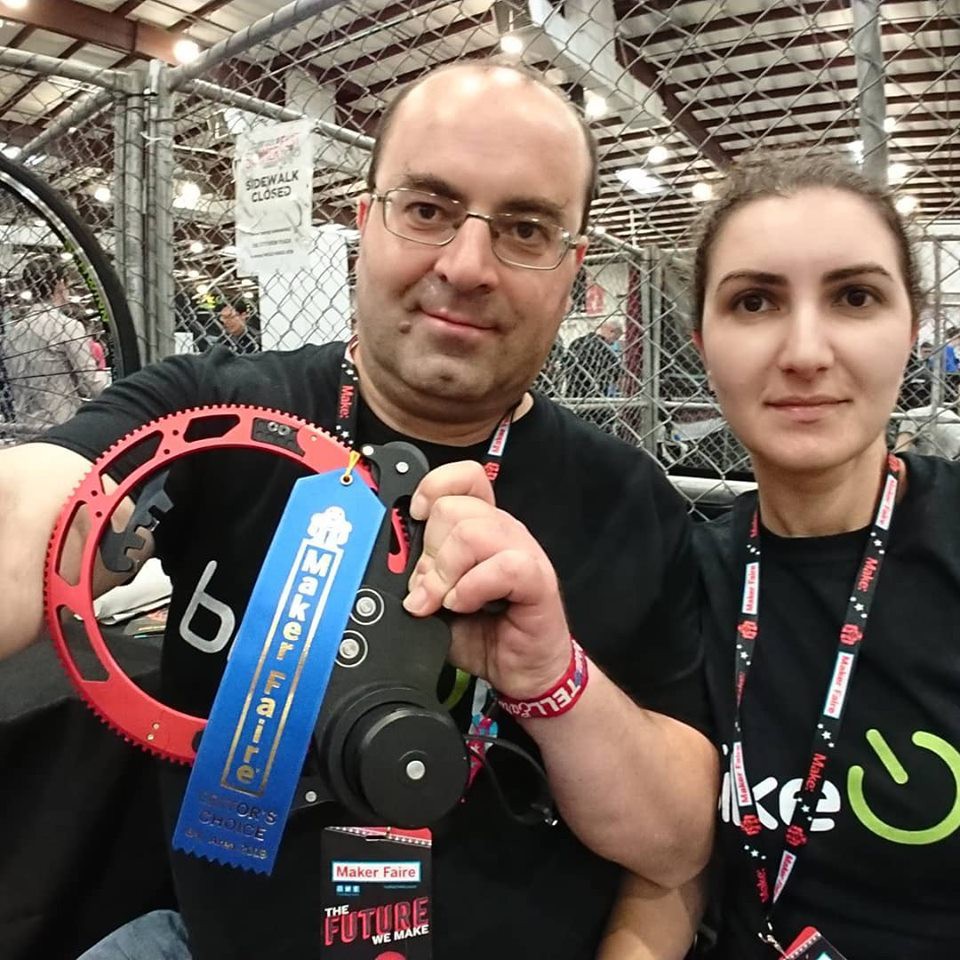
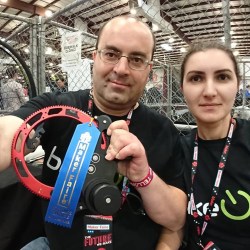 Rob and Shushanik are developing a project called BikeOn. It bolts to any bicycle and converts it to an electric assist bike without tools or replacing any components. BikeOn has already won some accolades such as Editors Choice at the last 2019 Makerfaire Bay Area. Rob had a few questions on how to transition a project from the proof of concept stage to the product stage. The discussion went over using open source as a tool for product promotion as well as getting funding for taking a hardware product to market.
He also wanted to know if there was anything the team could do to have a better shot at winning the prize. There were a few good tips such as directly focusing on the five categories the judges would be looking at: Concept, Design, Production, Benchmark, and Communication. It is also important to cover the development journey. Why did you make the choices you made when designing the project?
No-Spill Trash Can Concept
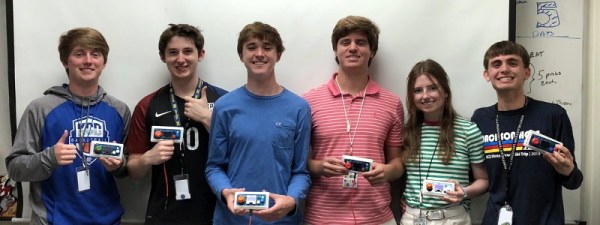
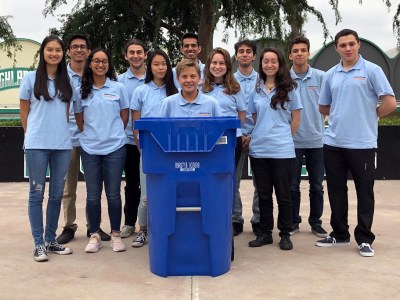 Rounding out this mentor session, Jeannie and her team of highschool students demonstrate SEAL. In the area around the Granada Hills Charter High School there are winds mighty enough to blow over full trashcans. This trash travels to the ocean and disrupts local ecosystems. The team is working on a device which can detect a tipping trashcan and keep the lid from opening.
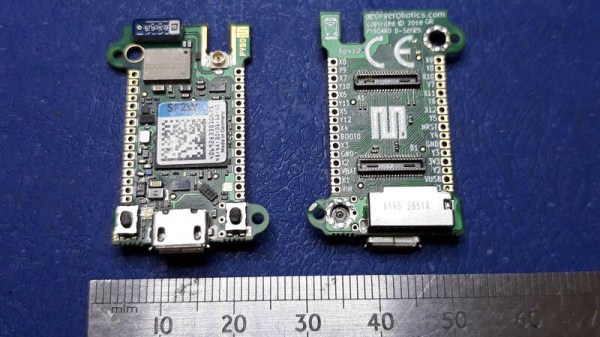
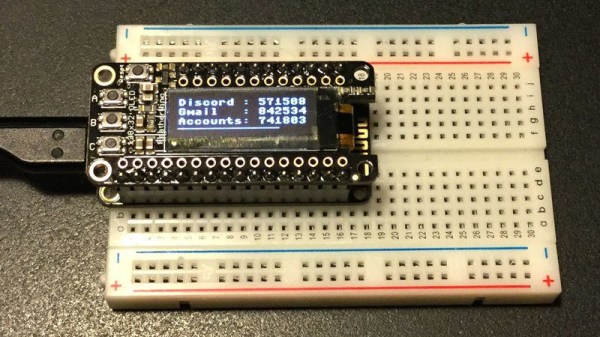
Prototyping started with Arduinos, but they’ve already escalated to designing their own PCBs. Their hope is to produce a run of fifty devices and try them out with a local commercial partner. Beau recommended they look into the Micropython ecosystem. Not only would the students get the advantage of using the STM32 chips in their board layouts (reducing the number of support components they would need), micropython would make it easier for students to jump in and help rather than having to learn the nuances of C first.
The Hackaday Prize mentoring sessions continue through the summer so don’t forget to sign up and check out the list of mentors who are here to share their knowledge and experience.
Continue reading “Hackaday Prize Mentor Session: Beau Ambur” →