All About Dichroic Optical Filters

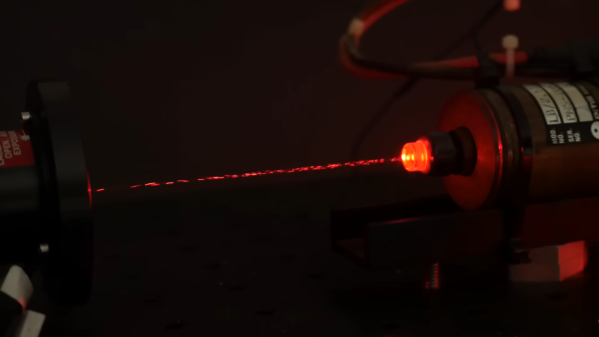
[IMSAI Guy] presents for your viewing pleasure, a nice video on the topic of optical filters and mirrors. (Video, embedded below) The first optical device is a simple absorption filter, where incoming light is absorbed in a wavelength-selective manner. Much more interesting however is the subject of interference or dichroic filters. These devices are constructed from many thin layers of a partially reflective material, and operate on the principle of interference. This means that photons hitting the filter stack will interfere either constructively or destructively giving the filter a pass or stop response for a particular wavelength.

As [IMSAI Guy] demonstrates, this makes the filters direction-specific, as photons hitting the stack at a different angle will travel slightly further. Longer travel means the interference effect will be different, and so will the filtering response. You can see this by playing around with one in your hands and seeing the color change as your rotate it. Dichroic filter films can also make for some stunning optical effects. Very cool stuff.

By creating a filter stack with a wide enough range of inter-layer thicknesses, it’s possible to construct a mirror that covers the full spectrum with excellent reflectivity.  Since you can tune the layers, you can make it reflect any range of wavelengths you like. One thing we’ve not seen before is a wedge-like optical filter device, where the layer thicknesses progressively increase lengthways, creating a variable optical frequency response along the length. We guess this would be useful for diagnostics in the field, or perhaps for manually tuning a beam path?

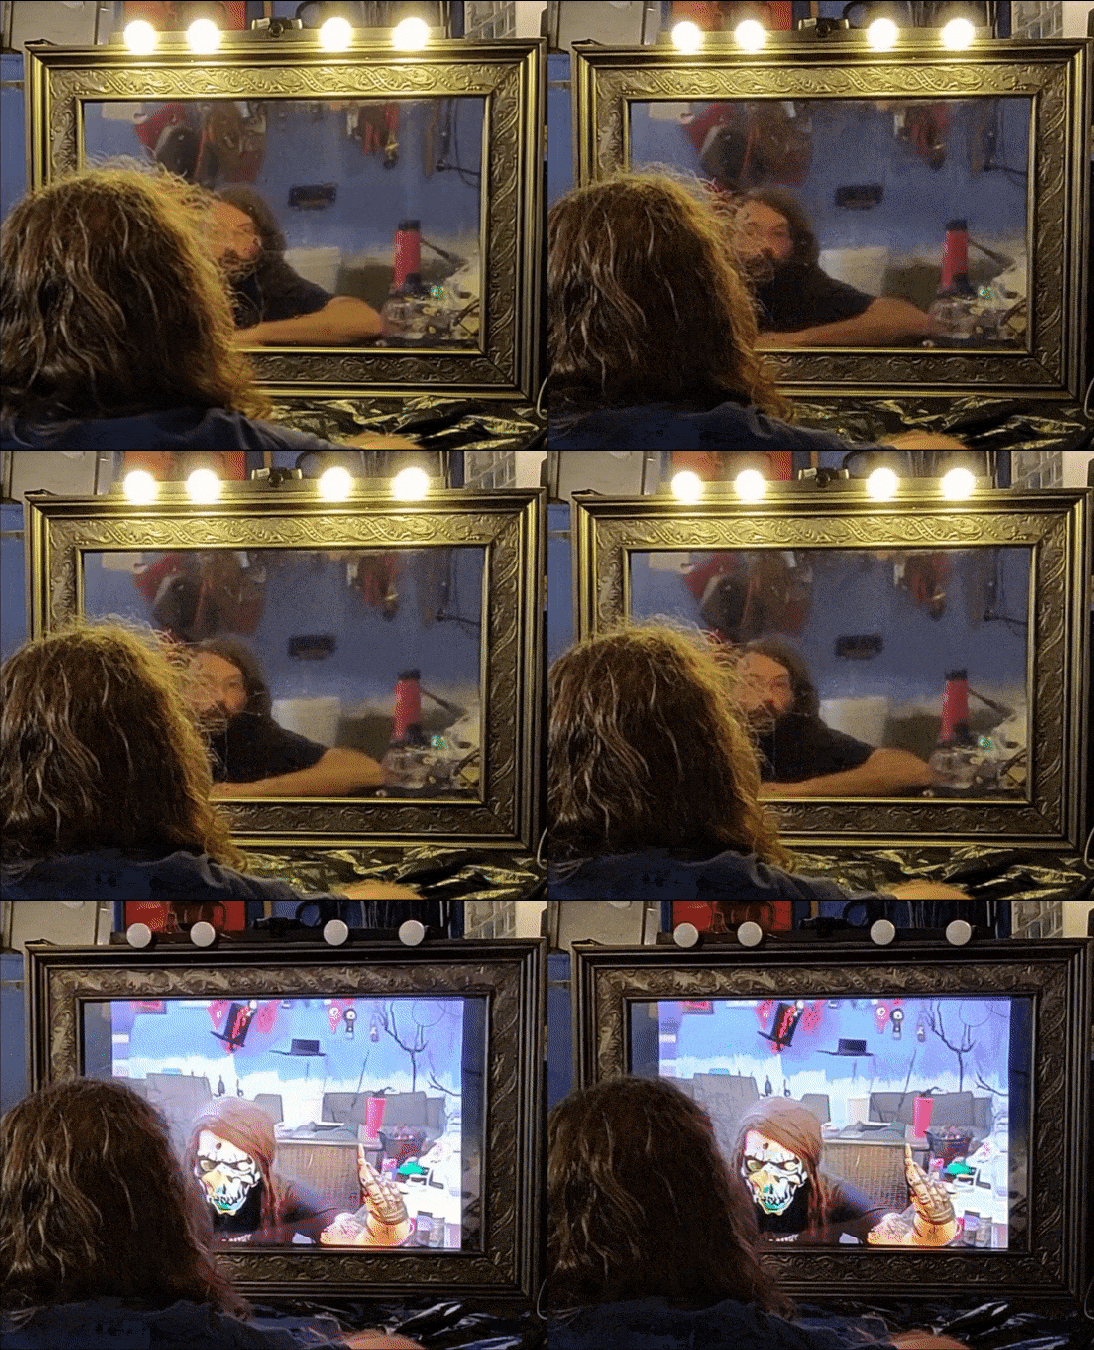
We like the applications for dichroic films – here’s an Infinity Mirror ‘Hypercrystal’. If you don’t want to buy off-the-shelf films, perhaps you could sputter yourself something pretty?

Continue reading “All About Dichroic Optical Filters”

Put A Little Piece Of The James Webb On Your Wall

The James Webb Space Telescope (JWST) has become something of a celebrity here on Earth, and rightfully so. After decades of development, the $10 billion deep space observatory promises to peel back the mysteries of the universe in a way that simply hasn’t been possible until now. Plus, let’s be honest, the thing just looks ridiculously cool.

So is it really such a surprise that folks would want a piece of this marvel hanging up in their wall? No, it’s not the real thing, but this rendition of the JWST’s primary mirror created by [James Kiefer] and [Ryan Kramer] certainly gets the point across.

A CNC router was used to cut the outside shape from a piece of 1/2 inch MDF, as well as put 1 mm deep pockets in the face to accept the hexagonal golden acrylic mirrors. We originally thought the mirrors were also custom made, but somewhat surprisingly, gold-tinted hex mirrors are apparently popular enough in the home decor scene that they’re readily available online for cheap. A quick check with everyone’s favorite a large online bookseller turned global superpower shows them selling for as little as $0.50 a piece.

With a coat of black paint on the MDF, the finished piece really does look the part. We imagine it’s fairly heavy though, and wonder how it would have worked out if the back panel was cut from a piece of thick foam board instead.

Of course this isn’t a terribly difficult design to recreate if you had to, but we still appreciate that the duo has decided to release both the Fusion 360 project file and the exported STL to the public. It seems only right that this symbol for science and discovery should be made available to as many people as possible.

After a dramatic launch on Christmas Day and a perilous flight through deep space, the JWST has performed impeccably. Even though we’re still a several months away from finally seeing what this high-tech telescope is capable of, it’s already managed to ignite the imaginations of people all over the globe.

JWST mirror actuator model

Working Model Reveals Amazing Engineering Of Webb’s Mirror Actuators

We end up covering a lot of space topics here on Hackaday, not because we’re huge space nerds — spoiler alert: we are — but because when you’ve got an effectively unlimited budget and a remit to make something that cannot fail, awe-inspiring engineering is often the result. The mirror actuators on the James Webb Space Telescope are a perfect example of this extreme engineering, and to understand how they work a little better, [Zachary Tong] built a working model of these amazing machines.

The main mirror of the JWST is made of 18 separate hexagonal sections, the position of each which must be finely tuned to make a perfect reflector. Each mirror has seven actuators that move it through seven degrees of freedom — the usual six that a Stewart platform mechanism provides, plus the ability to deform the mirror’s curvature slightly. [Zach]’s model actuator is reverse-engineered from public information (PDF) made available by the mirror contractor, Ball Aerospace. While the OEM part is made from the usual space-rated alloys and materials, the model is 3D printed and powered by a cheap stepper motor.

That simplicity belies the ingenious mechanism revealed by the model. The actuators allow for both coarse and fine adjustments over a wide range of travel. A clever tumbler mechanism means that only one motor is needed for both fine and coarse adjustments, and a flexure mechanism is used to make the fine adjustments even finer — a step size of only 8 nanometers!

Hats off to [Zach] for digging into this for us, and for making all his files available in case you want to print your own. You may not be building a space observatory anytime soon, but there’s plenty about these mechanisms that can inform your designs.

Continue reading “Working Model Reveals Amazing Engineering Of Webb’s Mirror Actuators”

3D Prints With A Mirror Finish

As anyone who has used a 3D printer before knows, what comes off the bed of your regular FSD printer is by no means a mirror finish. There are layers in the print simply by the nature of the technology itself, and the transitions between layers will never be smooth. In addition, printers can use different technology for depositing layers, making for thinner layers (SLA, for example). With those challenges in mind, [AlphaPhoenix] set out to create an authentic mirror finish on his 3D prints. (Video, embedded below.)

As the intro hints, mirrors need very flat/smooth surfaces to reflect light. To smooth his prints, [AlphaPhoenix] first did a light sanding pass and then applied very thick two-part epoxy, allowing surface tension to do the smoothing work for him. Once dried, silver was deposited onto the pieces via a few different sprays. First, a wetting agent is applied, which prevents subsequent solutions from beading up. Next, he sprays the two precursors, and they react together to deposit elemental silver onto the object’s surface. [AlphaPhoenix] asserts that he isn’t a chemist and then explains some of the many chemical reactions behind the process and theorizes why the solutions break down a while after being mixed.

He had an excellent first batch, and then subsequent batches came out splotchy and decided un-mirror-like. As we mentioned earlier, the first step was a wetting agent, which tended to react with the epoxy that He applied. Then, using a grid search with four variables, [AlphaPhoenix] trudged through the different configurations, landing on critical takeaways. For example, the curing time for the epoxy was essential and the ratio between the two precursor solutions.

Recently we covered a 3D printed mirror array that concealed a hidden message. Perhaps a future version of that could have the mirror integrated into the print itself using the techniques from [AlphaPhoenix]?

Continue reading “3D Prints With A Mirror Finish”

Epoxy lenses

The Ins And Outs Of Casting Lenses From Epoxy

If you need a lens for a project, chances are pretty good that you pick up a catalog or look up an optics vendor online and just order something. Practical, no doubt, but pretty unsporting, especially when it’s possible to cast custom lenses at home using silicone molds and epoxy resins.

Possible, but not exactly easy, as [Zachary Tong] relates. His journey into custom DIY optics began while looking for ways to make copies of existing mirrors using carbon fiber and resin, using the technique of replication molding. While playing with that, he realized that an inexpensive glass or plastic lens could stand in for the precision-machined metal mandrel which is usually used in this technique. Pretty soon he was using silicone rubber to make two-piece, high-quality molds of lenses, good enough to try a few casting shots with epoxy resin. [Zach] ran into a few problems along the way, like proper resin selection, temperature control, mold release agent compatibility, and even dealing with shrinkage in both the mold material and the resin. But he’s had some pretty good results, which he shares in the video below.

[Zach] is clear that this isn’t really a tutorial, but rather a summary of the highs and lows he experienced while he was working on these casting methods. It’s not his first time casting lenses, of course, and we doubt it’ll be his last — something tells us he won’t be able to resist trying this all-liquid lens casting method in his lab.

Continue reading “The Ins And Outs Of Casting Lenses From Epoxy”

Making Custom Curved Mirrors At Home

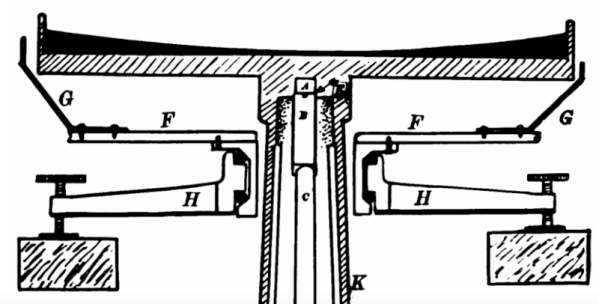
Generally speaking, creating custom mirrors is a complex task that involves a lot of careful grinding, and isn’t something to be taken lightly if you need precision results. Just ask the folks who provided NASA with a wonky mirror for the Hubble. But assuming you’re not working on an orbital space telescope (or even a ground based one, for that matter), [volzo] has recently documented some techniques for producing single and double curved mirrors of reasonable quality using common workshop tools.

The first step is finding something that’s a bit easier to work with than glass. After testing various reflective materials such as PVC foil and painted PETG sheets by comparing the reflections of projected test patterns, [volzo] found that laminated polystyrene gave the most accurate results. If you just want to make a simple bent mirror, he shows how you can pop one of these sheets on a CNC router, make the appropriate cuts, and fold them into shape.

That part might seem a bit obvious, but what about a more complex shape? Here, [volzo] points to how the thin sheets of polystyrene also lend themselves to vacuum forming. As demonstrated in the video below, all it takes is a 3D printed plug and some basic equipment to rapidly produce mirrors in arbitrary shapes.

Now obviously the optical properties of such mirrors will leave something to be desired, but depending on your application, that might not be such a big deal. As examples [volzo] shows off a few projects using these custom mirrors, such as a tabletop camera that captures both sides of the table simultaneously and a circular projector. Laminated polystyrene could potentially even be used to create low-cost variable mirrors.

Continue reading “Making Custom Curved Mirrors At Home”

Teardown: RADICA I-Racer

Long before the Oculus Rift and HTC Vive came along, some of the biggest names in gaming tried to develop practical stereoscopic displays. These early attempts at virtual reality (VR) were hindered by the technical limitations of their time, and most never progressed beyond the prototype stage. Of the ones that did make it to retail shelves, none managed to stick around for very long. The best known example is Nintendo’s Virtual Boy, which ended up being a financial disaster upon its release in 1995 and some regard as the gaming giant’s greatest blunder.

Despite these public failures, Radica still felt compelled to throw their hat into the ring. Best known for their line of relatively simplistic LCD handheld games, the company produced several rudimentary stereoscopic stand-alone titles in the late 1990s to try and cash in on the VR fad. Among the later entries in this series was 1999’s NASCAR i-Racer, which at least externally, looks quite a bit like modern VR headset.

Featuring a head-mounted stereoscopic display, a handheld controller, force feedback, and integrated headphones, you’d certainly be forgiven for thinking the i-Racer was ahead of its time. But its reliance on the primitive LCD technology that put Radica on the map, combined with the need to keep the game as cheap as possible, keeps the experience planted firmly in the 1990s. But perhaps there’s something we can do about that.

Continue reading “Teardown: RADICA I-Racer”