Acorn was one of the great IT giants that rose high and then fell to obscurity during the rise of personal computing. However, for many hobbyists these computers are as important and as loved as the Commodore 64. [Simon Inns] has made a great adapter to interface modern USB mice to these old boxes.
After thirty years of interaction with people, one might be hard pressed to find a working mouse for an older computer. On top of that, even if you did, these mice are likely a lackluster experience to begin with. They were made long before industrial designers were invited to play with computers and are often frustrating and weird. Cotton swabs and alcohol are involved, to say the least.
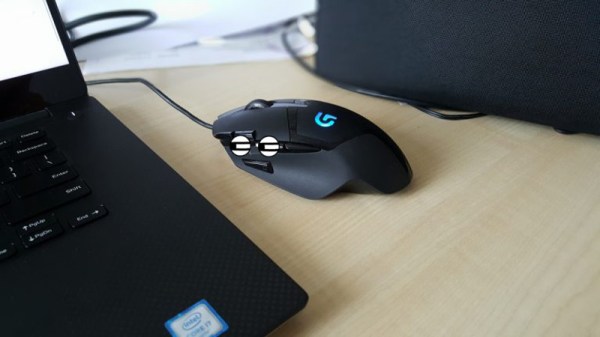
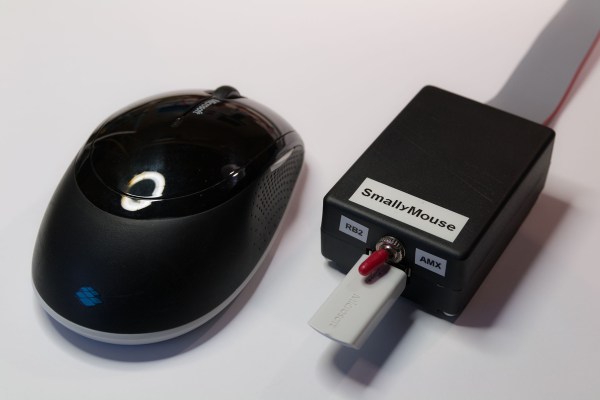
[Simon]’s box converts a regular USB HID compliant mouse to a quadrature signal that these 8-bit computers like. The computer then counts the fake pulses and happily moves the cursor around. No stranger to useful conversion boxes, he used an Atmel micro (AT90USB1287) with a good set of USB peripherals. It’s all nicely packed into a project box. There’s a switch on the front to select between emulation modes.
If you’d like one for yourself the code and schematics are available on his site. As you can see in the video below, the device works well!