Setting up a wireless sensor network over a wide area can quickly become costly, and making everything communicate smoothly can be a massive headache, especially when you’re combining short range Wi-Fi with long range LoRa. To simplify this, [Timm Bogner] created Farm Data Relay System which simplifies the process of combining LoRa, 2.4Ghz modules and serial communications in various topologies over wide areas.
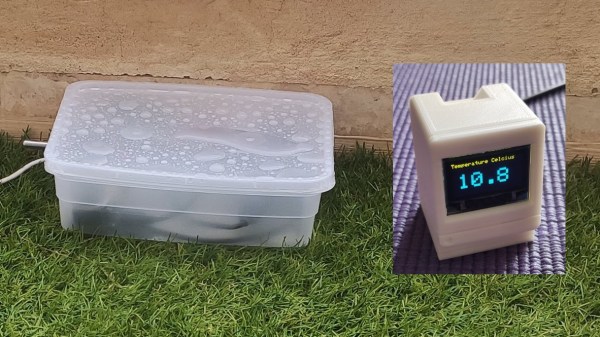
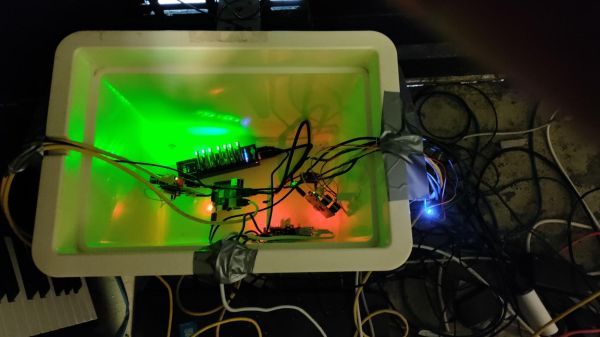
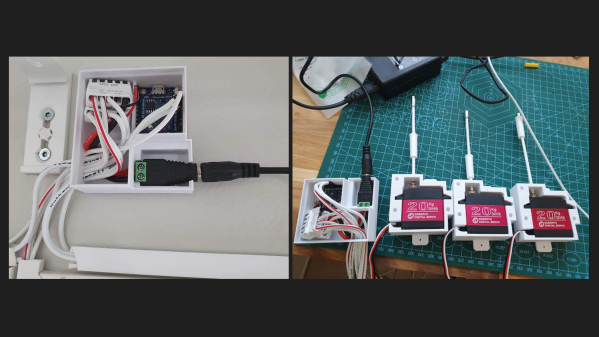
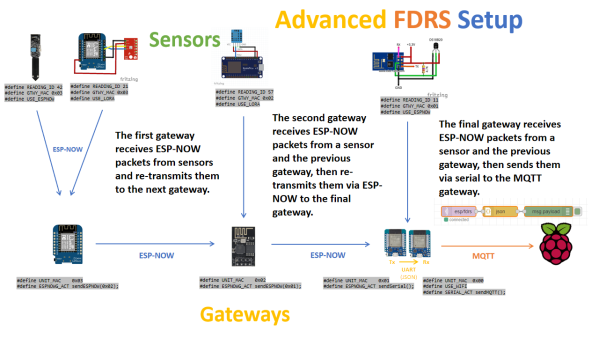
The FDRS uses a combination of ESP32/8266 sensor nodes for short range, and LoRa nodes for long range. The ESP nodes use Espressif’s connectionless ESP-NOW peer-to-peer protocol on which allow multiple ESP boards to communicate directly without the need for a Wi-Fi router. The ESP modules can have one of 3 roles, nodes, repeaters or gateways, and gateways and repeaters share the same code. Nodes take sensor inputs, and are configured to each have a unique READING_ID.
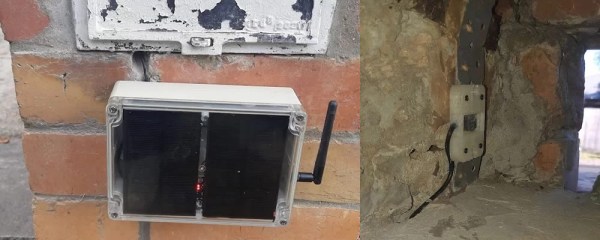
Relays just retransmit ESP-NOW packets to extend the network range, while gateways convert packets between ESP-NOW, MQTT over Wi-Fi, LoRa or serial messages as required. Repeaters and gateways each have a unique UNIT_MAC for addressing. The code that handles communication for the ESP devices is simple and well documented, so you only need to set a few configuration values, and then can focus your efforts on the code required for your specific application.
The hub of the system is a Raspberry Pi running Node-RED which acts as the final MQTT gateway and connects to the ESP MQTT gateways. This means that all the action happens in the local network, without being dependent on an internet connection and cloud service. However, it can still send and receive data over the internet using MQTT or any other protocol as required. Node-RED makes it particularly easy to build custom automations and interfaces.
In the video after the break, Andreas Spiess, the man with the Swiss accent, who also has a hand in the project, goes over all the features, setup and caveats.