ChatGPT is being asked to handle all kinds of weird tasks, from determining whether written text was created by an AI, to answering homework questions, and much more. It’s good at some of these tasks, and absolutely incapable of others. [Filipe dos Santos Branco] and [Edward Gu] had an out of the box idea, though. What if ChatGPT could do something musical?
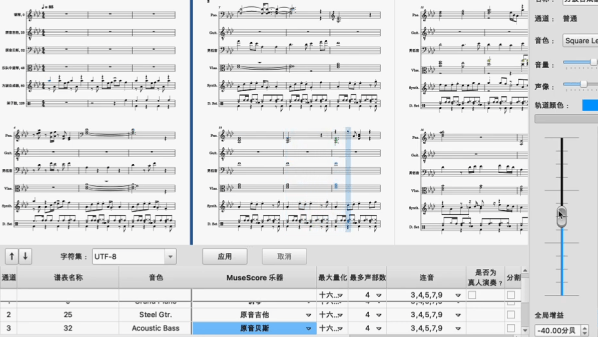
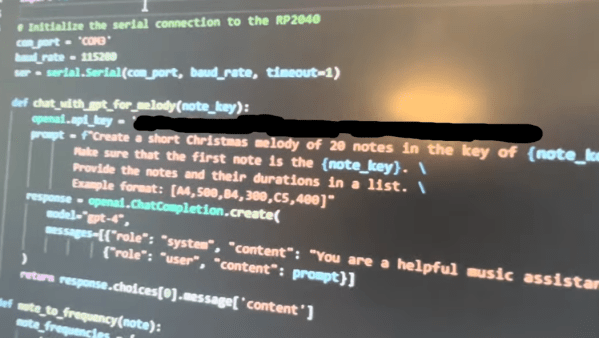
They built a system that, at the press of a button, would query ChatGPT for a 10-note melody in a given musical key. Once the note sequence is generated by the large language model, it’s played out by a PWM-based synthesizer running on a Raspberry Pi Pico.
Ultimately, ChatGPT is no musical genius. It’s simply picking a bunch of notes from a list that are known to work together melodically; that’s the whole point of musical keys. It would have been wild if it generated some riffs on the level of Stairway to Heaven or Spontaneous Devotion, but that might be asking for too much.
Here’s the question, though. If you trained a large language model, but got it to digest sheet music instead of written texts… could it learn to write music in various genres and styles? If someone isn’t working on that already, there’s surely an entire PhD you could get out of that idea alone. We should talk!
In any case, it’s one of the more creative projects from the ever-popular ECE 4760 class at Cornell. We’ve featured a bunch of projects from the class over the years, and noted how the course now runs on the RP2040. Continue reading “Audio Synthesizer Hooked Up With ChatGPT Interface”