Retro computers are great, but what really makes a computer special is how many other computers it can talk to. It’s all about the network! Often, getting these vintage rigs online requires a significant investment in dusty old network cards from eBay and hunting down long-corrupted driver discs to lace everything together. A more modern alternative is to use something like PiModem to do the job instead.
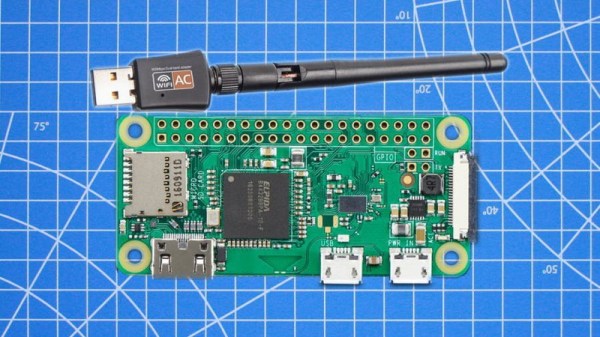
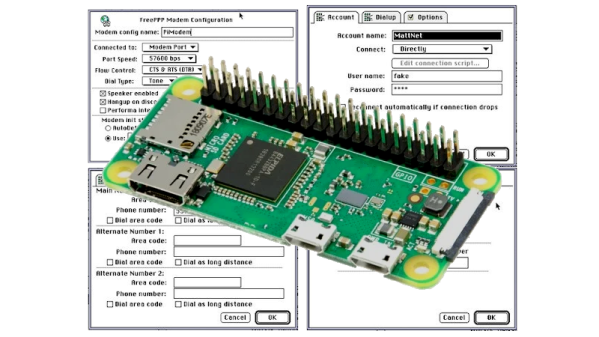
PiModem consists of using a Raspberry Pi Zero W to emulate a serial modem, providing older systems with a link to the outside world. This involves setting up the Pi to use its hardware serial port to communicate with the computer in question. A level shifter is usually required, as well as a small hack to enable hardware flow control where necessary. It’s then a simple matter of using tcpser and pppd so you can talk to telnet BBSs and the wider Internet at large.
It’s a tidy hack that makes getting an old machine online much cheaper and easier than using hardware of the era. We’ve seen similar work before, too!