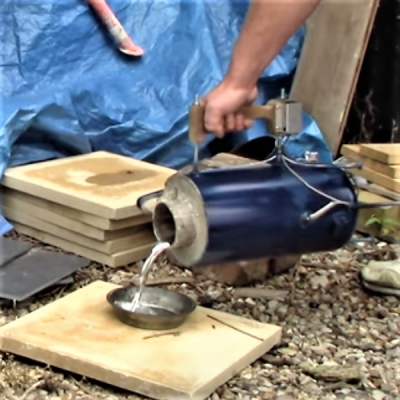
Let’s face it — the design of most home foundries leaves something to be desired. Most foundries are great at melting metal, but when it comes to pouring the melt, awkward handling can easily lead to horrific results. That’s why we appreciate the thought that went into this electric melting pot foundry.
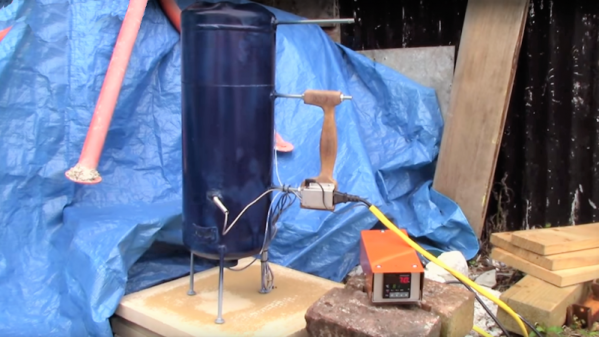
 Sure, electric foundries lack some of the sex-appeal of gas- or even charcoal-fueled foundries, but by eschewing the open flames and shooting sparks, [Turbo Conquering Mega Eagle] was able to integrate the crucible into the foundry body and create what looks for all the world like a Thermos bottle for molten aluminum.
The body is a decapitated fire extinguisher, while the crucible appears to just be a length of steel pipe. An electric stove heating element is wrapped around the crucible, PID control of which is taken care of by an external controller and solid state relay. Insulated with Pearlite and provided with a handle, pours are now as safe as making a nice cup of 1200° tea.
You’ll perhaps recall that [Turbo Conquering Mega Eagle] has a thing for electric foundries, although we have to say the fit and finish of the current work far exceeds his previous quick-and-dirty build using an old electric stove.
Continue reading “Pouring 1200° Tea: Foundry In A Fire Extinguisher”