If you’re familiar with vintage portable computers, you know about the GRiD Compass. Even if you’re not into computers of yesteryear, there’s a good chance you’ve seen a Compass or two without realizing it. From battling xenomorphs in Aliens to making the trip to orbit aboard the Space Shuttle, the trendsetting clamshell computer seemed to be everywhere in the 1980s. While far too expensive for the average consumer to afford back then, its no-compromise design and sleek looks helped lay the groundwork for today’s ubiquitous laptops.
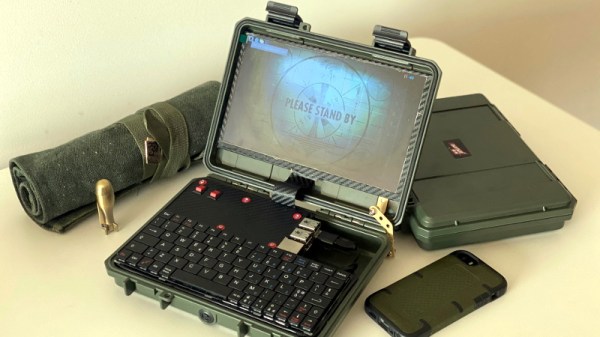
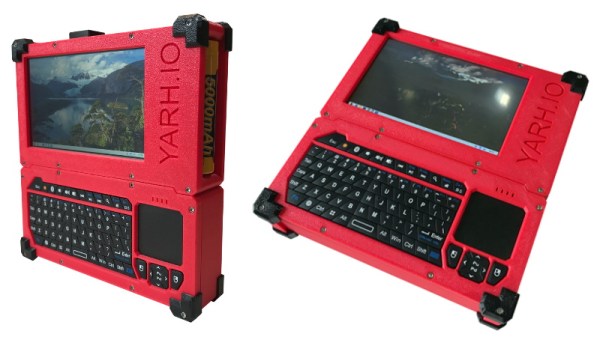
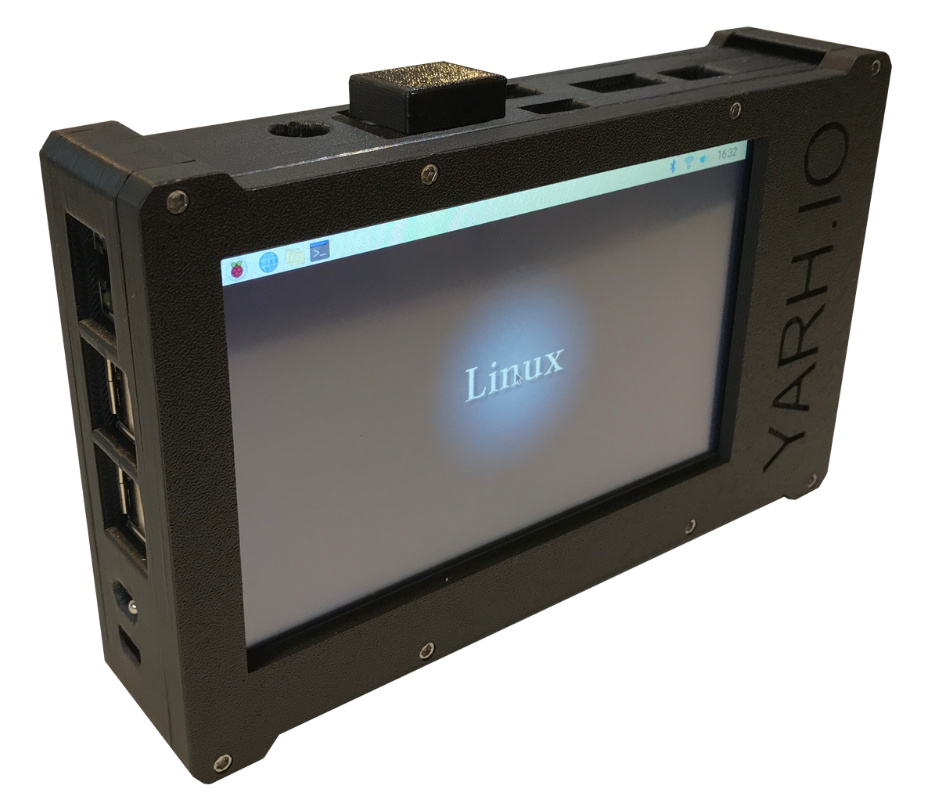
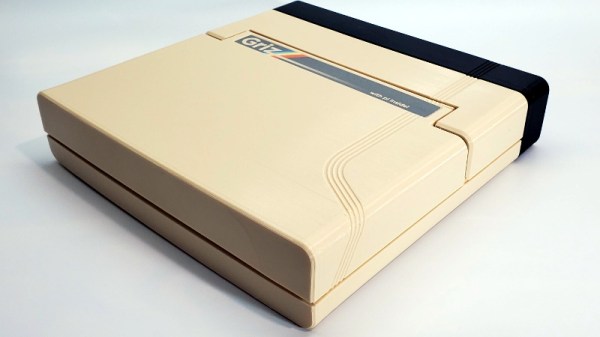
Getting your hands on a working GRiD Compass in 2021 isn’t a whole lot easier than it was in 1982, so [Mike] decided to do the next best thing and build his own. His GRIZ Sextant certainly isn’t a replica, but the family resemblance is strong enough to get the point across. The Raspberry Pi powered machine has a greatly reduced “trunk” section in the back as you might expect, but the overall layout is very similar. The Commodore 64 inspired color scheme is probably the biggest departure from the source material, but it’s hard to argue with the results.
 It’s clear at a glance that a lot of thought was put into the external aesthetics of the Sextant, but a peek under the hood shows the internal details are equally impressive. [Mike] tells us he has a background in product design, and it shows. Rather than approaching this project as a one-off creation, he’s clearly taken great pains to ensure the design is as reproducible as possible.
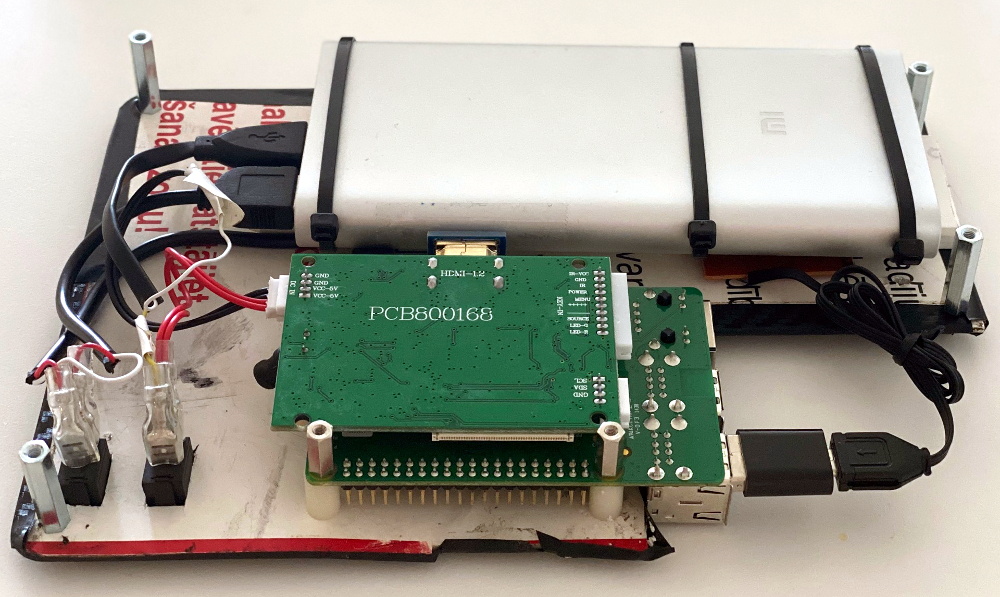
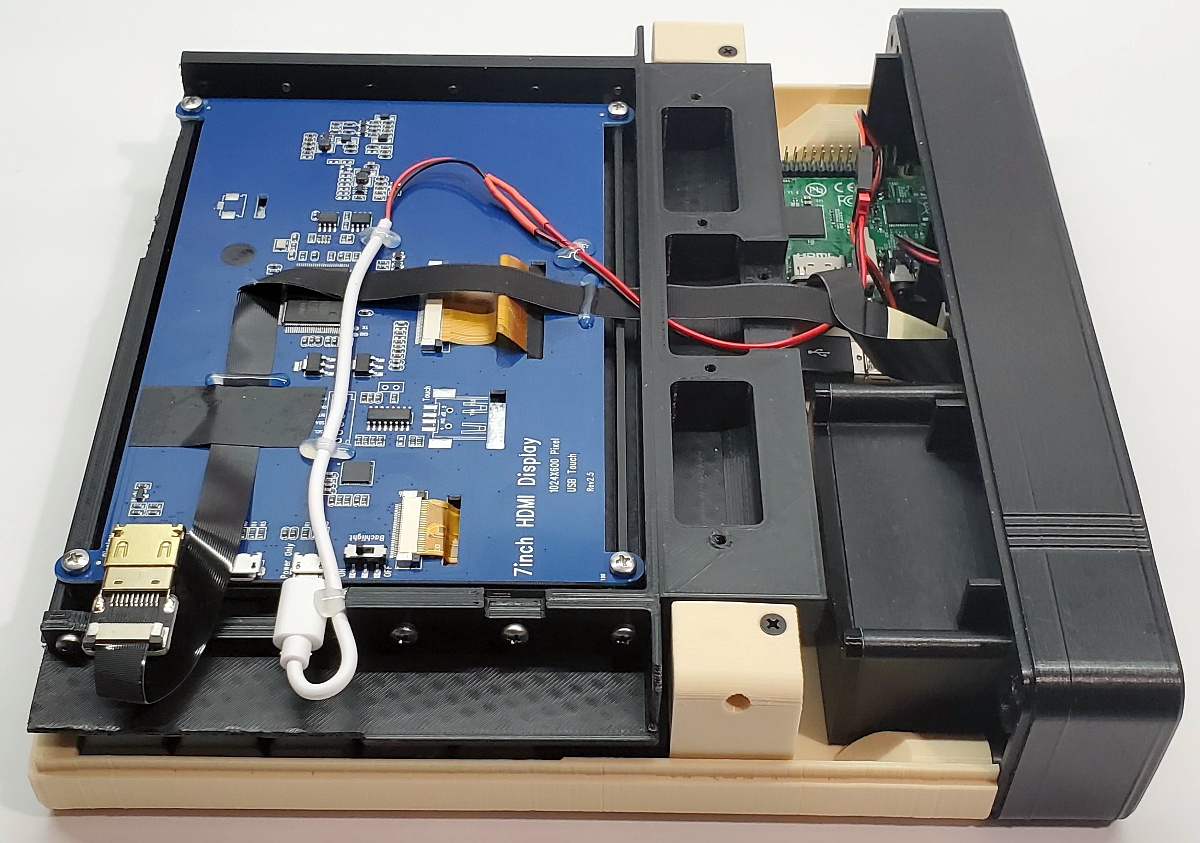
All of the individual components of the 3D printed frame and enclosure have been carefully designed so they’ll fit within the build volume of the average desktop machine. Electronic components are screwed, not glued, to the internal framework; making future repairs and maintenance much easier. When combined with the ample internal volume available, this modular approach should make adding custom hardware a relatively painless process as well.
So when will you be able to build a GRIZ Sextant of your own? Hopefully, very soon. [Mike] says he still needs to work some kinks out of the power supply and finalize how the speakers will get mounted into the case. Once those last tweaks are locked in, he plans to release all the STL files and a complete Bill of Materials. For those who want to get a sneak peek before they start warming up the extruder, he’s also started documenting the assembly of the Sextant on his YouTube channel. Continue reading “3D Printed Pi Laptop Honors The Iconic GRiD Compass”