The Google Daydream is a VR headset with a controller, and according to the folks at Google, “It’s not currently compatible with iOS and won’t be for several years probably.” OK.
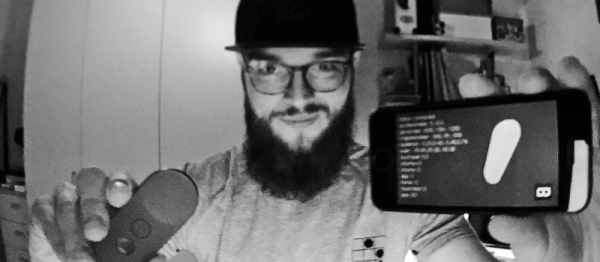
This inspired [Matteo Pisani] to get to work on the protocol that it uses to speak with Android phones. Cutting to the chase, he got it working in several days.
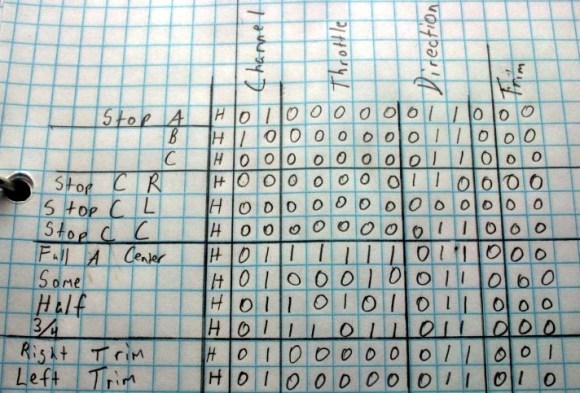
There really wasn’t all that much to it. The controller sends data over Bluetooth, and [Matteo] noticed an “unknown” device on the network. Looking inside the data that it sent, it changed when he moved the controller. Not so unknown now! The rest of the work consisted of writing applications to test hypotheses, waving the controller around, and finding out if he was right. Read up if you’re interested in implementing this yourself.
We love protocol hacks here. From running quadcopters on your own remotes, to simply trying to turn on a lightbulb, it’s getting more and more important that we understand the various languages that our devices speak.
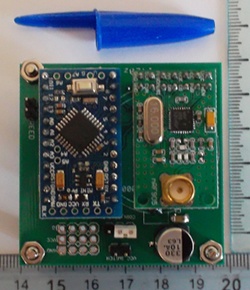 [Texane] had been thinking about how to monitor the state of his garage door from a remote place. The door itself isn’t around any power outlets, and is a few floors away from where his server would be located in his apartment. This presented a few design challenges – namely, the sensor itself should have a wireless connection to the server, and being low power would be a great idea. This led to the development of a