You Don’t Need That Bulky CRT Oscilloscope Anymore

While it might be nice to use a $4,000 oscilloscope in a lab at a university or well-funded corporate environment, a good portion of us won’t have access to that kind of equipment in our own home shops. There are a few ways of getting a working oscilloscope without breaking the bank, though. One option is to find old CRT-based unit for maybe $50 on craigslist which might still have 60% of its original 1970s-era equipment still operational. A more reliable, and similarly-priced, way of getting an oscilloscope is to just convert a device you already have.

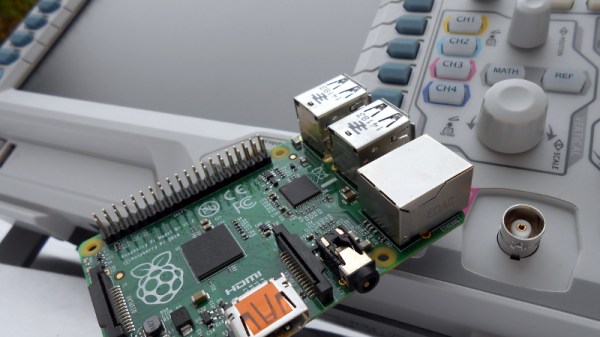
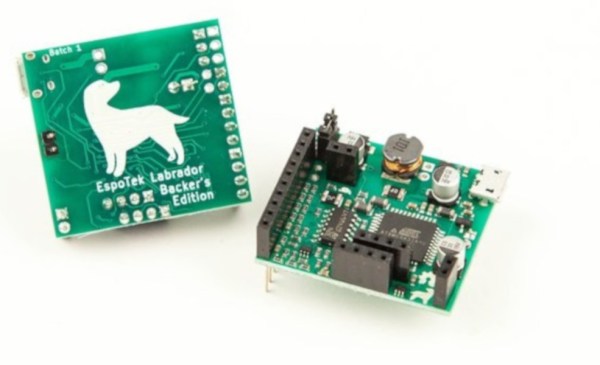
The EspoTek Labrador is an open-source way of converting a Raspberry Pi, Android device, or even a regular run-of-the-mill computer into a working oscilloscope. It’s a small USB device with about a two square inch PCB footprint that includes some other features as well like a signal generator and logic analyzer. It’s based on an ATxmega which is your standard Arduino-style AVR microcontroller but geared for low power usage. It looks as though it is pretty simple to use as well, and the only requirements are that you can install the software needed for the device on whatever computing platform you decide to use.

While the Labrador is available for sale at their website, it is definitely a bonus when companies offer products like this but also release the hardware and software as open source. That’s certainly a good way to get our attention, at least. You can build your own if you’d like, but if you’d rather save the time you have pre-built options. And it doesn’t hurt that most of the reviews of this product seem to be very favorable (although we haven’t tried one out ourselves). If you’d prefer an option without a company backing it, though, we have you covered there too.

FatPiBoy: Respin Game Boy With A Pop-Out Controller

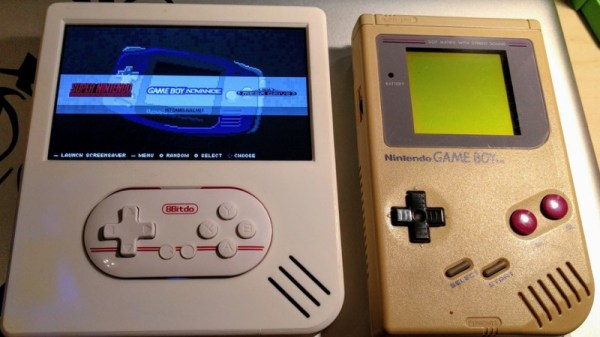
Have you ever found yourself wishing you had a clone of the Game Boy, except it was actually twice as wide, and instead of holding it in your hands you pop a tiny separate controller out of the middle and play it that way? No? Well, neither have we. But that didn’t stop [Christian Reinbacher] from designing and building exactly that, and by the looks of the finished product, we have to say he might be onto something.

To be fair, the charmingly-named FatPiBoy is not really meant to be played like the GameBoy of yesteryear. It’s more like a game console with built in display; you prop the console up on something, and then remove the controller from the system and play that way.

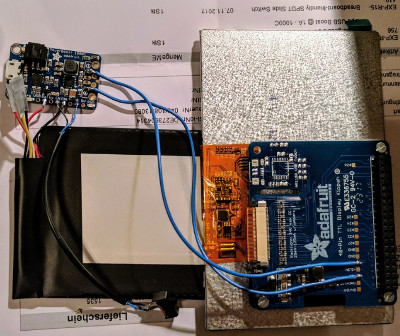
The controller itself is a commercial product, the 8bitdo Zero, but [Christian] based the rest of the system on parts intended for the Adafruit PiGRRL. For the battery, [Christian] used a 4,500 mAh pack that was originally from his Nexus 7 tablet; a tip to keep in mind next time you’re looking for a big and cheap lithium-ion battery.

[Christian] notes that the case design isn’t perfect. There’s currently no external access to the Pi’s USB ports, and the recess for the 8bitdo Zero could be a few millimeters deeper. Still, we think he did an excellent job finishing the case and giving it a professional look; the case and controller look like nearly a perfect match.

This isn’t the first time we’ve seen a Raspberry Pi put on a GameBoy costume, but the FatPiBoy does bring something new to the table with its removable controller. Of course, if you think the controller [Christian] selected for this build is a bit too small, you can always substitute your own

SegaPi Zero Shows Game Gear Some Respect

If you were a gamer in 1991, you were presented with what seemed like an easy enough choice: you could get a Nintendo Game Boy, the gray brick with a slightly nauseating green-tinted screen that was already a couple of years old, or you could get yourself a glorious new Sega Game Gear. With full color display and games that were ported straight from Sega’s home consoles, it seemed like the Game Gear was the true future of portable gaming. But of course, that’s not how things actually went. In reality, technical issues like abysmal battery life held the Game Gear back, and conversely Nintendo and their partners were able to squeeze so much entertainment out of the Game Boy that they didn’t even bother creating a true successor for it until nearly a decade after its release.

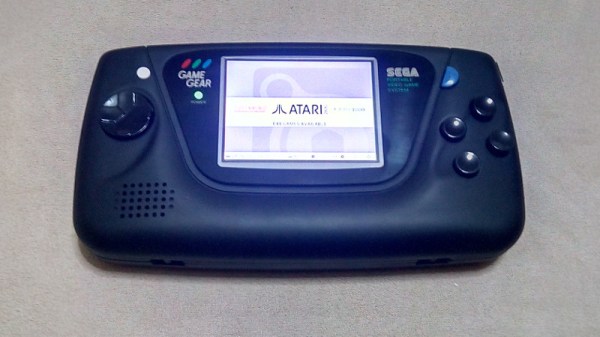
While the Game Gear was a commercial failure compared to the Game Boy back in the 1990s and never got an official successor, it’s interesting to think of what may have been. A hypothetical follow-up to the Game Gear was the inspiration for the SegaPi Zeo created by [Halakor]. Featuring rechargeable batteries, more face buttons, and a “console” mode where you can connect it to a TV, it plays to the original Game Gear’s strengths and improves on its weaknesses.

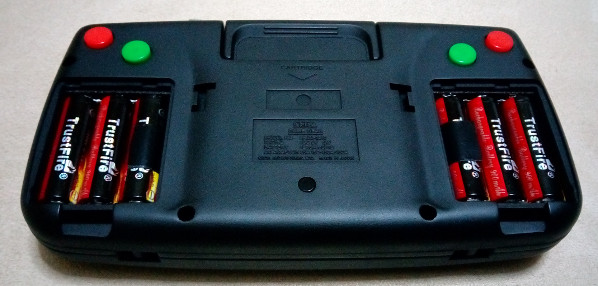
As the name implies the SegaPi Zero is powered by the Raspberry Pi Zero, and an Arduino Pro Micro handles user input by tactile switches mounted behind all the face buttons. A TP4056 charging module and step-up converter are also hiding in there, which take care of the six 3.7 lithium-Ion 14500 batteries nestled into the original battery compartments. With a total capacity of roughly 4,500 mAh, the SegaPi Zero should be able to improve upon the 3 – 4 hour battery life that helped doom the original version.

There’s no shortage of projects that cram a Raspberry Pi into a classic game system, but more often than not, they tend to be Nintendo machines. It could simply be out of nostalgia for Nintendo’s past glories, but personally we’re happy to see another entry into the fairly short list of Sega hacks.

Controlling Your Instruments From A Computer: Doing Something Useful

Do you know how to harvest data from your bench tools, like plotting bandwidth from your oscilloscope with a computer? It’s actually pretty easy. Many bench tools make this easy using a standard protocol with USB to make the connection.

In the previous installment of this article we talked about the National Instruments VISA (Virtual Instrument Software Archetecture) standard for communicating with your instruments from a computer, and introduced its Python wrapper with a simple demonstration using a Raspberry Pi. We’ll now build on that modest start by describing a more useful application for a Raspberry Pi and a digital oscilloscope; we’ll plot the bandwidth of an RF filter. We’ll assume that you’ve read the previous installment and have both Python and the required libraries on your machine. In our case the computer is a Raspberry Pi and the instrument is a Rigol DS1054z, but similar techniques could be employed with other computers and instruments.

Continue reading “Controlling Your Instruments From A Computer: Doing Something Useful”