A mule isn’t just a four-legged hybrid created of a union betwixt Donkey and Horse; in our circles, it’s much more likely to mean a testbed device you hang various bits of hardware off in order to evaluate. [Jenny List]’s 7″ touchscreen camera enclosure is just such a mule.
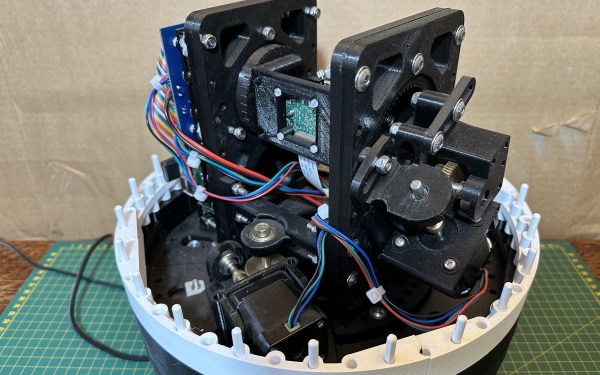
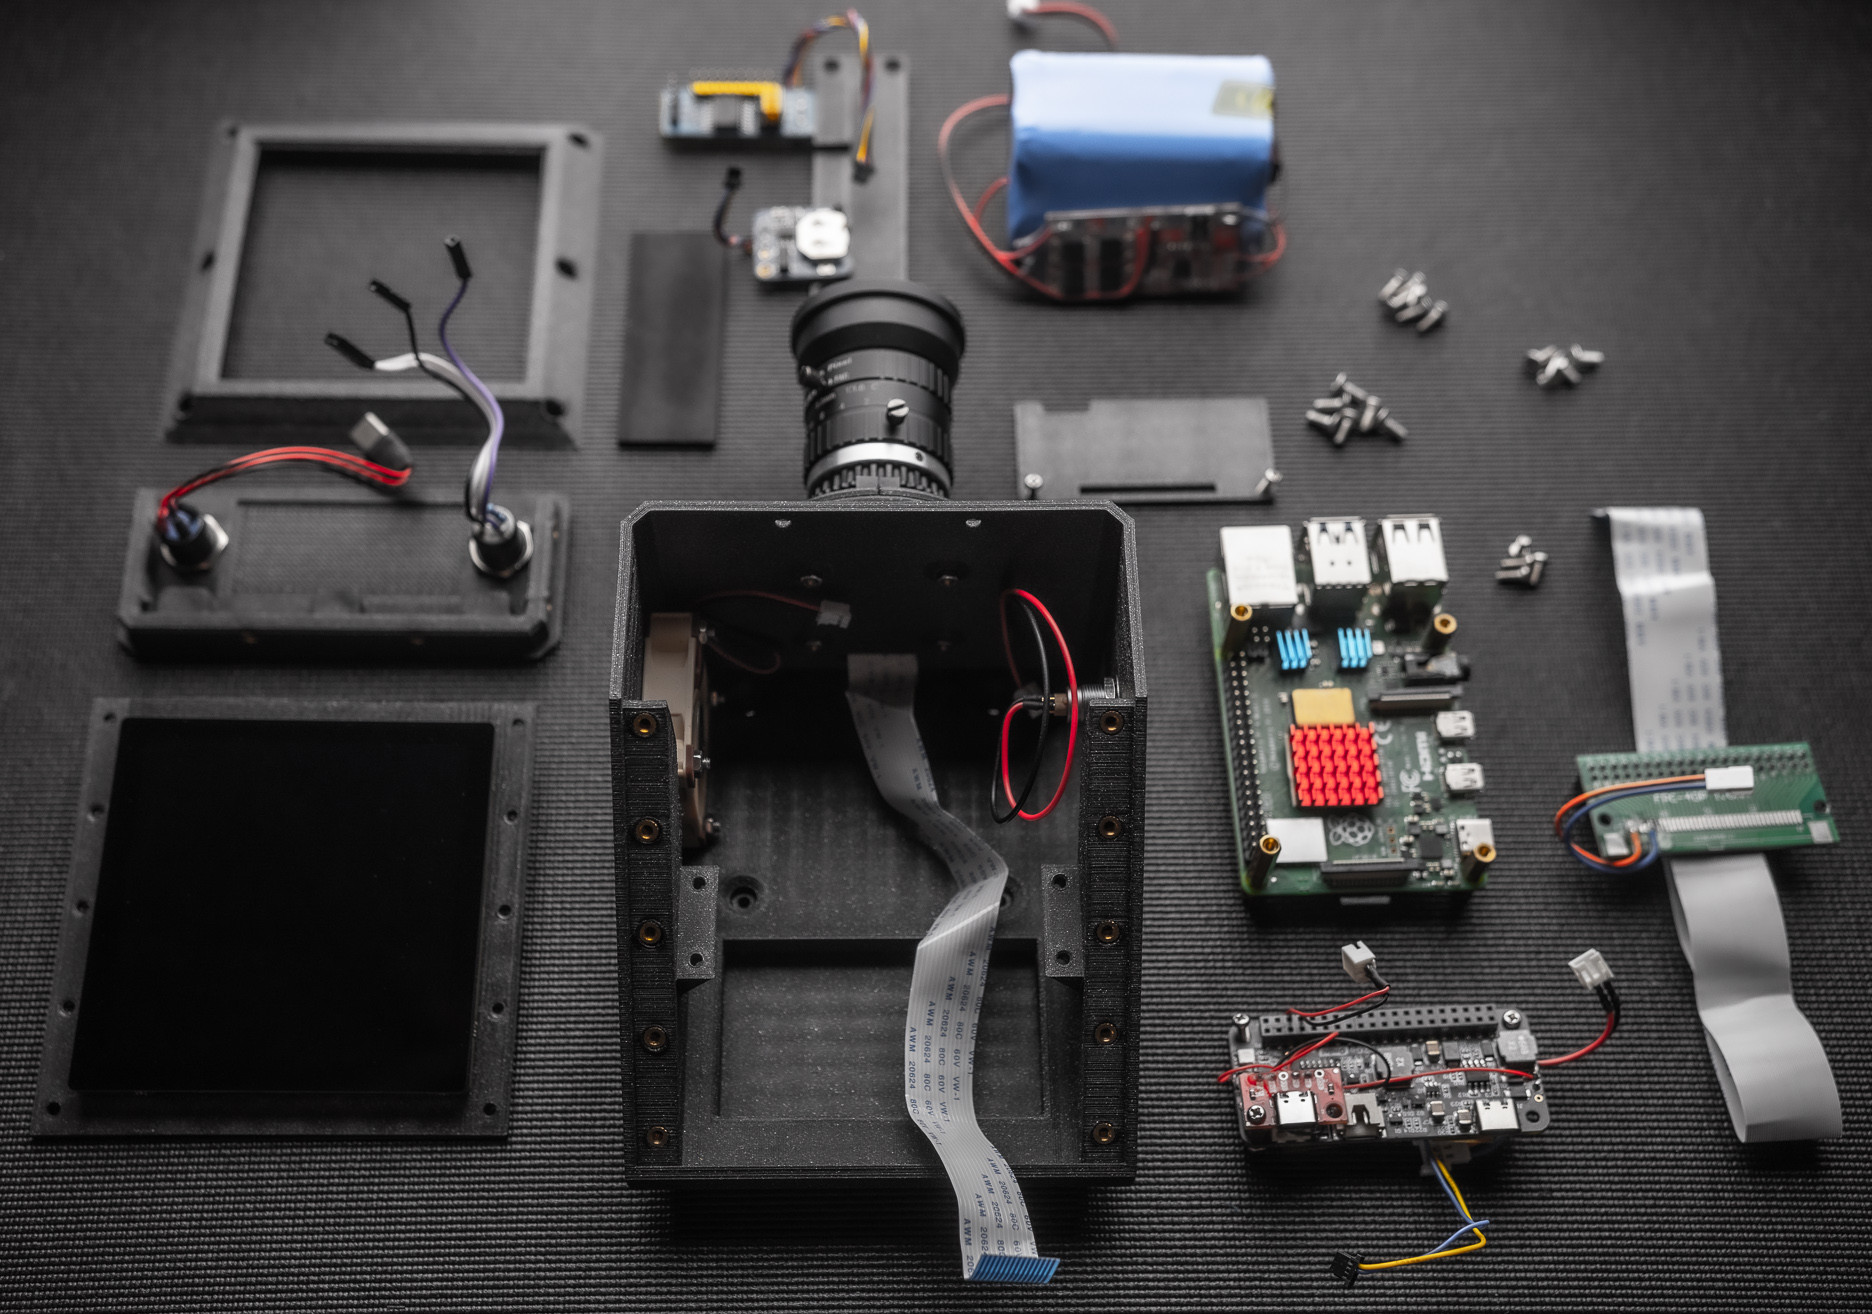
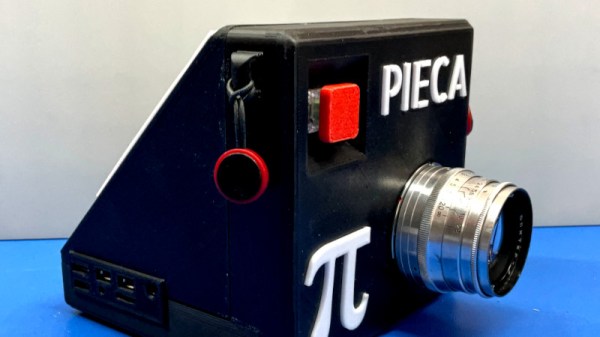
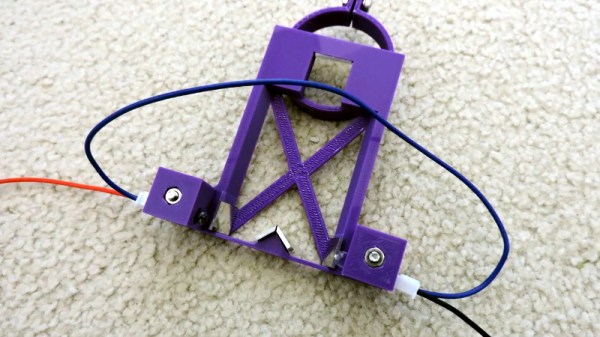
In this case, the hardware to be evaluated is camera modules– she’s starting out with the official RPi HQ camera, but the modular nature of the construction means it’s easy to swap modules for evaluation. The camera modules live on 3D printed front plates held to the similarly-printed body with self-tapping screws.
Any Pi will do, though depending on the camera module you may need one of the newer versions. [Jenny] has got Pi4 inside, which ought to handle anything. For control and preview, [Jenny] is using an old first-gen 7″ touchscreen from the Raspberry Pi foundation. Those were nice little screens back in the day, and they still serve well now.
There’s no provision for a battery because [Jenny] doesn’t need one– this isn’t a working camera, after all, it’s just a test mule for the sensors. Having it tethered to a wall wart or power bank is no problem in this application. All files are on GitHub under a CC4.0 license– not just STLs, either, proper CAD files that you can actually make your own. (SCAD files in this case, but who doesn’t love OpenSCAD?) That means if you love the look of this thing and want to squeeze in a battery or add a tripod mount, you can! It’s no shock that our own [Jenny List] would follow best-practice for open source hardware, but it’s so few people do that it’s worth calling out when we see it.
Thanks to [Jenny] for the tip, and don’t forget that the tip line is open to everyone, and everyone is equally welcome to toot their own horn.