Self-driving technologies are a hot button topic right now, as major companies scramble to be the first to market with more capable autonomous vehicles. There’s a high barrier to entry at the top of the game, but that doesn’t mean you can’t tinker at home. [Richard Crowder] has been building a self-driving car at home with the Raspberry Pi Zero.
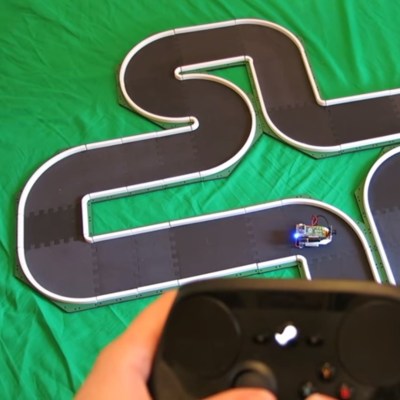
[Richard]’s project is based on the EOgma Neo machine learning library. Using a type of machine learning known as Sparse Predictive Hierarchies, or SPH, the algorithm is first trained with user input. [Richard] trained the model by driving it around a small track. The algorithm takes into account the steering and throttle inputs from the human driver and also monitors the feed from the Raspberry Pi camera. After training the model for a few laps, the car is then ready to drive itself.
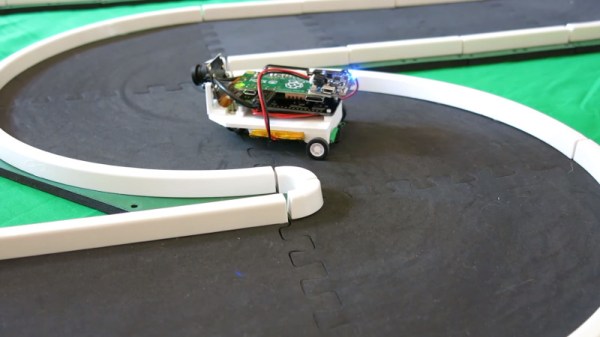
Fundamentally, this is working on a much simpler level than a full-sized self-driving car. As the video indicates, the steering angle is predicted based on the grayscale pixel data from the camera feed. The track is very simple and the contrast of the walls to the driving surface makes it easier for the machine learning algorithm to figure out where it should be going. Watching the video feed reminds us of simple line-following robots of years past; this project achieves a similar effect in a completely different way. As it stands, it’s a great learning project on how to work with machine learning systems.
[Richard]’s write-up includes instructions on how to replicate the build, which is great if you’re just starting out with machine learning projects. What’s impressive is that this build achieves what it does with only the horsepower of the minute Raspberry Pi Zero, and putting it all in a package of just 102 grams. We’ve seen similar builds before that rely on much more horsepower – in processing and propulsion.