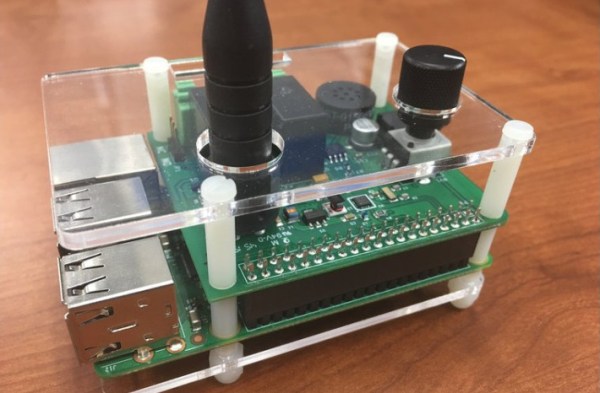
[Samy Kamkar], leet haxor extraordinaire, has taken a treasure trove of exploits and backdoors and turned it into a simple hardware device that hijacks all network traffic, enables remote access, and does it all while a machine is locked. It’s PoisonTap, and it’s based on the Raspberry Pi Zero for all that awesome tech blog cred we crave so much.
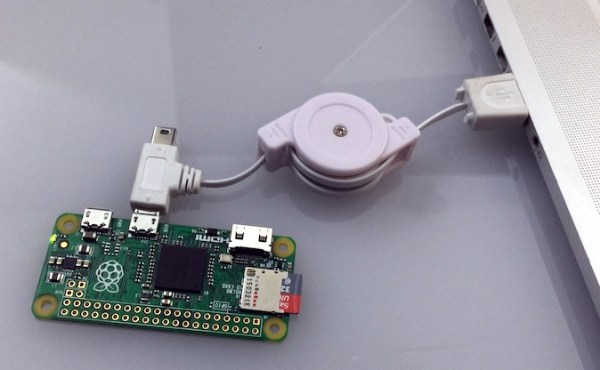
PoisonTap takes a Raspberry Pi Zero and configures it as a USB Gadget, emulating a network device. When this Pi-come-USB-to-Ethernet adapter is plugged into a computer (even a locked one), the computer sends out a DHCP request, and PoisonTap responds by telling the machine the entire IPv4 space is part of the Pi’s local network. All Internet traffic on the locked computer is then sent over PoisonTap, and if a browser is running on the locked computer, all requests are sent to this tiny exploit device.
With all network access going through PoisonTap, cookies are siphoned off, and the browser cache is poisoned with an exploit providing a WebSocket to the outside world. Even after PoisonTap is unplugged, an attacker can remotely send commands to the target computer and force the browser to execute JavaScript. From there, it’s all pretty much over.
Of course, any device designed to plug into a USB port and run a few exploits has a few limitations. PoisonTap only works if a browser is running. PoisonTap does not work on HTTPS cookies with the Secure cookie flag set. PoisonTap does not work if you have filled your USB ports with epoxy. There are a thousand limitations to PoisonTap, all of which probably don’t apply if you take PoisonTap into any office, plug it into a computer, and walk away. That is, after all, the point of this exploit.
As with all ub3r-1337 pen testing tools, we expect to see a version of PoisonTap for sale next August in the vendor area of DEF CON. Don’t buy it. A Raspberry Pi Zero costs $5, a USB OTG cable less than that, and all the code is available on Github. If you buy a device like PoisonTap, you are too technically illiterate to use it.
[Samy] has a demonstration of PoisonTap in the video below.
Continue reading “PoisonTap Makes Raspberry Pi Zero Exploit Locked Computers”
![A GPIB/IEEE488 plug. Alkamid [CC BY-SA 3.], via Wikimedia Commons](https://hackaday.com/wp-content/uploads/2016/10/a_gpib_plug.jpg)


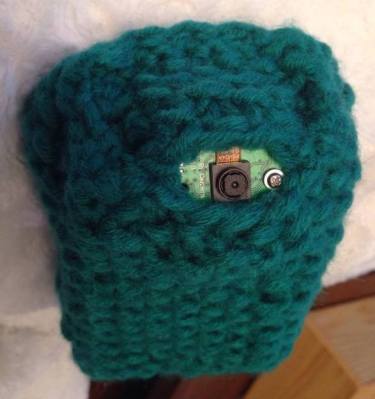 At least that’s how [Antibore] handled the situation, and the results are pretty good. He designed his build around an old Raspberry Pi 2 that was hanging around. That required a WiFi adapter, and since he wanted video and audio he needed a camera and mic. The first USB mic had a nice compact design but didn’t perform well, so a gutted gooseneck mic soldered right to the USB connector joined the design spec. A camera module, cell-phone quick charge battery bank, and a 3D printed case round out the BOM. A knitted cozy to keep it looking warm and fuzzy was provided by the mother-to-be — although we think it