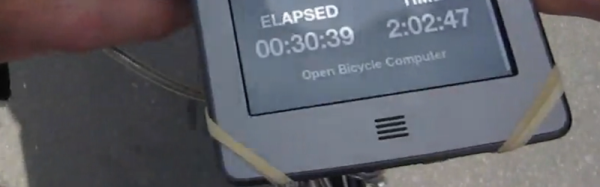
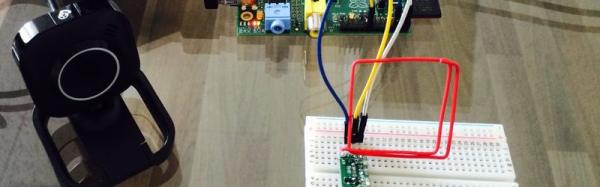
Build a better mousetrap, and the world will beat a path to your door, but what about a smarter mousetrap? [Alain] decided to find out by making a Raspberry Pi-powered, Internet-connected smart trap. The brains of the operation is a Pi running Arch Linux. Connected to that is a IR trigger, a servo to unlatch the sliding door, and a camera to see your new friend.
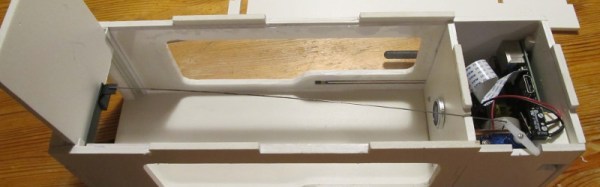
The housing of the trap is CNC cut foam PVC board, which is both easy to cut and to clean. Once the IR beam is broken the Pi turns the servo, which pulls a pin on the front door. Once your new friend is settled in a LED light turns on to illuminate the subject, a picture is taken and sent via email.
With automated alerts you don’t have to manually check the trap, and you also don’t have to worry about a trapped animal being inside for too long. Join us after the break for a demonstration video showing off all the features, and a real world example.
Continue reading “Building A Better Mousetrap With The Raspberry Pi”

![The setup used by [Oliver] to capture the barks: a USB microphone, Raspberry Pi and WiFi USB dongle.](https://hackaday.com/wp-content/uploads/2015/08/bark-details.jpg)