It’s a well-established fact that a guitarist’s acumen can be accurately gauged by the size of their pedal board- the more stompboxes, the better the player. Why have one box that can do everything when you can have many that do just a few things?
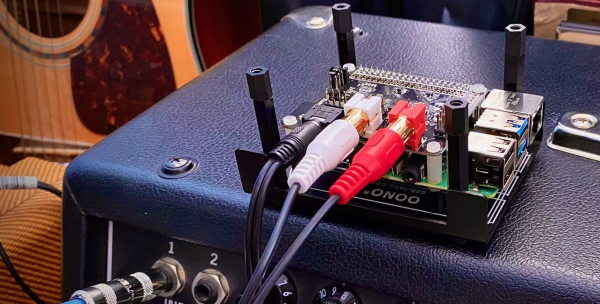
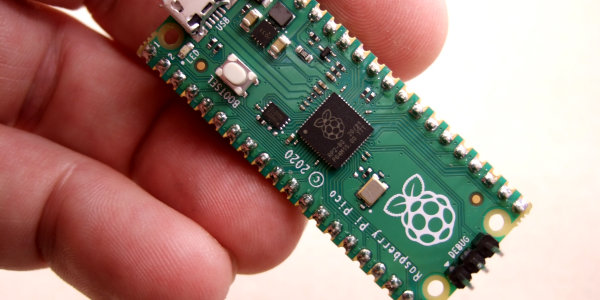
Jokes aside, the idea of replacing an entire pedal collection with a single box is nothing new. Your standard, old-school stompbox is an analog affair, using a combination of filters and amplifiers to achieve a certain sound. Some modern multi-effects processors use software models of older pedals to replicate their sound. These digital pedals have been around since the 90s, but none have been quite like the NeuralPi project. Just released by [GuitarML], the NeuralPi takes about $120 of hardware (including — you guessed it — a Raspberry Pi) and transforms it into the perfect pedal.
The key here, of course, is neural networks. The LSTM at the core of NeuralPi can be trained on any pedal you’ve got laying around to accurately reproduce its sound, and it can even do so with incredibly low latency thanks to Elk Audio OS (which even powers Matt Bellamy’s synth guitar, as used in Muse‘s Simulation Theory World Tour). The result of a trained model is a VST3 plugin, a popular format for describing audio effects.
This isn’t the first time we’ve seen some seriously cool stuff from [GuitarML], and it also hearkens back a bit to some sweet pedal simulation in LTSpice we saw last year. We can’t wait to see this project continue to develop — over time, it would be awesome to see a slick UI, or maybe somebody will design a cool enclosure with some knobs and an honest-to-god pedal for user input!
Thanks to [Mish] for the tip!
Continue reading “Neural Networks Emulate Any Guitar Pedal For $120” →