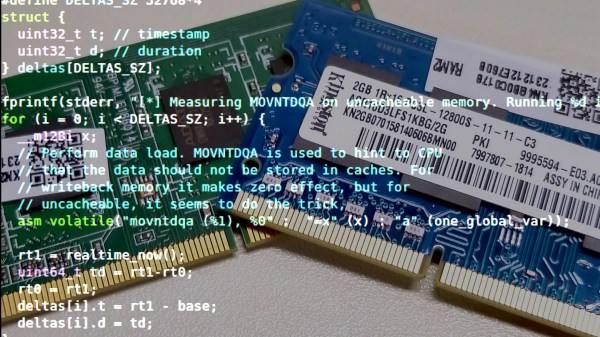
Over on the Cloudflare blog, [Marek] found himself wondering about computer memory, as we all sometimes do. Specifically, he pondered if he could detect the refresh of his SDRAM from within a running program. We’re probably not ruining the surprise by telling you that the answer is yes — with a little more than 100 lines of C and help from our old friend the Fast Fourier Transform (FFT), [Marek] was able to detect SDRAM refresh cycles every 7818.6 ns, lining right up with the expected result.
The “D” in SDRAM stands for dynamic, meaning that unless periodically refreshed by reading and writing, data in the memory will decay. In this kind of memory, each bit is stored as a charge on a tiny capacitor. Given enough time (which varies with ambient temperature), this charge can leak away to neighboring silicon, turning all the 1s to 0s, and destroying the data. To combat this process, the memory controller periodically issues a refresh command which reads the data before it decays, then writes the data back to fully charge the capacitors again. Done often enough, this will preserve the memory contents indefinitely. SDRAM is relatively inexpensive and available in large capacity compared to the alternatives, but the drawback is that the CPU can’t access the portion of memory being refreshed, so execution gets delayed a little whenever a memory access and refresh cycle collide.
Chasing the Correct Hiccup
[Marek] figured that he could detect this “hiccup,” as he calls it, by running some memory accesses and recording the current time in a tight loop. Of course, the cache on modern CPUs would mean that for a small amount of data, the SDRAM would never be accessed, so he flushes the cache each time. The source code, which is available on GitHub, outputs the time taken by each iteration of the inner loop. In his case, the loop typically takes around 140 ns.
Hurray! The first frequency spike is indeed what we were looking for, and indeed does correlate with the refresh times.
The other spikes at 256kHz, 384kHz, 512kHz and so on, are multiplies of our base frequency of 128kHz called harmonics. These are a side effect of performing FFT on something like a square wave and totally expected.
As [Marek] notes, the raw data doesn’t reveal too much. After all, there are a lot of things that can cause little delays in a modern multitasking operating system, resulting in very noisy data. Even thresholding and resampling the data doesn’t bring refresh hiccups to the fore. To detect the SDRAM refresh cycles, he turned to the FFT, an efficient algorithm for computing the discrete Fourier transform, which excels at revealing periodicity. A few lines of python produced the desired result: a plot of the frequency spectrum of the lengthened loop iterations. Zooming in, he found the first frequency spike at 127.9 kHz, corresponding to the SDRAMs refresh period of 7.81 us, along with a number of other spikes representing harmonics of this fundamental frequency. To facilitate others’ experiments, [Marek] has created a command line version of the tool you can run on your own machine.
If this technique seems familiar, it may be because it’s similar the the Rowhammer attack we covered back in 2015, which can actually change data in SDRAM on vulnerable machines by rapidly accessing adjacent rows. As [Marek] points out, the fact that you can make these kinds of measurements from a userspace program can have profound security implications, as we saw with the meltdown and spectre attacks. We have to wonder what other vulnerabilities are lying inside our machines waiting to be discovered.
Thanks to [anfractuosity] for the tip!


 Now we all know that CRTs draw one pixel at a time, drawing from left to right, top to bottom. You can capture this with a regular still camera at a high shutter speed. The light from a TV screen comes from a phosphor coating painted on the inside of the glass screen. Phosphor glows for some time after it is excited, but how long exactly? [Gavin and Dan’s] high framerate camera let them observe the phosphor staying illuminated for only about 6 lines before it started to fade away. You can see this effect at a relatively mundane 2500 FPS.


