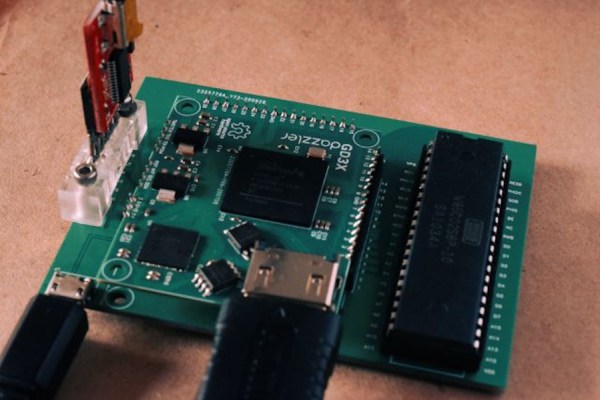
Since the late 60s, Moore’s law has predicted with precision that the number of semiconductors that will fit on a chip about doubles every two years. While this means more and more powerful computers, every year, it also means that old computers can be built on smaller and cheaper hardware. This project from [Bjoern] shows just how small, too, as he squeezes a PET 2001 onto the STM32 Blue Pill.
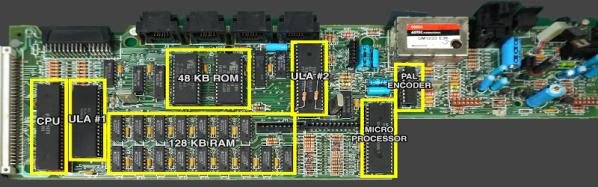
While the PET 2001 was an interesting computer built by Commodore this project wasn’t meant to be a faithful recreation, but rather to test the video output of the Blue Pill, with the PET emulation a secondary goal. It outputs a composite video signal which takes up a good bit of processing power, but the PET emulation still works, although it is slightly slow and isn’t optimized perfectly. [Bjoern] also wired up a working keyboard matrix as well although missed a few wire placements and made up for it in the software.
With his own home-brew software running on the $2 board, he has something interesting to display over his composite video output. While we can’t say we’d emulate an entire PC just to get experience with composite video, we’re happy to see someone did. If you’d like to see a more faithful recreation of this quirky piece of computing history, we’ve got that covered as well.