Here’s a question for you: How do you reverse engineer a circuit when you don’t even have it in hand? It’s an interesting problem, and it adds a level of difficulty to the already iffy proposition that reverse engineering generally presents. And yet, not only did [themole] find a way to replicate a comms board for his oil burner, he extended and enhanced the circuit for integration into his home automation network.
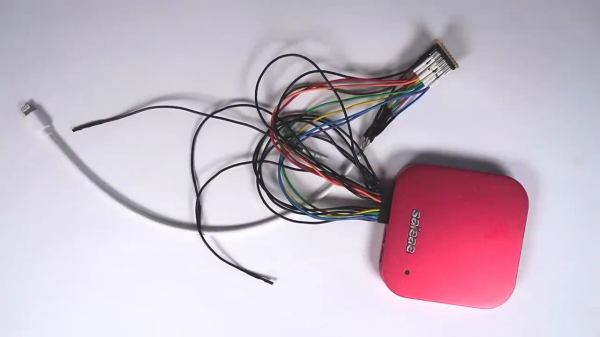
By way of backstory, [themole] has a wonky Buderus oil burner, which occasionally goes into safety mode and shuts down. With one too many cold showers as a result, he looked for ways to communicate with the burner controller. Luckily, Buderus sells just the thing — a serial port module that plugs into a spare slot in the controller. Unluckily, the board costs a bundle, and that’s even if you can find it. So armed with nothing but photos of the front and back of the board, the finding of which was a true stroke of luck, he set about figuring out the circuit.
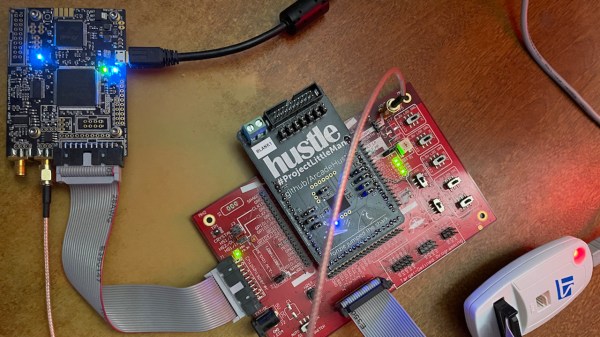
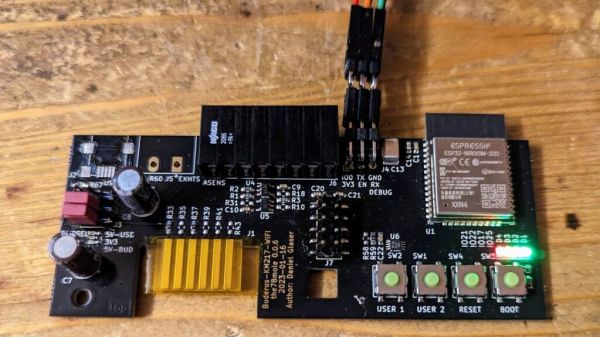
With only a dozen components or so and a couple of connectors, the OEM board gave up its secrets pretty easily; it’s really just a level shifter to make the boiler talk RS-232. But that’s a little passé these days, and [the78mole] was more interested in a WiFi connection. So his version of the card includes an ESP32 module, which handles wireless duties as well as the logic needed to talk to the burner using the Buderus proprietary protocol. The module plugs right into the burner controller and connects it to ESPHome, so no more cold showers for [themole].
We thought this one was pretty cool, especially the way [themole] used the online photos of the board to not only trace the circuit but to get accurate — mostly — measurements of the board using an online measuring tool. That’s a tip we’ll keep in our back pocket.
Thanks to [Jieffe] for the tip.