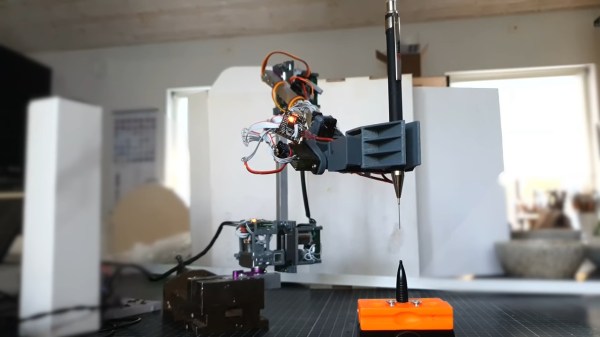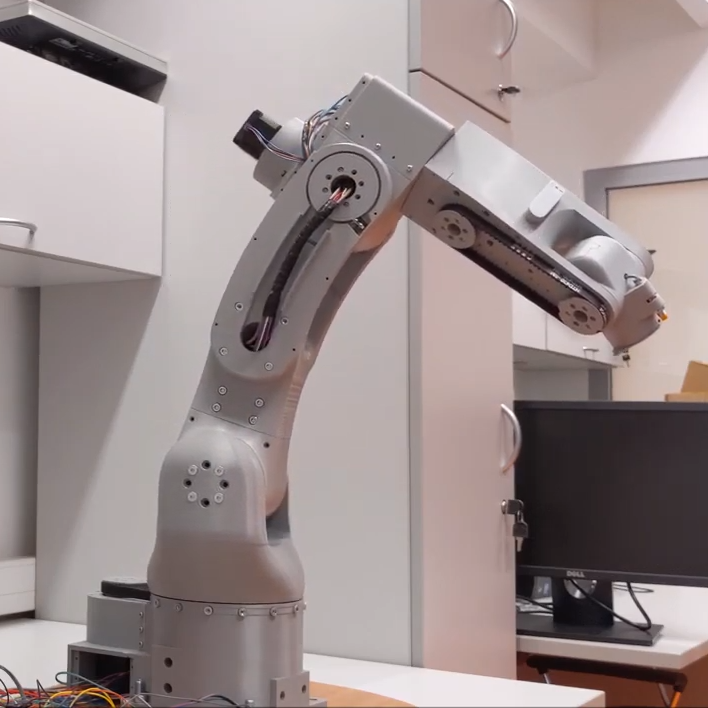
Actuators that are powerful, accurate, compact, and cheap are like unicorns. They don’t exist. Yet this is what [3DprintedLife] needed for a robotic camera arm, so he developed a custom 3D printed high torque strain wave gearbox to be powered by a cheap NEMA23 stepper motor.
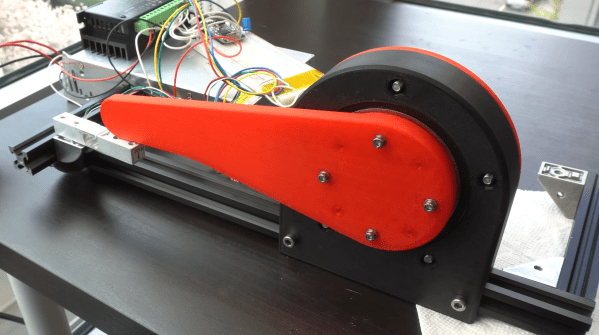
Strain wave gears, otherwise known as harmonic drives, are not an uncommon topic here on Hackaday. The work by deforming a flexible toothed spline with a rotating elliptical part, which engages with the internal teeth of an outer spline. The outer spline has a few more teeth, causing the inner spline to rotate slowly compared to the input, achieving very high gear ratios. Usually, the flexible spline is quite long to allow it to flex at one end while still having a rigid mounting surface at the other end. [3DprintedLife] got around this by creating a separate rigid output spline, which also meshes with the flexible spline. Continue reading “A High Torque 3D Printed Harmonic Drive”