From time to time, we at Hackaday like to publish a few engineering war stories – the tales of bravery and intrigue in getting a product to market, getting a product cancelled, and why one technology won out over another. Today’s war story is from the most brutal and savage conflicts of our time, the console wars.
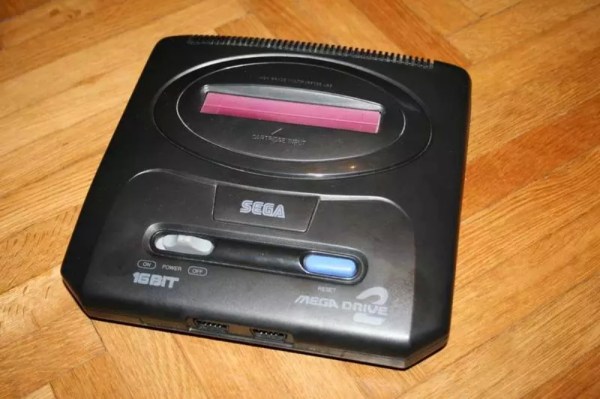
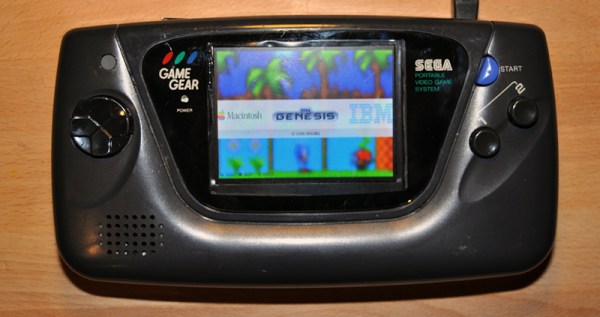
The thing most people don’t realize about the console wars is that it was never really about the consoles at all. While the war was divided along the Genesis / Mega Drive and the Super Nintendo fronts, the battles were between games. Mortal Kombat was a bloody battle, but in the end, Sega won that one. The 3D graphics campaign was hard, and the Starfox offensive would be compared to the Desert Fox’s success at the Kasserine Pass. In either case, only Sega’s 32X and the British 7th Armoured Division entering Tunis would bring hostilities to an end.
In any event, these pitched battles are consigned to be interpreted and reinterpreted by historians evermore. I can only offer my war story of the console wars, and that means a deconstruction of the hardware.
Continue reading “Winning The Console Wars – An In-Depth Architectural Study”