Chances are good that if you’ve done any 3D printing, it was of the standard fused deposition modeling variety. FDM is pretty simple stuff — get a bit of plastic filament hot enough, squeeze the molten goo out of a fine nozzle, control the position of the nozzle more or less precisely in three dimensions, and repeat for hours on end until your print is done. To the outsider it looks like magic, but to us it’s just another Saturday afternoon.
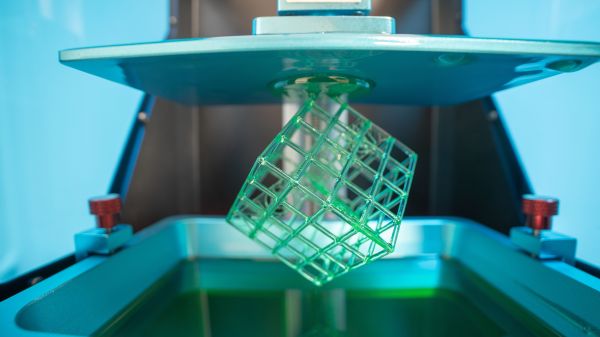
Resin printing is another thing altogether, and a lot closer to magic for most of us. The current crop of stereolithography printers just have a high-resolution LCD display between a UV light source and a build tank with a transparent bottom. Prints are built up layer by layer by flashing UV light patterns into the tank as a build plate slowly lifts it up from the resin, like some creature emerging from the primordial goo.
Of course it’s all just science, but if there is any magic in SLA printing, surely it’s in the resins used for it. Their nondescript brown plastic bottles and information-poor labels give little clue as to their ingredients, although their hydrocarbon reek and viscous, sticky texture are pretty good clues. Let’s take a look inside the resin bottle and find out what it is that makes the magic of SLA happen.
Continue reading “Plastics: Photopolymers For 3D Printing And Beyond”