
While Mazda has made some incredible advances in fuel efficient gasoline engines over the past few years, their design group seems to have fallen asleep at the wheel in the meantime, specifically in regards to the modern keyfob design. The enormous size and buttons on the side rather than the face are contrary to what most people need in a keyfob: small size and buttons that don’t accidentally get pressed. Luckily, though, the PCB can be modified with some effort.
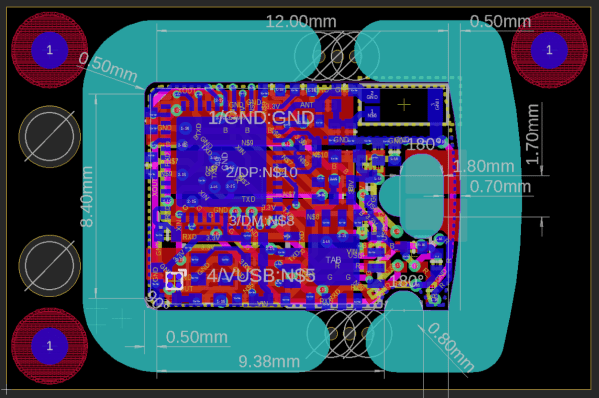
This particular keyfob has a relatively simple two-layer design which makes it easy to see where the connections are made. [Hack ‘n’ Tink] did not need the panic button or status LED which allowed him to simply cut away a section of the PCB, but changing the button layout was a little trickier. For that, buttons were soldered to existing leads on the face of the board using 30-gage magnet wire and silicone RTV. From there he simply needed to place the battery in its new location and 3D print the new enclosure.
The end result is a much smaller form factor keyfob with face buttons that are less likely to accidentally get pressed in a pocket. He also made sure that the battery and button relocation wouldn’t impact the antenna performance. It’s a much-needed improvement to a small but crucial part of the car; the only surprise is that a company that’s usually on point with technology and design would flop so badly on such a critical component.
Thanks to [Brian] for the tip!
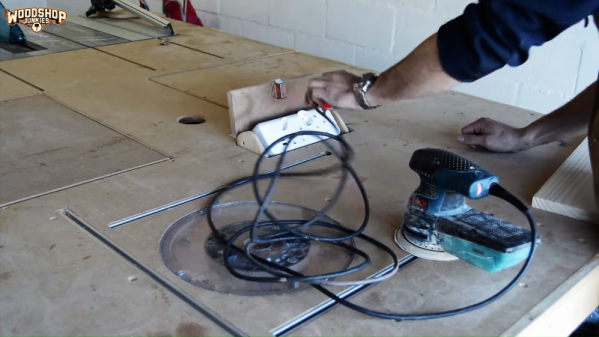
 The tray rides on short drawer glides and, thanks to a small pneumatic spring, pops up when the door is unlatched. There was a little trouble with some slop in the glides causing the tray to jam, but that was taken care of with a simple roller bearing. The video below shows its construction and how it stays entirely out of the way until needed.


