For many of us, being given a big old DIP ROM from nearly thirty years ago and being told to retrieve its contents would be a straightforward enough task. We’d simply do what we would have done in the 1980s, and hook up its address lines to a set of ports, pull its chip select line high, and harvest what came out of the data lines for each address.
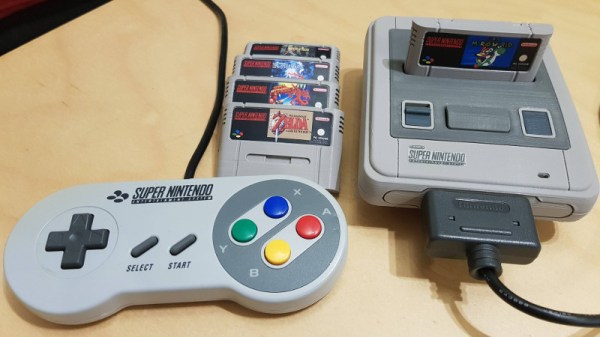
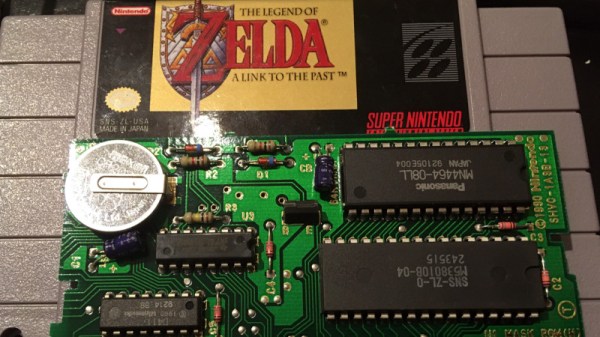
But imagine for a minute that an old-fashioned parallel ROM is a component you aren’t familiar with, as [Brad Dettmer] did with the ROM from a SNES Zelda cartridge. We’ve seen plenty of reverse engineering stories with ancient computing gear as their subject, but perhaps it’s time to accept that some of the formerly ubiquitous devices are edging towards that sort of status.
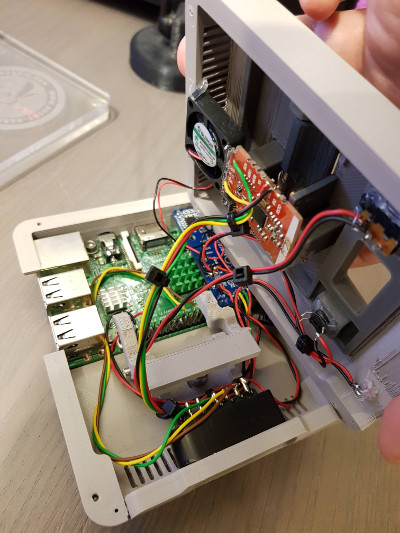
So [Brad] takes us through the process of using the Saleae logic analyser to interrogate the chip while an Arduino stepped through its address lines, and the lesson is probably that while it seems like a sledgehammer to crack a nut it is important to factor in that unfamilarity. If you’d never worked with a 1980s ROM, it would make sense to use the tool you are familiar with, wouldn’t it?
Anyway, all’s well that ends well. While we’re on the subject of Nintendo ROMs, have a read about extracting the boot ROM from a cloned Game Boy.